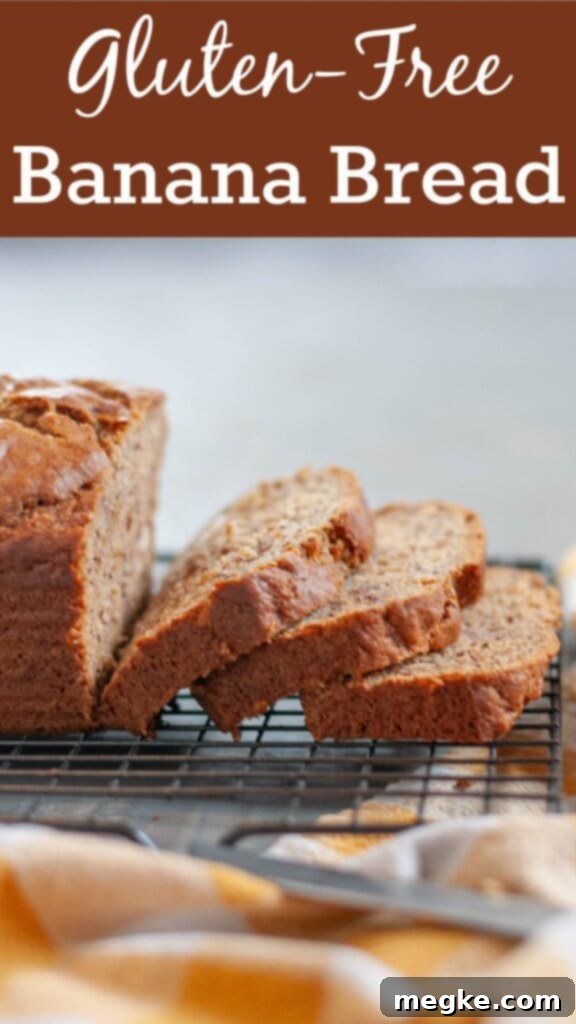
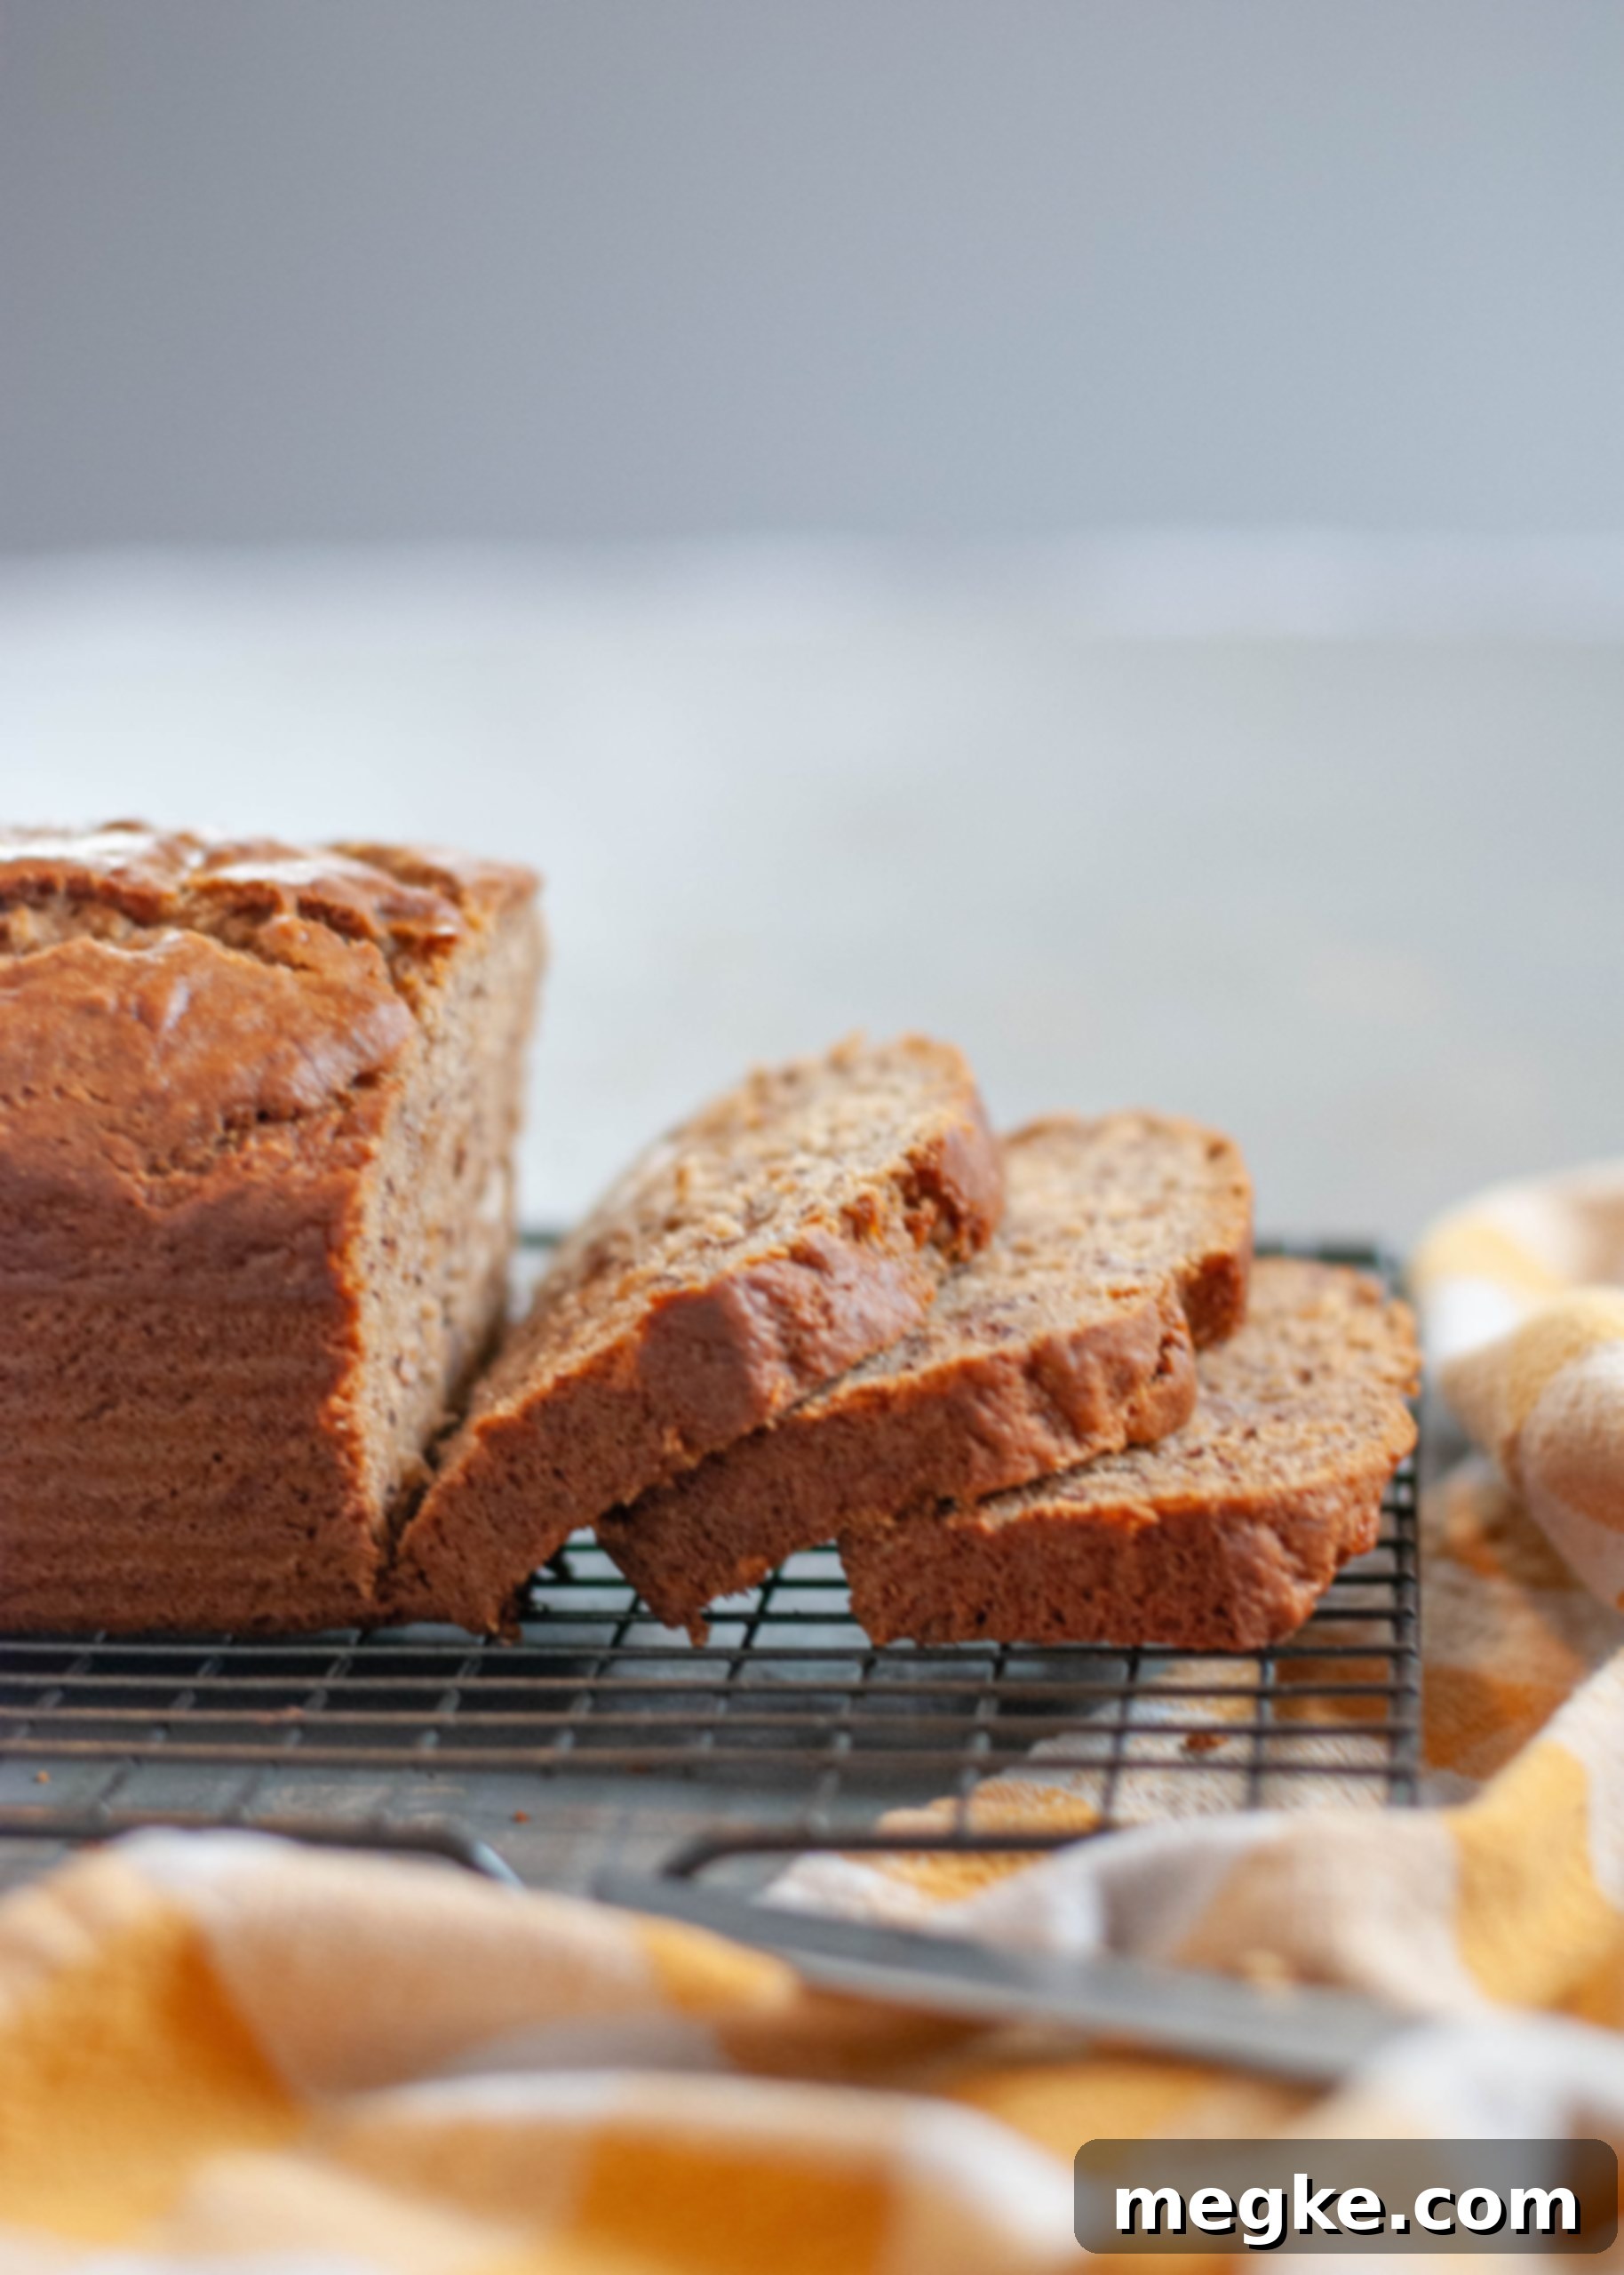
Easy & Moist Gluten-Free Dairy-Free Banana Bread: A Top 7 Allergy-Friendly Recipe
Indulge in the perfect loaf of soft, tender banana bread, beautifully infused with warm notes of cinnamon and nutmeg. This easy gluten-free and dairy-free recipe delivers an exceptionally moist crumb, making it an excellent choice for a delightful breakfast or a satisfying snack. So delicious, you’ll find yourself wishing your bananas ripened faster! This recipe is also naturally free of dairy, soy, fish, shellfish, peanuts, and tree nuts, earning its place as a top 7 allergy-friendly favorite.
This post contains affiliate links, which means I may earn a small commission if you make a purchase through these links, at no extra cost to you.
Why This Gluten-Free Dairy-Free Banana Bread Will Be Your New Favorite
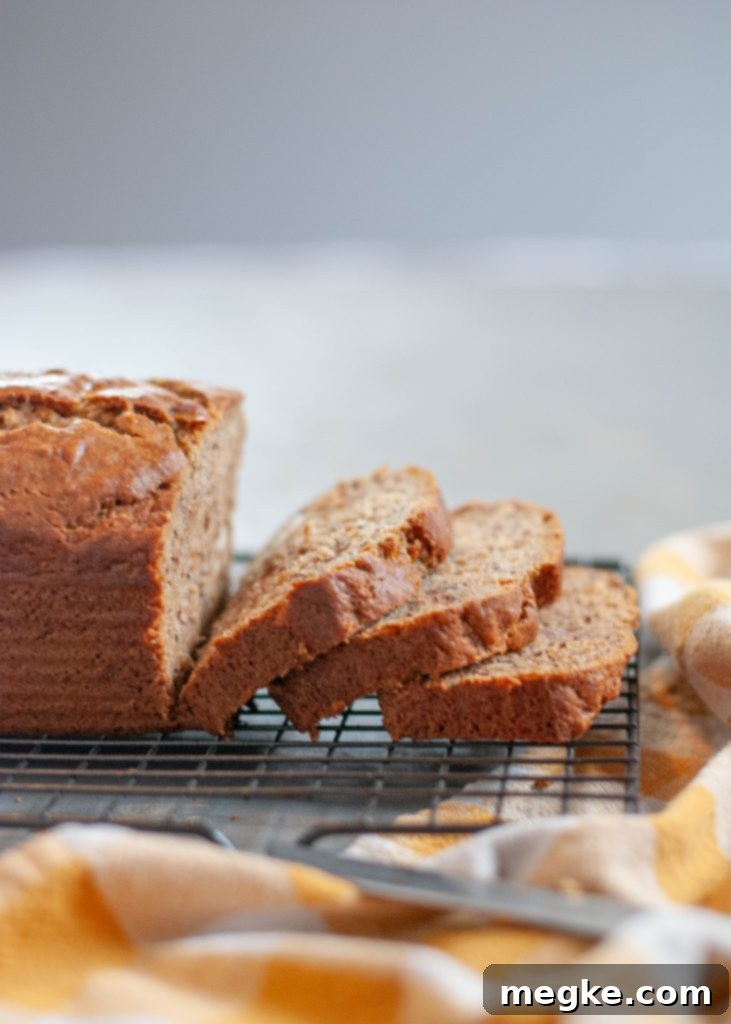
Banana bread is more than just a quick bread; it’s a comforting classic that brings warmth and joy to any moment. Its sweet, fruit-forward flavor, combined with fragrant spices, creates an irresistible treat. What truly sets this recipe apart is its unbelievably bouncy and tender texture, making every bite a pure delight. Whether you’re seeking a hearty breakfast, a satisfying mid-day snack, or a sweet midnight indulgence, this gluten-free banana bread is always a welcome addition. With approximately 14 generous slices per loaf, it’s perfect for sharing with the entire family or for enjoying throughout the week. Furthermore, its carefully crafted, top 7 allergy-friendly profile means more people can enjoy this delicious homemade goodness without worry.
Essential Ingredients for a Perfect Loaf
Crafting this incredible banana bread requires a simple list of ingredients, many of which you likely already have in your pantry. Each component plays a vital role in achieving that signature moistness and rich flavor:
- Canola Oil or Other Neutral Oil: Chosen specifically to keep this recipe dairy-free and to allow the natural banana flavor to shine without being overshadowed by butter.
- Brown Sugar: Provides deep, caramelized sweetness and adds essential moisture to the bread, contributing to its tender crumb.
- Ripe Bananas (4-5 with Brown Spots): The star of the show! Very ripe bananas, identifiable by their prominent brown spots, are crucial for natural sweetness and intense banana flavor. They also contribute significantly to the bread’s moisture. We highly recommend weighing them for accuracy (see tips below).
- Eggs: Act as a binder, adding structure and richness to the loaf.
- Vanilla Extract: Enhances all the other flavors, adding a warm, aromatic depth.
- Salt: A pinch of salt balances the sweetness and brings out the nuances of the other ingredients.
- Nutmeg: Offers a subtle, warm, and slightly earthy spice that complements the banana beautifully.
- Cinnamon: A classic pairing with banana, cinnamon adds a comforting and aromatic warmth.
- Baking Soda: Reacts with the acid in the bananas and brown sugar to help the bread rise, creating a lighter texture.
- Baking Powder: Provides additional lift, ensuring a fluffy and well-risen loaf. Using a generous amount ensures proper rise in gluten-free baking.
- All-Purpose Gluten-Free Flour Blend: The foundation of our gluten-free structure. Choosing a good quality blend is key. (See notes below for recommendations).
Step-by-Step Guide: How to Bake the Perfect Gluten-Free Banana Bread
Follow these detailed instructions to ensure your banana bread turns out moist, tender, and perfectly baked every single time:
- Prepare Your Oven: Begin by preheating your oven to 350 degrees F (175 degrees C). This ensures the oven is at the correct temperature for even baking from the start.
- Prepare Your Pan: Grease a standard 9×5 inch bread pan thoroughly with a non-stick cooking spray of your choice. This is crucial for preventing sticking and allowing easy removal of your finished loaf. Set it aside.
- Mash the Bananas: In a large mixing bowl, or the bowl of a stand mixer fitted with the whisk attachment, mash your ripe bananas. You can achieve this by hand with a fork for a chunkier texture, or use electric beaters for a smoother consistency. For this recipe, I prefer my bananas to be very well mashed, ensuring they integrate seamlessly into the batter.
- Combine Wet Ingredients (Part 1): Add the canola oil (or your chosen neutral oil) and brown sugar to the mashed bananas. Mix until thoroughly combined. The mixture should look cohesive and slightly thick.
- Combine Wet Ingredients (Part 2): Next, incorporate the eggs and vanilla extract. Mix well until everything is evenly blended.
- Adjust Mixer Attachment (Optional but Recommended): If you’re using a stand mixer, at this stage, I recommend switching from the whisk attachment to the paddle attachment. This helps prevent the dry ingredients from getting trapped within the whisk’s wires. If you’re using electric beaters, simply continue to use them on a low speed setting.
- Add Dry Spices and Leavening: Introduce the salt, cinnamon, nutmeg, baking soda, and baking powder to the wet mixture. Mix thoroughly until these dry ingredients are fully incorporated.
- Introduce Gluten-Free Flour: Add the gluten-free all-purpose flour to the bowl. Mix on low speed *just until everything is combined*. Be careful not to overmix, as this can lead to a tougher texture in gluten-free baked goods.
- Scrape the Bowl: Use a spatula to scrape down the sides and bottom of the mixing bowl. This ensures that all ingredients, especially pockets of flour, are fully incorporated into the batter, leaving no dry spots.
- Fill the Pan: Pour the prepared batter into your greased 9×5 inch bread pan. Gently bang the pan on the counter a few times to help the batter settle and level out evenly.
- Initial Bake: Place the bread pan on the center rack of your preheated oven. Set a timer for 30 minutes.
- Cover and Continue Baking: When the first timer dings, carefully remove the pan from the oven and loosely cover the top with aluminum foil. This prevents the top from over-browning while allowing the inside to cook completely. Return to the oven and set another timer for 30 minutes (making a total of 60 minutes baking time).
- Check for Doneness: After the second timer, remove the aluminum foil. Insert a digital instant-read thermometer into the very center of the bread, making sure not to touch the bottom of the pan. The bread is done when the internal temperature reads between 200-205 degrees F (93-96 degrees C). If it hasn’t reached this temperature, put the aluminum foil back on (unless you desire a darker top crust) and bake for a few more minutes, checking again.
- Initial Cooling in Pan: Once cooked through, turn off the oven and remove the bread. Allow it to rest in the hot pan for precisely five minutes. This brief resting period helps it set.
- Transfer to Cooling Rack: After five minutes, carefully invert the bread onto a wire cooling rack to finish cooling completely. Allowing it to cool fully on a rack prevents trapped moisture from making the bottom soggy.
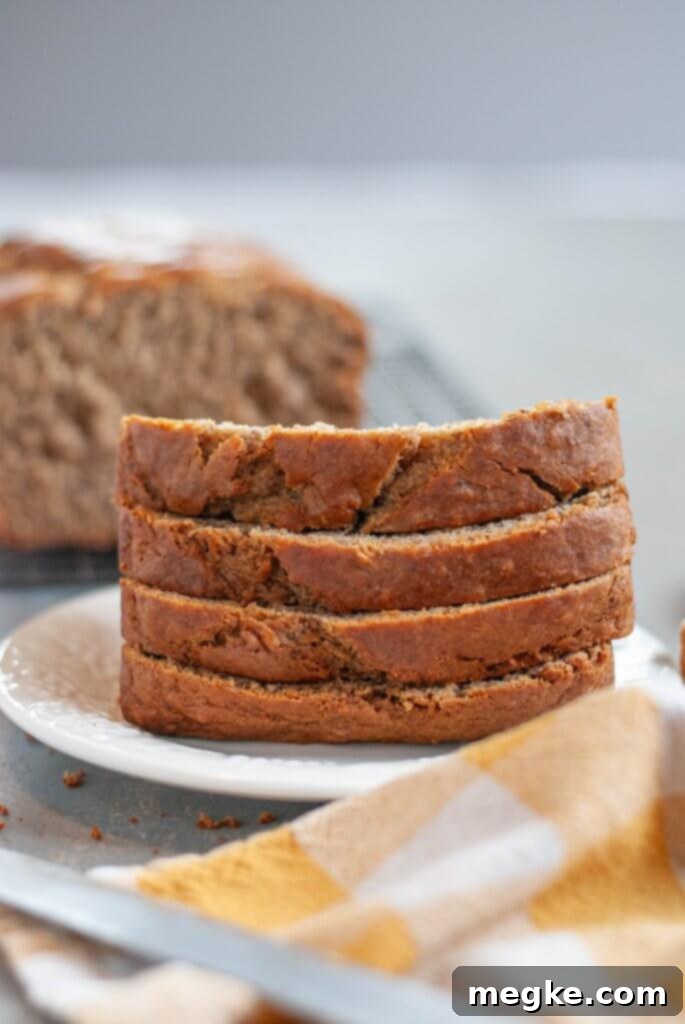
- Slice and Enjoy: Once cooled (or mostly cooled!), slice your beautiful gluten-free banana bread and serve. It’s truly exceptional with a little dairy-free butter or spread on top!
- Storage Recommendations: This bread stays fresh for 1-2 days in an airtight container at room temperature. In very humid climates, a completely airtight container can sometimes make the bread go stodgy. If you notice this, slightly vent the container. For longer storage, or if you find it starting to stale, slice the loaf and freeze the individual slices. You can then pull out a slice or two whenever a craving strikes and thaw or toast as desired.
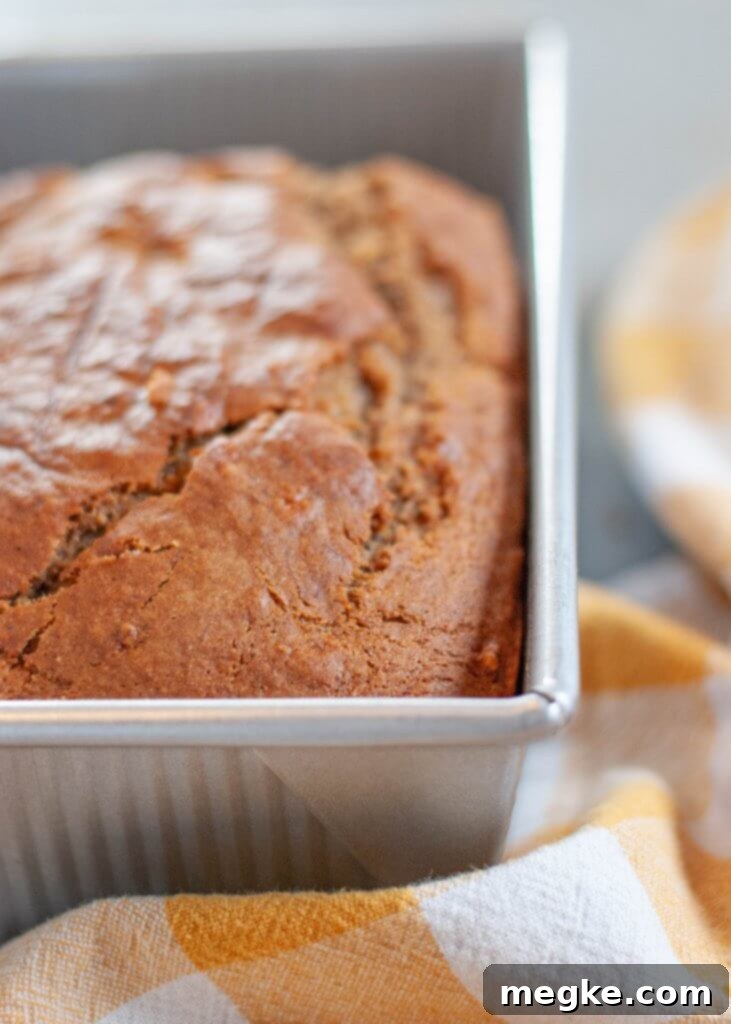
FAQs & Troubleshooting for Gluten-Free Banana Bread
Is Banana Bread Dairy-Free?
Many traditional banana bread recipes rely on butter, which means they would not be dairy-free. However, this recipe is specifically designed to be dairy-free! I meticulously tested this recipe multiple times, and I found that using butter often overwhelmed the delicate, mild flavor of the banana. Switching to a neutral oil instead yielded a much better, more balanced flavor profile. This is fantastic news for anyone avoiding dairy, as it makes this recipe naturally gluten-free AND dairy-free without compromising on taste or texture.
How Do I Know How Many Bananas to Use?
This is a critical question, as bananas vary significantly in size, and their moisture content is a major factor in gluten-free baking. Too much moisture can result in a gummy, mushy loaf, while too little will make it dry. The most accurate and reliable way to get the perfect amount of banana is to use a digital kitchen scale. If you don’t already own one, I highly recommend investing in one – it’s an invaluable tool for all sorts of kitchen tasks, from portioning and dividing ingredients to weighing flour and making candy. For this recipe, you need precisely 16 ounces (or 1 pound) of PEELED bananas (skin removed). This typically requires 4-5 medium-sized bananas. It’s always better to buy a few extra than to come up short!
How to Make This Banana Bread Egg-Free
If you require an egg-free option, I’ve got you covered! I have a fantastic recipe for egg-free banana bread muffins that are also gluten-free and dairy-free. For that particular recipe, you’ll need to have some Ener-G Egg Replacer on hand.
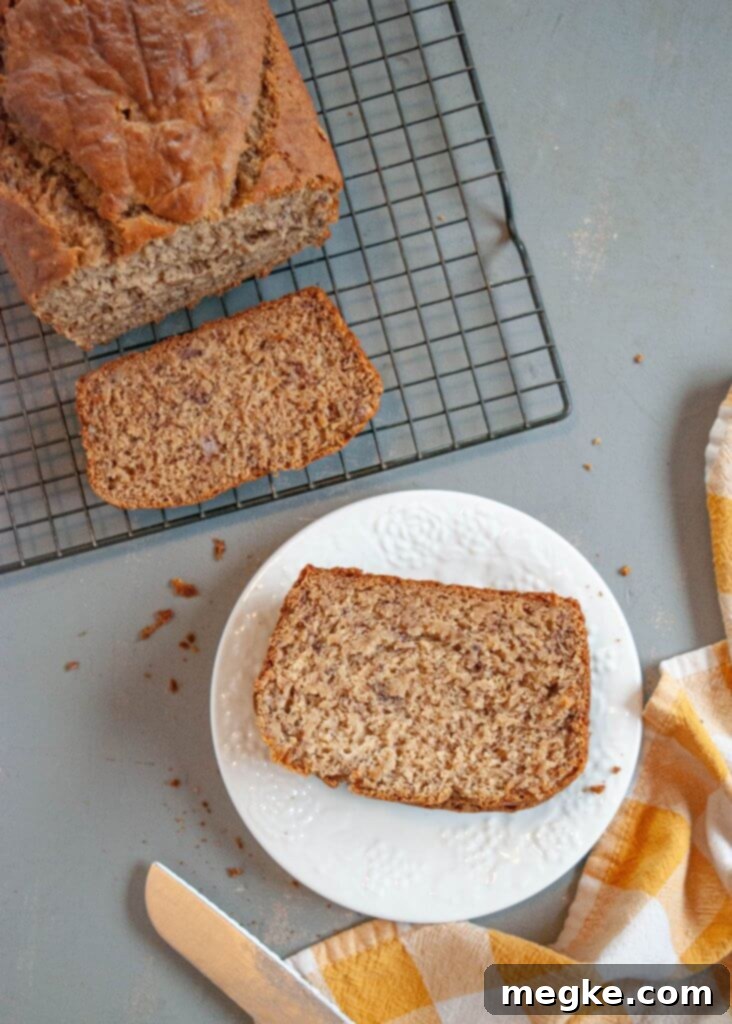
Expert Tips for the Best Gluten-Free Banana Bread Every Time
Achieving a consistently perfect gluten-free banana bread can be challenging, but with these expert tips, you’ll master it in no time:
- Weigh Your Bananas for Accuracy: This is arguably the most crucial tip. Since banana sizes vary wildly, using a kitchen scale to measure 16 ounces (1 pound) of peeled bananas ensures you have the precise amount of moisture needed. This consistency is vital for gluten-free baking texture.
- Measure Flour Correctly: When using measuring cups, gently spoon the gluten-free flour into the cup and then level it off with a straight edge. Alternatively, for ultimate accuracy, use your scale to measure the flour to 120 grams. Incorrect flour measurement can significantly alter the bread’s consistency.
- Check Your Leavening Agents: Ensure your baking soda and baking powder are fresh and active. Old leavening agents won’t provide the necessary rise, resulting in a dense loaf. You can test baking soda by adding a bit to vinegar (it should fizz) and baking powder by adding it to hot water (it should also fizz).
- Addressing a Metallic Taste (Baking Powder): This recipe uses a full TABLESPOON of baking powder, which is more than some recipes. While I haven’t noticed a metallic taste, some individuals are more sensitive. If this is a concern for you, consider switching to an aluminum-free brand like Rumford Baking Powder.
- The Aluminum Foil Trick for Even Baking: To achieve a perfectly cooked interior without over-browning the top, bake your bread uncovered for the first half of the baking time, then cover it loosely with aluminum foil for the remainder. This traps heat, allowing the center to cook thoroughly, especially beneficial for moist quick breads like banana bread.
- Cooling Rack is Essential: Never allow your banana bread to cool completely in the pan. After the initial 5-minute rest in the hot pan, immediately turn it out onto a cooling rack. Leaving it in the pan for too long traps steam and moisture, which can make your gluten-free bread gummy or soggy.
- The Digital Thermometer is Your Best Friend: Forget the toothpick test for banana bread! Bits of banana can often cling to a toothpick, giving a false “not done” reading. The most accurate way to confirm doneness is with an instant-read digital thermometer. Insert it into the very center of the loaf (avoiding the bottom of the pan) and look for a temperature between 200-205 degrees F (93-96 degrees C).
- Embrace Speckled Bananas: The riper the banana, the sweeter and more flavorful your bread will be. Always use bananas that have plenty of brown spots and are soft to the touch. Under-ripe bananas will result in a less sweet and less flavorful loaf. This is a perfect way to utilize those bananas your kids might deem “too ugly” to eat plain!
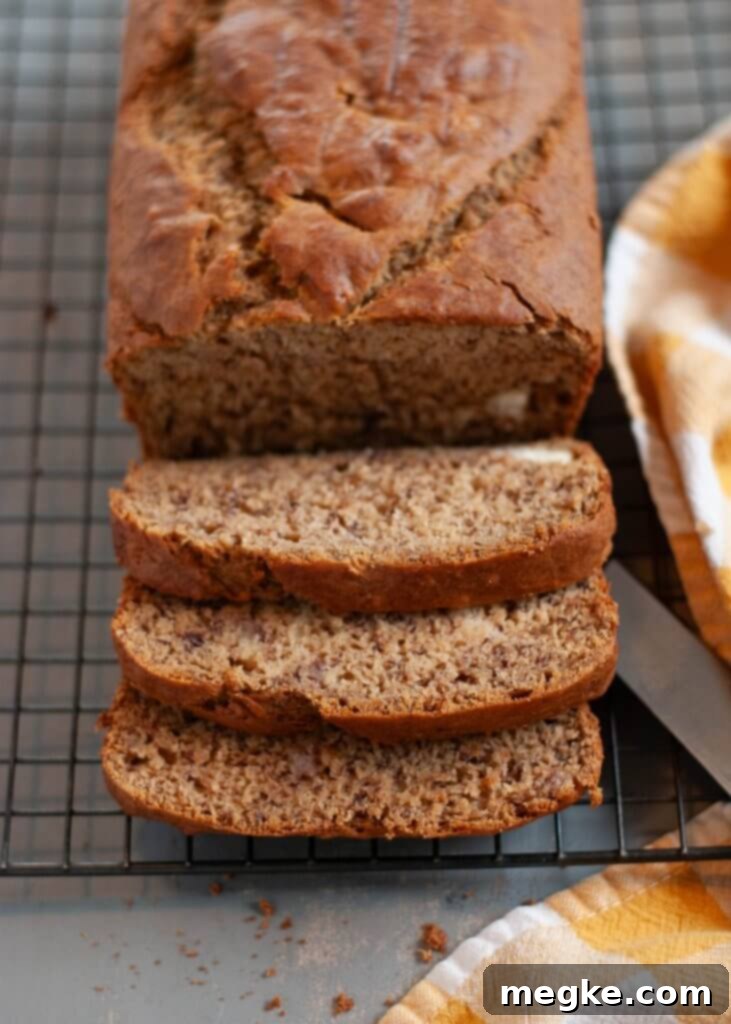
Selecting the Right Gluten-Free Flour
Navigating the world of gluten-free baking can sometimes feel daunting, especially with the cost of specialty products. I always aim to provide delicious solutions that are also budget-friendly whenever possible. For this gluten-free banana bread recipe, I’ve had excellent results using Walmart’s Great Value All Purpose Gluten-Free Flour. It’s an affordable and effective option that performs beautifully, and it’s the blend featured in the recipe photos. If you compare its ingredient list, you’ll find it’s quite similar to the popular King Arthur Gluten-Free Baking Mix, offering comparable results without the higher price tag.
Tools for Banana Bread Success
Having the right kitchen tools can make your baking experience smoother and ensure fantastic results:
- Measuring Cups and Spoons: For accurate dry and liquid ingredient measurements.
- Large Mixing Bowl: Essential for combining all your ingredients.
- Electric Beaters or Stand Mixer: With both whisk and paddle attachments (if using a stand mixer) for efficient mixing.
- Spatula: Crucial for scraping down the bowl and ensuring all ingredients are fully incorporated.
- 9×5 Inch Bread Pan: The standard size for this loaf, ensuring proper baking time and shape.
- Non-Stick Cooking Spray: For easy release of the bread from the pan.
- Digital Kitchen Scale: Highly recommended for precisely weighing bananas and flour, leading to consistent results (see tips above).
- Instant-Read Digital Thermometer: The best way to accurately check the internal temperature for doneness, especially with moist quick breads (see tips above).
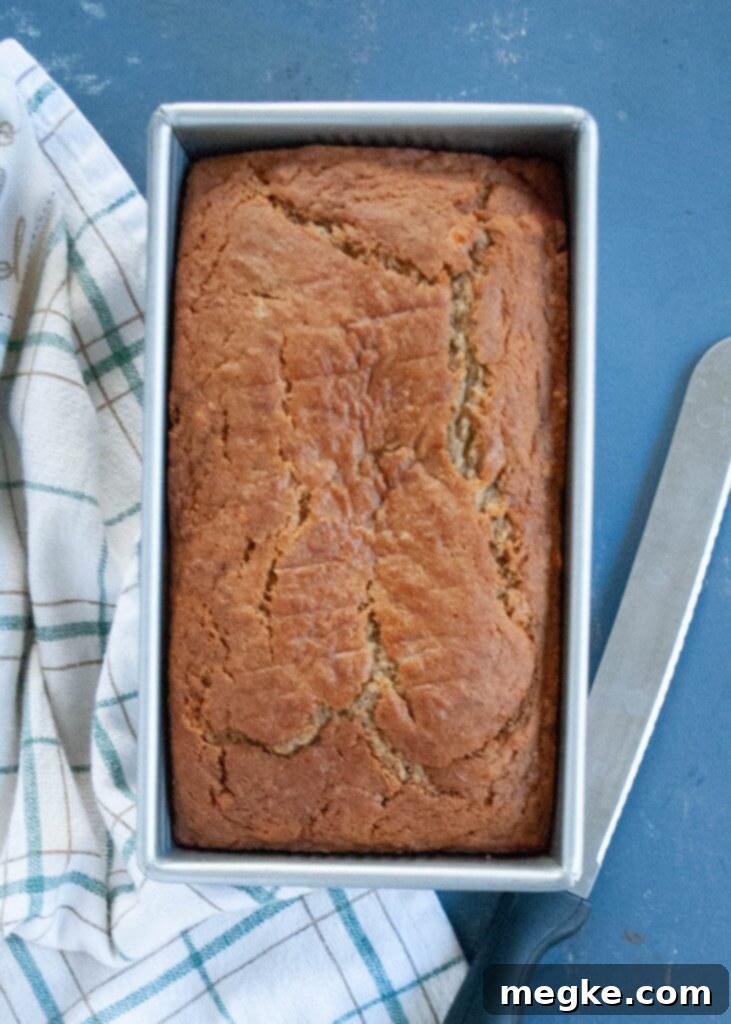
Optimal Storage and Freezing for Freshness
Proper storage is key to keeping your delicious gluten-free banana bread fresh and moist. For the first day or two, I recommend storing your loaf at room temperature in an airtight container. However, be mindful of your climate! In very humid environments, or if you cover the bread while it’s still warm, too much moisture can get trapped, potentially making your beautiful loaf stodgy. Gluten-free flours, often rich in rice flour and various starches, can degrade if excessively moist. If you notice condensation or a damp texture, try leaving your airtight container slightly ajar, or even fully open for a little while, to allow it to vent. There’s no single universal rule; it often depends on your specific humidity levels, so keep an eye on it!
If you don’t anticipate finishing the entire loaf within 1-2 days, slicing it and freezing the individual slices is an excellent strategy. This way, you can easily pull out a slice or two whenever a craving hits, thaw it on the counter, or warm it gently in a toaster or microwave for that fresh-baked taste.
Considering Halving the Recipe for Quicker Baking
If you’ve ever struggled with getting the center of a gluten-free loaf perfectly cooked, you might consider halving this recipe or baking it as two smaller loaves. Gluten-free breads often bake more efficiently and evenly when they aren’t as tall. By reducing the overall volume or height, heat can penetrate the center more easily, ensuring a thorough bake. Smaller loaves typically finish baking around the 30-minute mark, but always be sure to check them for doneness using an instant-read thermometer.
Watch the Recipe Video for Visual Guidance
For all you visual learners out there, I’ve created a comprehensive video demonstrating how to make this delicious gluten-free banana bread from start to finish! The video should auto-populate on this page, but if it doesn’t, you can find it embedded directly within the recipe card below. And, if all else fails, you can always view it directly on my YouTube channel, where you’ll find many more allergy-friendly baking tutorials!
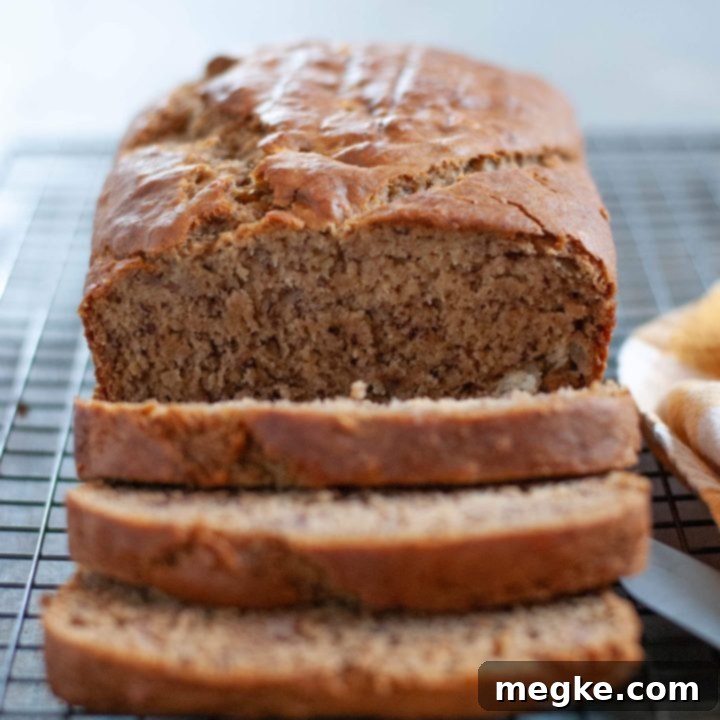
Gluten Free Banana Bread
Yield: 14 slices/1 loaf
Prep Time: 10 minutes
Cook Time: 1 hour
Additional Time: 5 minutes
Total Time: 1 hour 15 minutes
Soft banana bread with notes of cinnamon and nutmeg. Moist, tender and excellent for a snack or breakfast. This easy gluten-free banana bread will make you wish your bananas browned faster! This recipe is also naturally free of: dairy, soy, fish, shellfish, peanuts and tree nuts making it top 7 free.
Ingredients
- 16 ounces/1 pound of bananas, peeled (approx. 4-5 medium – best to weigh for accuracy)
- 6 Tablespoons canola oil (or other neutral oil of choice)
- 1 cup brown sugar
- 2 large eggs
- 1 tsp vanilla extract
- 1 tsp salt
- 1 tsp ground cinnamon
- 1/4 tsp ground nutmeg
- 1 tsp baking soda
- 1 tablespoon baking powder (consider aluminum-free for sensitive palates)
- 2 cups all-purpose gluten-free flour blend
Instructions
- Preheat your oven to 350 degrees F (175 C).
- Grease a 9×5 inch bread pan with a non-stick spray and set aside.
- In a large mixing bowl or a stand mixer with the whisk attachment, mash the peeled bananas until mostly smooth (or to your desired consistency).
- Add the oil and brown sugar to the mashed bananas and mix until well combined.
- Stir in the eggs and vanilla extract until fully incorporated.
- If using a stand mixer, switch to the paddle attachment for the remaining steps to prevent dry ingredients from sticking in the whisk. If using electric beaters, continue on low speed.
- Add the salt, cinnamon, nutmeg, baking soda, and baking powder. Mix until just combined.
- Gradually add the gluten-free flour blend and mix on low speed until the batter is smooth and all ingredients are combined. Be careful not to overmix.
- Use a spatula to scrape down the sides and bottom of the bowl, ensuring all ingredients are fully incorporated.
- Pour the batter into the prepared bread pan. Gently tap the pan on the counter a few times to level the batter.
- Place the pan on the center rack of your preheated oven and bake for 30 minutes.
- After 30 minutes, carefully place aluminum foil over the top of the bread to prevent over-browning. Bake for an additional 30 minutes (total baking time 60 minutes).
- To check for doneness, remove the foil and insert a digital instant-read thermometer into the center of the loaf (avoiding the bottom of the pan). The bread is done when the internal temperature reaches 200-205 degrees F (93-96 C). If not, cover again with foil and bake for a few more minutes, then re-check.
- Once cooked, turn off the oven and remove the bread. Let it sit in the hot pan for 5 minutes.
- After 5 minutes, carefully invert the bread onto a wire cooling rack to cool completely.
- Slice and enjoy! It’s delicious on its own or with a spread of dairy-free butter.
- Store in an airtight container at room temperature for 1-2 days. If storing longer, slice and freeze for best freshness. (See detailed storage tips above).
Notes
For optimal success, please be sure to read all of the FAQs and expert tips above the recipe card, and watch the accompanying video.
*Regarding allergies: Our family’s allergies are severe and regularly re-tested. We rely strictly on ingredient labels and do not contact companies for derivation details or cross-contact information. If your allergies require this level of vigilance, please conduct your own research. Product formulations can change, so always re-read labels upon purchase. I cannot guarantee any ingredient’s safety beyond what is stated on the label; this is for your personal verification. I simply share what works for our family.
**If you are preparing this for someone with food allergies, and you do not have allergies yourself, I strongly recommend having them verify every single brand and ingredient you plan to use. Discuss cross-contamination prevention in your kitchen thoroughly with them.
Nutrition Information (per serving)
Amount Per Serving:
Calories: 208
Total Fat: 7g
Saturated Fat: 1g
Trans Fat: 0g
Unsaturated Fat: 6g
Cholesterol: 27mg
Sodium: 375mg
Carbohydrates: 34g
Fiber: 1g
Sugar: 17g
Protein: 3g
More Allergy-Friendly Bread & Muffin Recipes Worth Trying
Don’t stop your gluten-free baking adventure with just this amazing banana bread! Explore my other fantastic allergy-friendly recipes designed to delight your taste buds and cater to your dietary needs. Try my easy gluten-free sandwich bread, savory gluten-free breadsticks, sweet gluten-free orange rolls, and a plethora of gluten-free muffins (all dairy-free!). Remember, every recipe on Allergy Awesomeness is gluten-free, so be sure to check out my comprehensive recipe index for a vast array of options beyond just bread, spanning appetizers to desserts.
DON’T FORGET TO PIN THIS RECIPE TO YOUR FAVORITE BOARDS, SO YOU DON’T LOSE IT! WHILE YOU’RE THERE, BE SURE TO EXPLORE MY OTHER DIETARY-SPECIFIC PINTEREST BOARDS FOR MORE ALLERGY-FRIENDLY INSPIRATION.
