Authentic Colombian Pan de Bono Recipe: The Irresistible Gluten-Free Cheese Bread
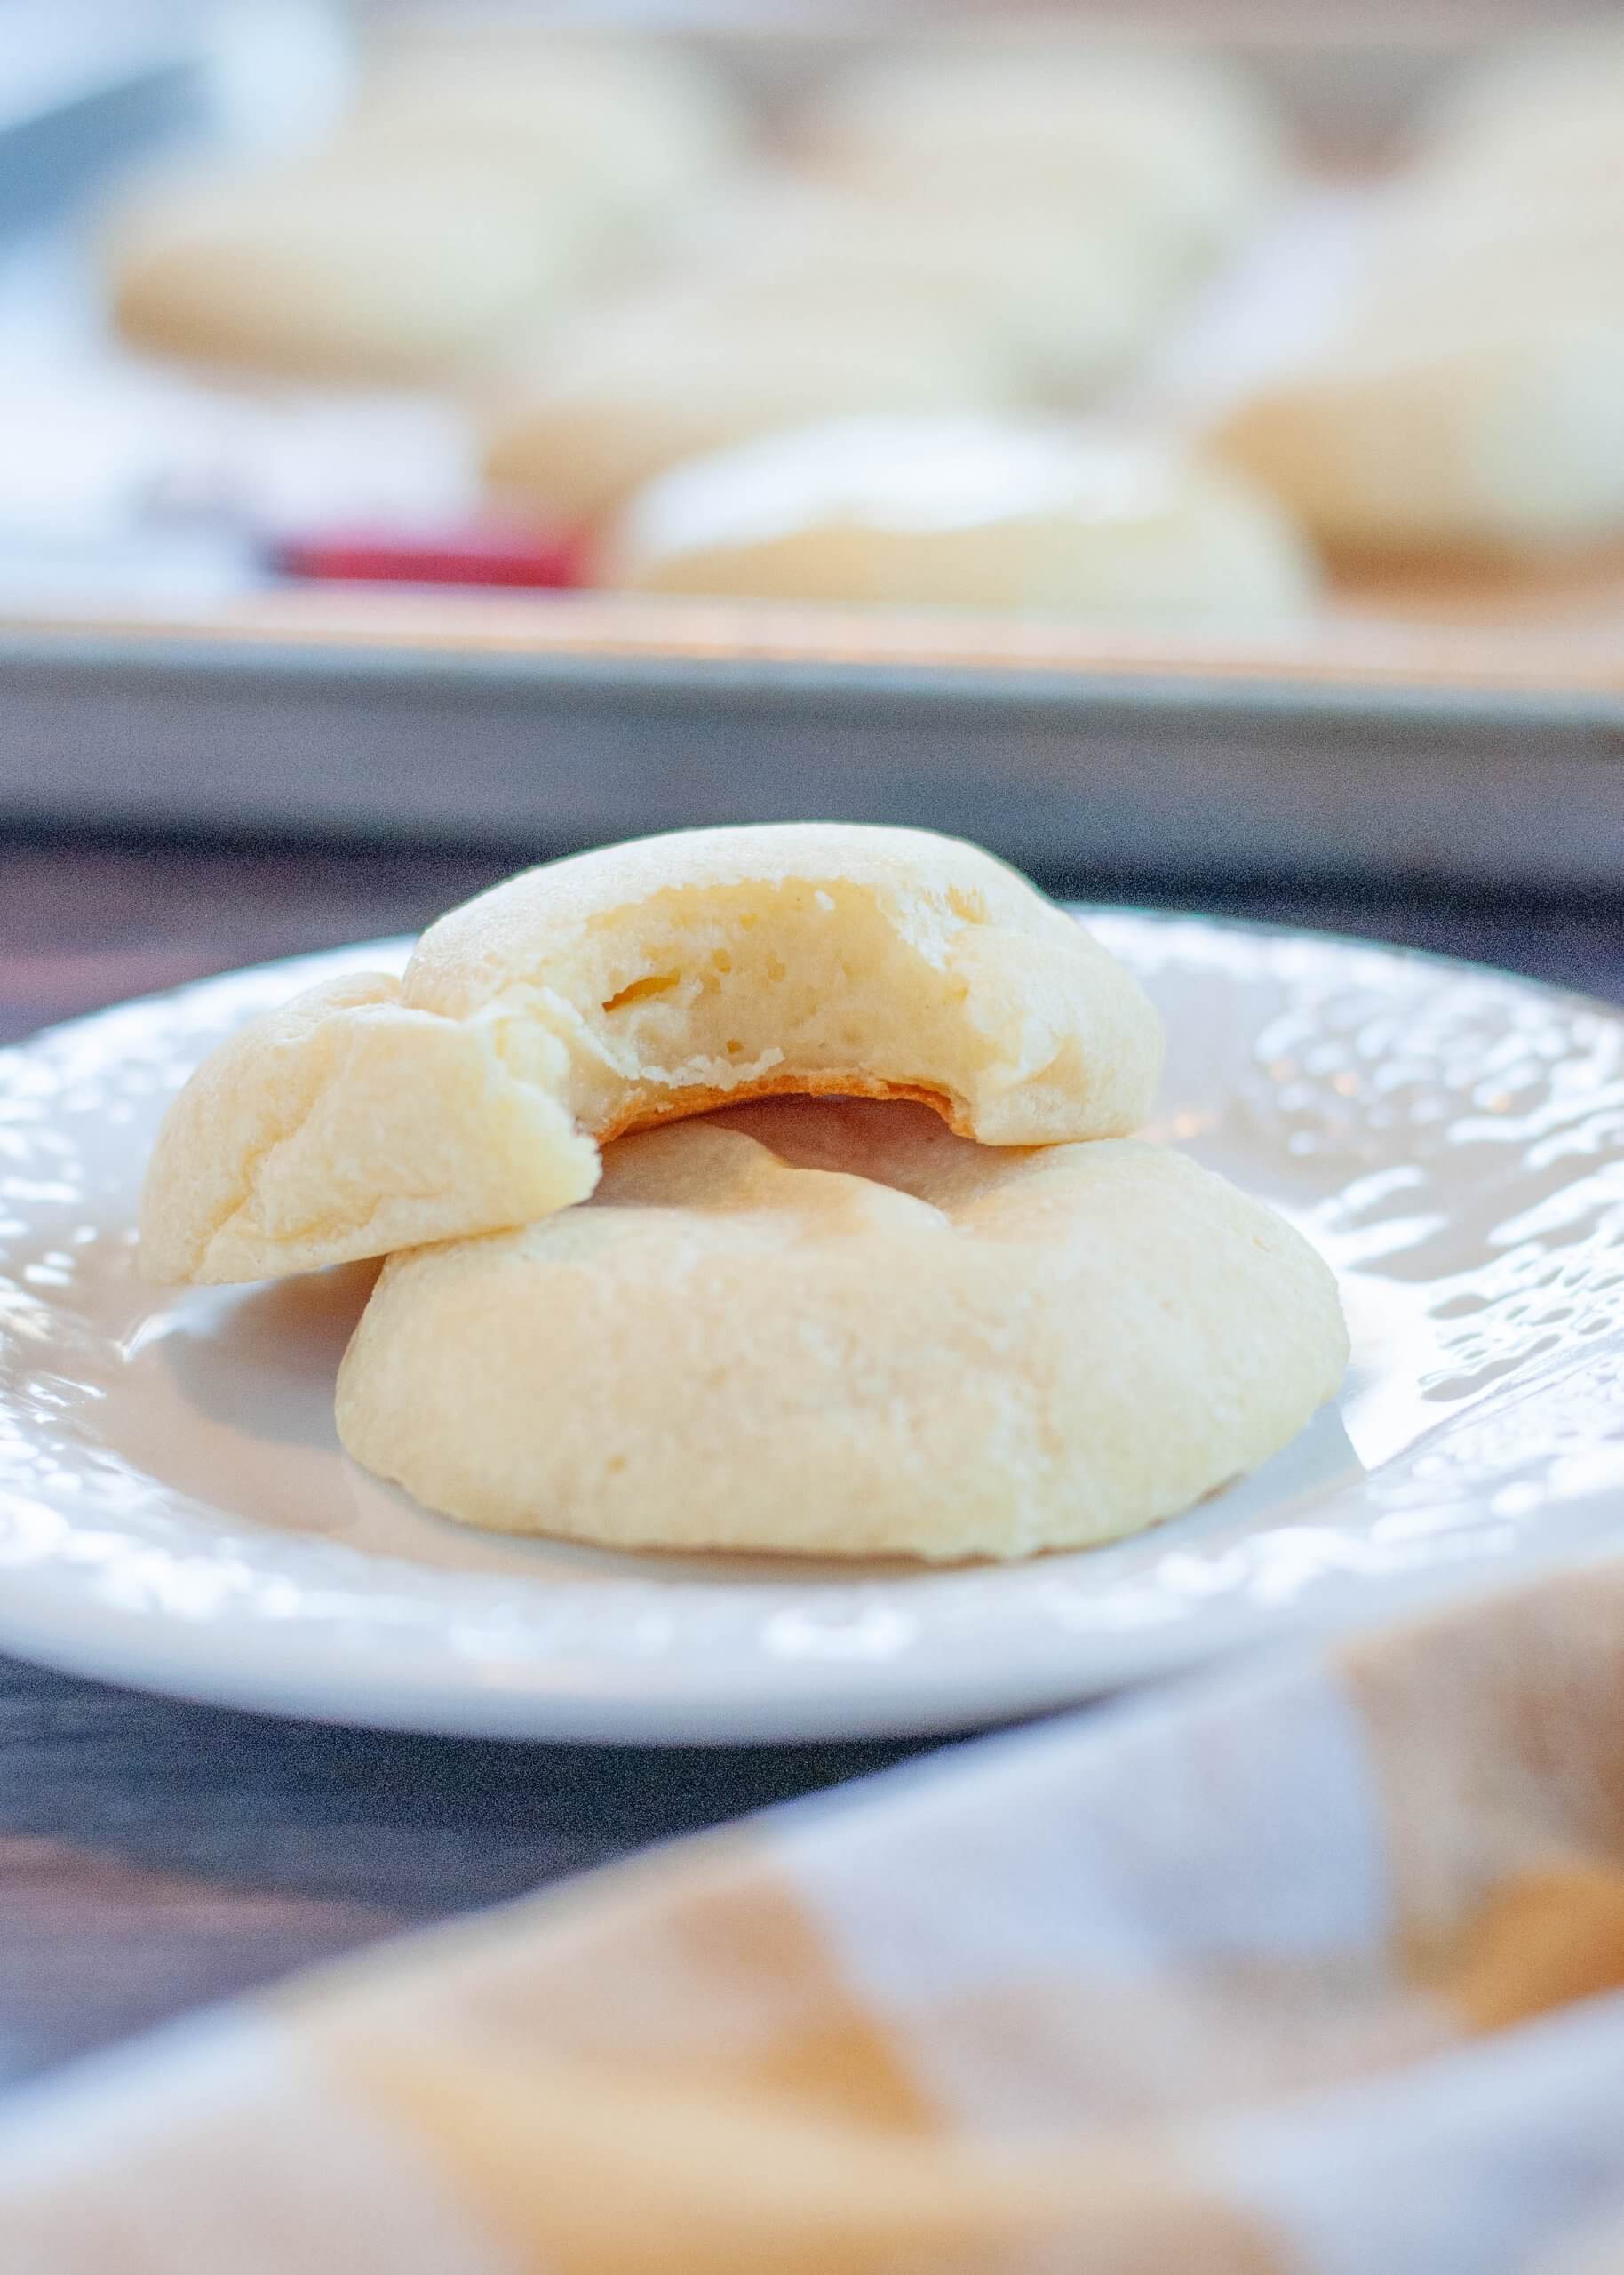
Embark on a culinary journey to the heart of Colombia with our easy and authentic Pan de Bono recipe. This beloved Colombian cheese bread, sometimes spelled “Pandebono,” is a true delight for cheese enthusiasts and anyone seeking a unique, naturally gluten-free treat. Imagine the rich, savory flavor of a corn tortilla quesadilla, but transformed into a soft, fluffy, and incredibly chewy roll – that’s the magic of Pan de Bono.
More than just a simple bread, Pan de Bono holds a special place in Colombian culture, often enjoyed as a comforting breakfast item or a hearty snack (known as merienda). Its origins trace back to a need for a more substantial and satisfying bite for workers, a tradition that ensures every bite is packed with flavor and substance. Our recipe focuses on the most basic and true-to-form preparation, ensuring you experience the genuine taste and texture of this traditional staple.
For those new to gluten-free baking, this Pan de Bono recipe is an excellent starting point. It requires no complex gluten-free flour blends or tricky gums like guar or xanthan, making it wonderfully straightforward. With just a few staple ingredients, you’ll create a cheesy, carby roll that is surprisingly simple yet utterly delicious.

This post contains affiliate links.
Understanding Masa Harina: The Heart of Pan de Bono
What is Masa Harina? Is it the Same as Cornmeal?
A common question when diving into Latin American cuisine is about masa harina. No, masa harina is not the same as cornmeal, and it’s crucial for the authentic flavor and texture of Pan de Bono. While both are derived from corn, masa harina undergoes a special process called nixtamalization.
Nixtamalization involves soaking and cooking corn kernels in an alkaline solution, typically limewater (calcium hydroxide). This ancient process softens the corn, enhances its nutritional value by making niacin more available, and, most importantly for our purposes, develops a distinctive, earthy, and savory corn flavor. This flavor is quite different from the sweeter, more one-dimensional taste of cornmeal.
If you’ve ever enjoyed tamales, then you’re already familiar with the unique taste and texture that masa harina provides. Pan de Bono, thanks to this ingredient, carries a strong, delightful echo of tamales – a true bonus for tamale lovers, with significantly less effort! Due to this distinct chemical and flavor profile, masa harina cannot be directly interchanged with cornmeal in this recipe without drastically altering the final product.
What is Maseca?
Maseca is simply a widely recognized and popular brand of masa harina. It’s the brand I personally prefer and used successfully in developing this Pan de Bono recipe. Its consistent quality makes it a reliable choice for achieving excellent results every time.

Choosing Your Cheeses for Pan de Bono
What Cheese Do I Use in Pan de Bono?
The cheese is undeniably the star of Pan de Bono, contributing significantly to its flavor and signature chewy texture. Traditionally, Colombian quesito would be used, a fresh, mild, and slightly salty cheese. However, most recipes developed outside of Colombia, particularly in the United States, often rely on readily available substitutes like Queso Fresco, a Mexican fresh cheese that offers a similar mildness and crumbly texture.
To add a delightful salty kick and a bit more complexity, many recipes (including this one) incorporate feta cheese. While Greek in origin, feta’s distinctive saltiness and firm, crumbly consistency work wonderfully to enhance the overall taste. I’ve also seen variations suggesting mozzarella for a milder flavor, but the combination of Queso Fresco and feta truly delivers that authentic Pan de Bono experience.
When experimenting, keep in mind that the type of cheese significantly impacts the texture of the bread. While most semi-hard or firm cheeses could potentially work, ensure they don’t have too high a moisture content, which could throw off the dough’s consistency. The key is finding a balance of flavor and texture that melts well without becoming overly greasy or stringy.
Can I Make Pan de Bono Dairy-Free?
While many of my recipes are dairy-free to accommodate my son’s allergies, I haven’t attempted a dairy-free version of Pan de Bono, and I generally do not recommend it for this particular dish. The reason is simple: cheese is not just an ingredient here; it’s the very foundation of the bread’s structure, flavor, and unique pillowy chewiness.
Dairy-free cheeses, in my experience, tend to be expensive, often don’t melt as gracefully, and can sometimes clump or become gummy. Given that Pan de Bono has such a minimal ingredient list where cheese plays the leading role, altering this core component could dramatically change the bread’s intended texture and flavor. If a dairy-free version is an absolute necessity, be prepared for extensive experimentation with different brands and types of dairy-free cheeses, and understand that the outcome might not perfectly replicate the traditional Pan de Bono experience.
Essential Tools for Pan de Bono Success
Making Pan de Bono is surprisingly simple, especially with the right kitchen tools. Here’s what you’ll need to gather before you start:
- Measuring cups and spoons: For accurate ingredient measurement.
- Food processor: This is non-negotiable for achieving the correct dough consistency. It blends the cheeses evenly and quickly incorporates the other ingredients.
- Pastry brush: Essential for applying that final touch of melted butter for a golden crust and extra flavor.
- Baking sheet/cookie sheet: To bake your delicious cheese breads.
- Silicone baking mat or parchment paper: Prevents sticking and ensures even baking.
- *Not strictly required, but highly recommended: a digital food scale: Cheese packaging can sometimes be inaccurate, claiming “8 oz” but often being slightly over. A scale ensures precise measurement for consistent results.
Simple Ingredients for Authentic Pan de Bono
You’ll be delighted by how few ingredients are required to create these incredible cheese breads. The magic truly lies in the quality and combination of these core components.
- 1 cup feta (8 oz): Provides a savory, salty kick.
- 1 cup queso fresco (8 oz): Offers a mild, fresh cheese flavor and crumbly texture.
- 1/3 cup masa harina (I use the brand Maseca): The essential corn flour that gives Pan de Bono its characteristic flavor and structure.
- 2/3 cup tapioca flour/starch: Contributes to the signature chewiness and helps create a crispy crust.
- 1 large egg: Acts as a binder and adds moisture.
- 2 Tablespoons butter: For enrichment in the dough and brushed on top for a golden finish.
Step-by-Step Instructions to Bake Perfect Pan de Bono
Follow these simple steps to bring the flavors of Colombia into your kitchen:
- Preheat your oven to 375°F (190°C). Prepare your baking sheet by lining it with parchment paper or a silicone mat.
- Accurately weigh out your cheeses. As mentioned, even pre-packaged cheeses can vary, so using a digital kitchen scale ensures you have precisely 8 oz of feta and 8 oz of queso fresco. This precision is key for the dough’s consistency.
- Place the measured cheeses into your food processor. Pulse the cheese until it’s finely crumbly and well mixed. You want a uniform, sandy texture, not large chunks.
- Add the masa harina and tapioca flour to the food processor with the cheese. Pulse again until these dry ingredients are thoroughly combined with the cheese mixture.
- In a small bowl, crack the large egg and whisk it lightly until the yolk and white are just combined.
- With your food processor running on low speed, slowly stream in the whisked egg. This allows the egg to incorporate gradually into the dry mixture.
- Continue mixing in the food processor for 1-2 minutes until the dough comes together and forms a large, cohesive ball. The dough should be soft, pliable, and slightly sticky but manageable.
- Remove the dough from the food processor and divide it into 12 even balls. You can gently roll them between your palms. Don’t worry if they aren’t perfectly smooth; they’ll puff up beautifully.
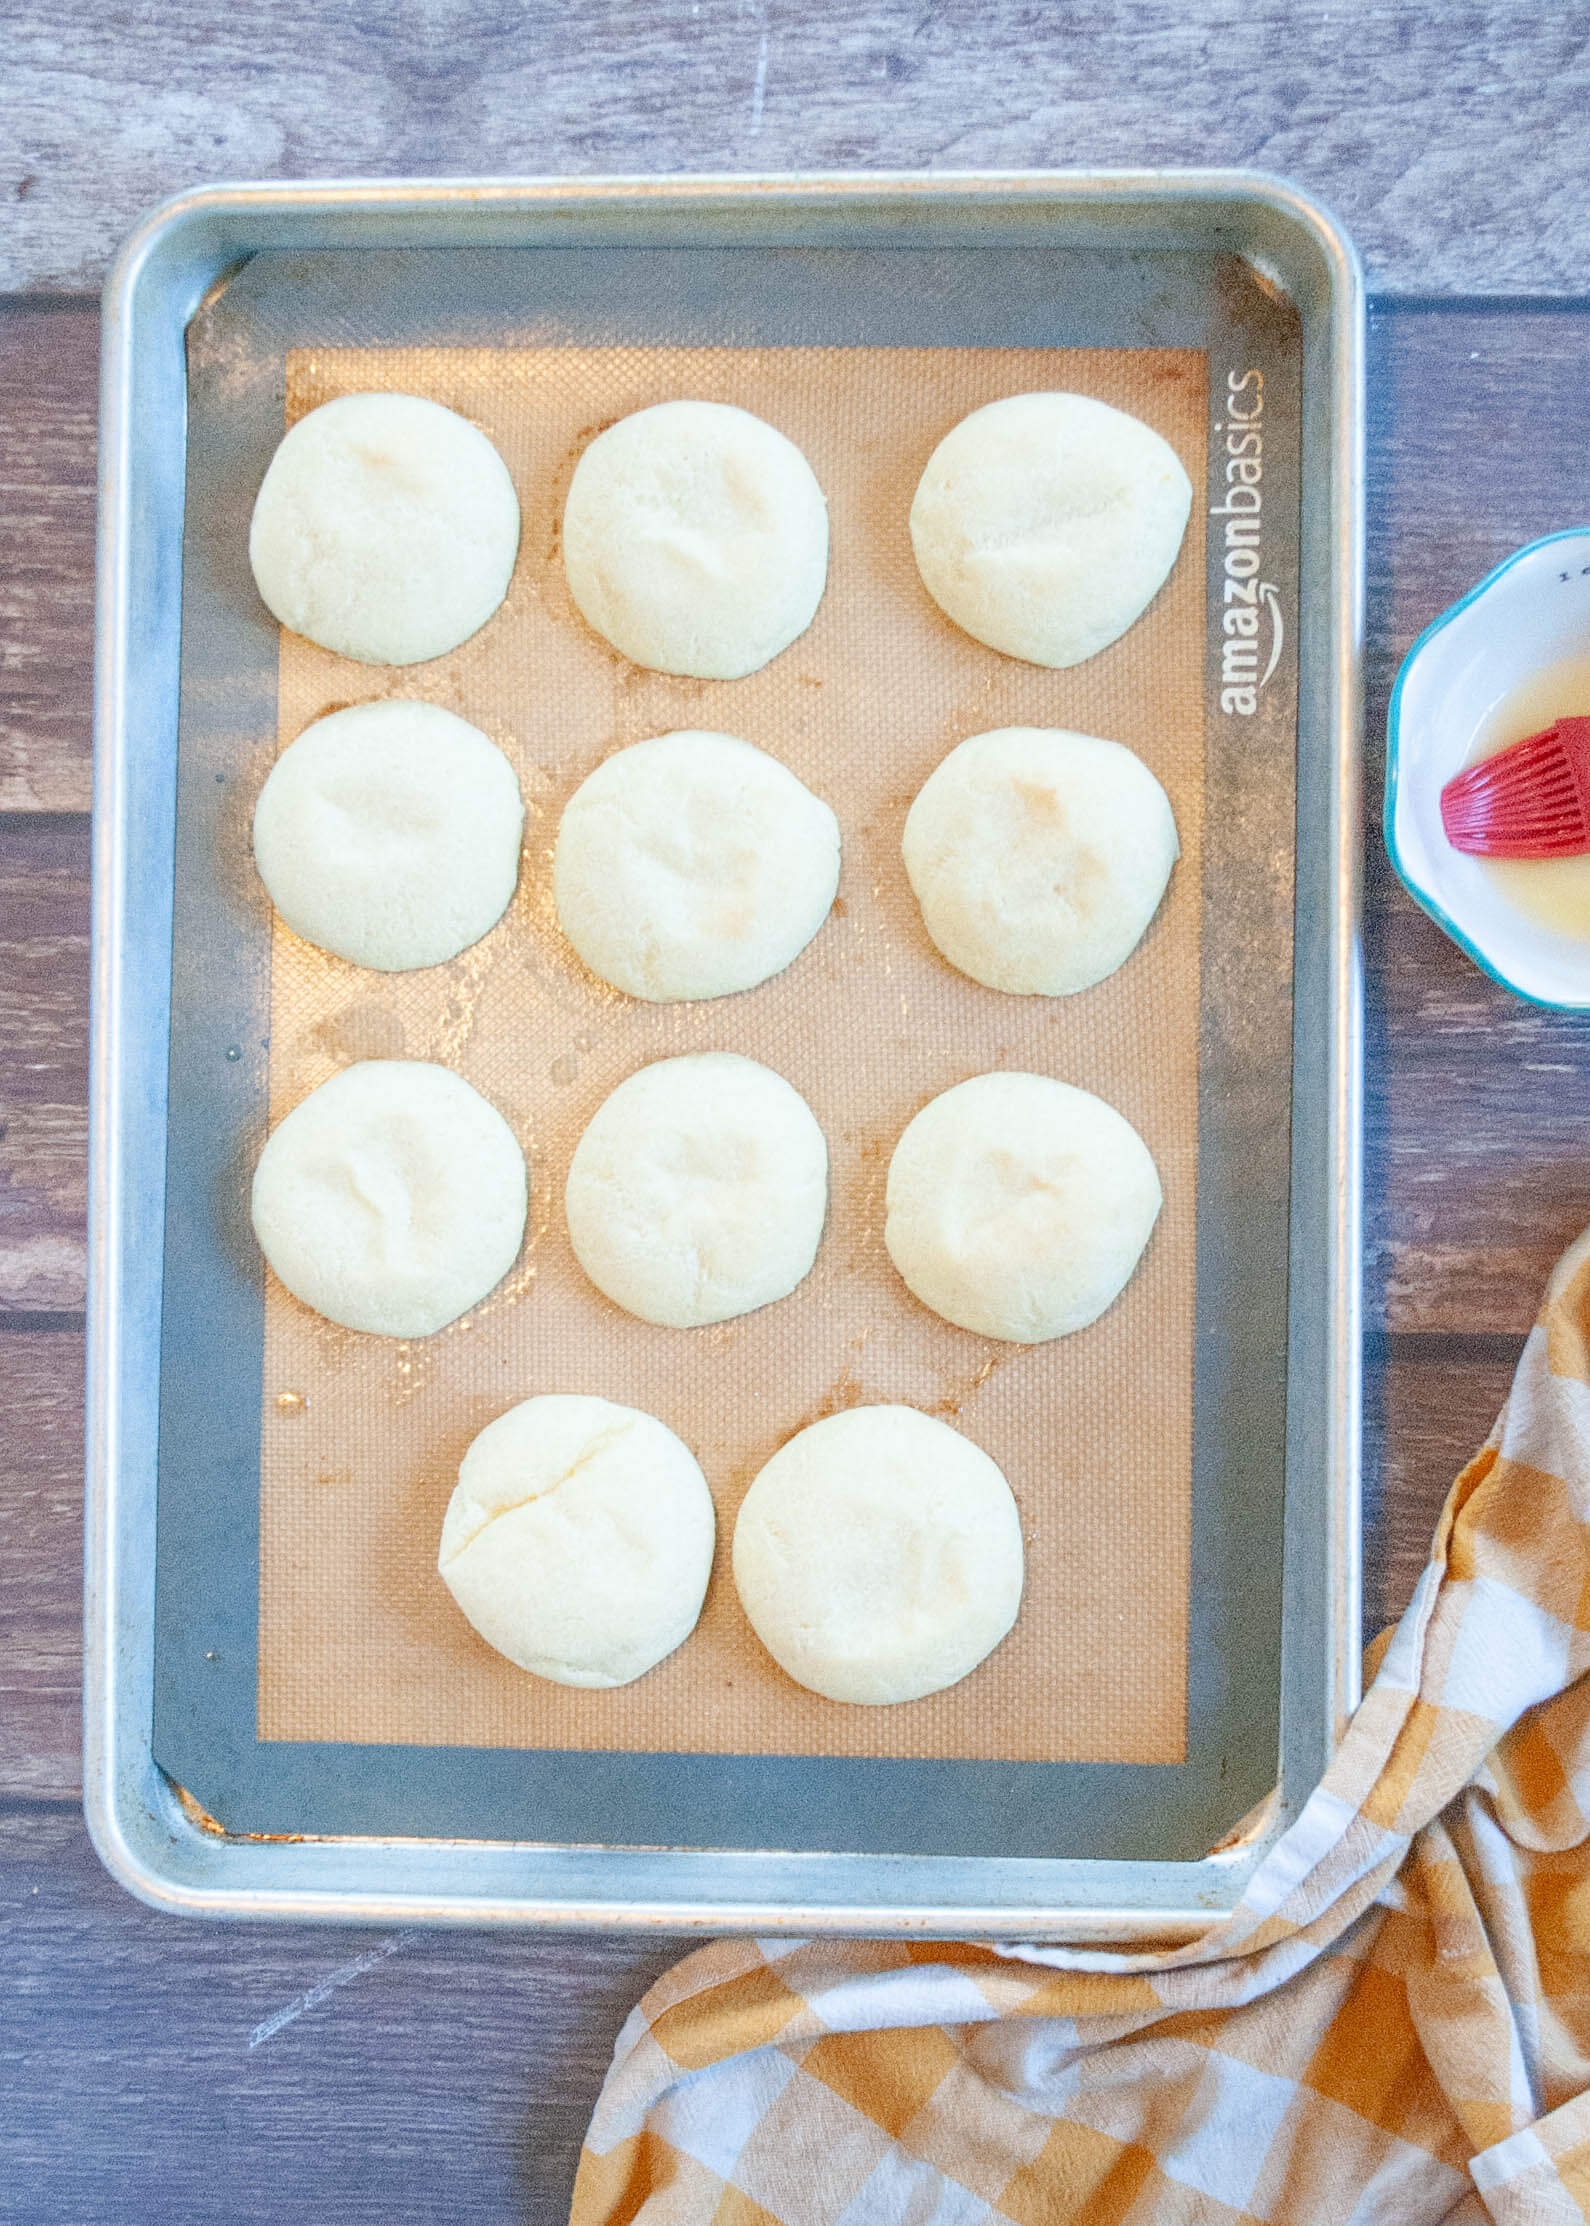
- Place the rolled dough balls onto your prepared cookie sheet, ensuring they have some space between them.
- Bake for 10 minutes. The rolls will start to puff up and turn a very light golden color.
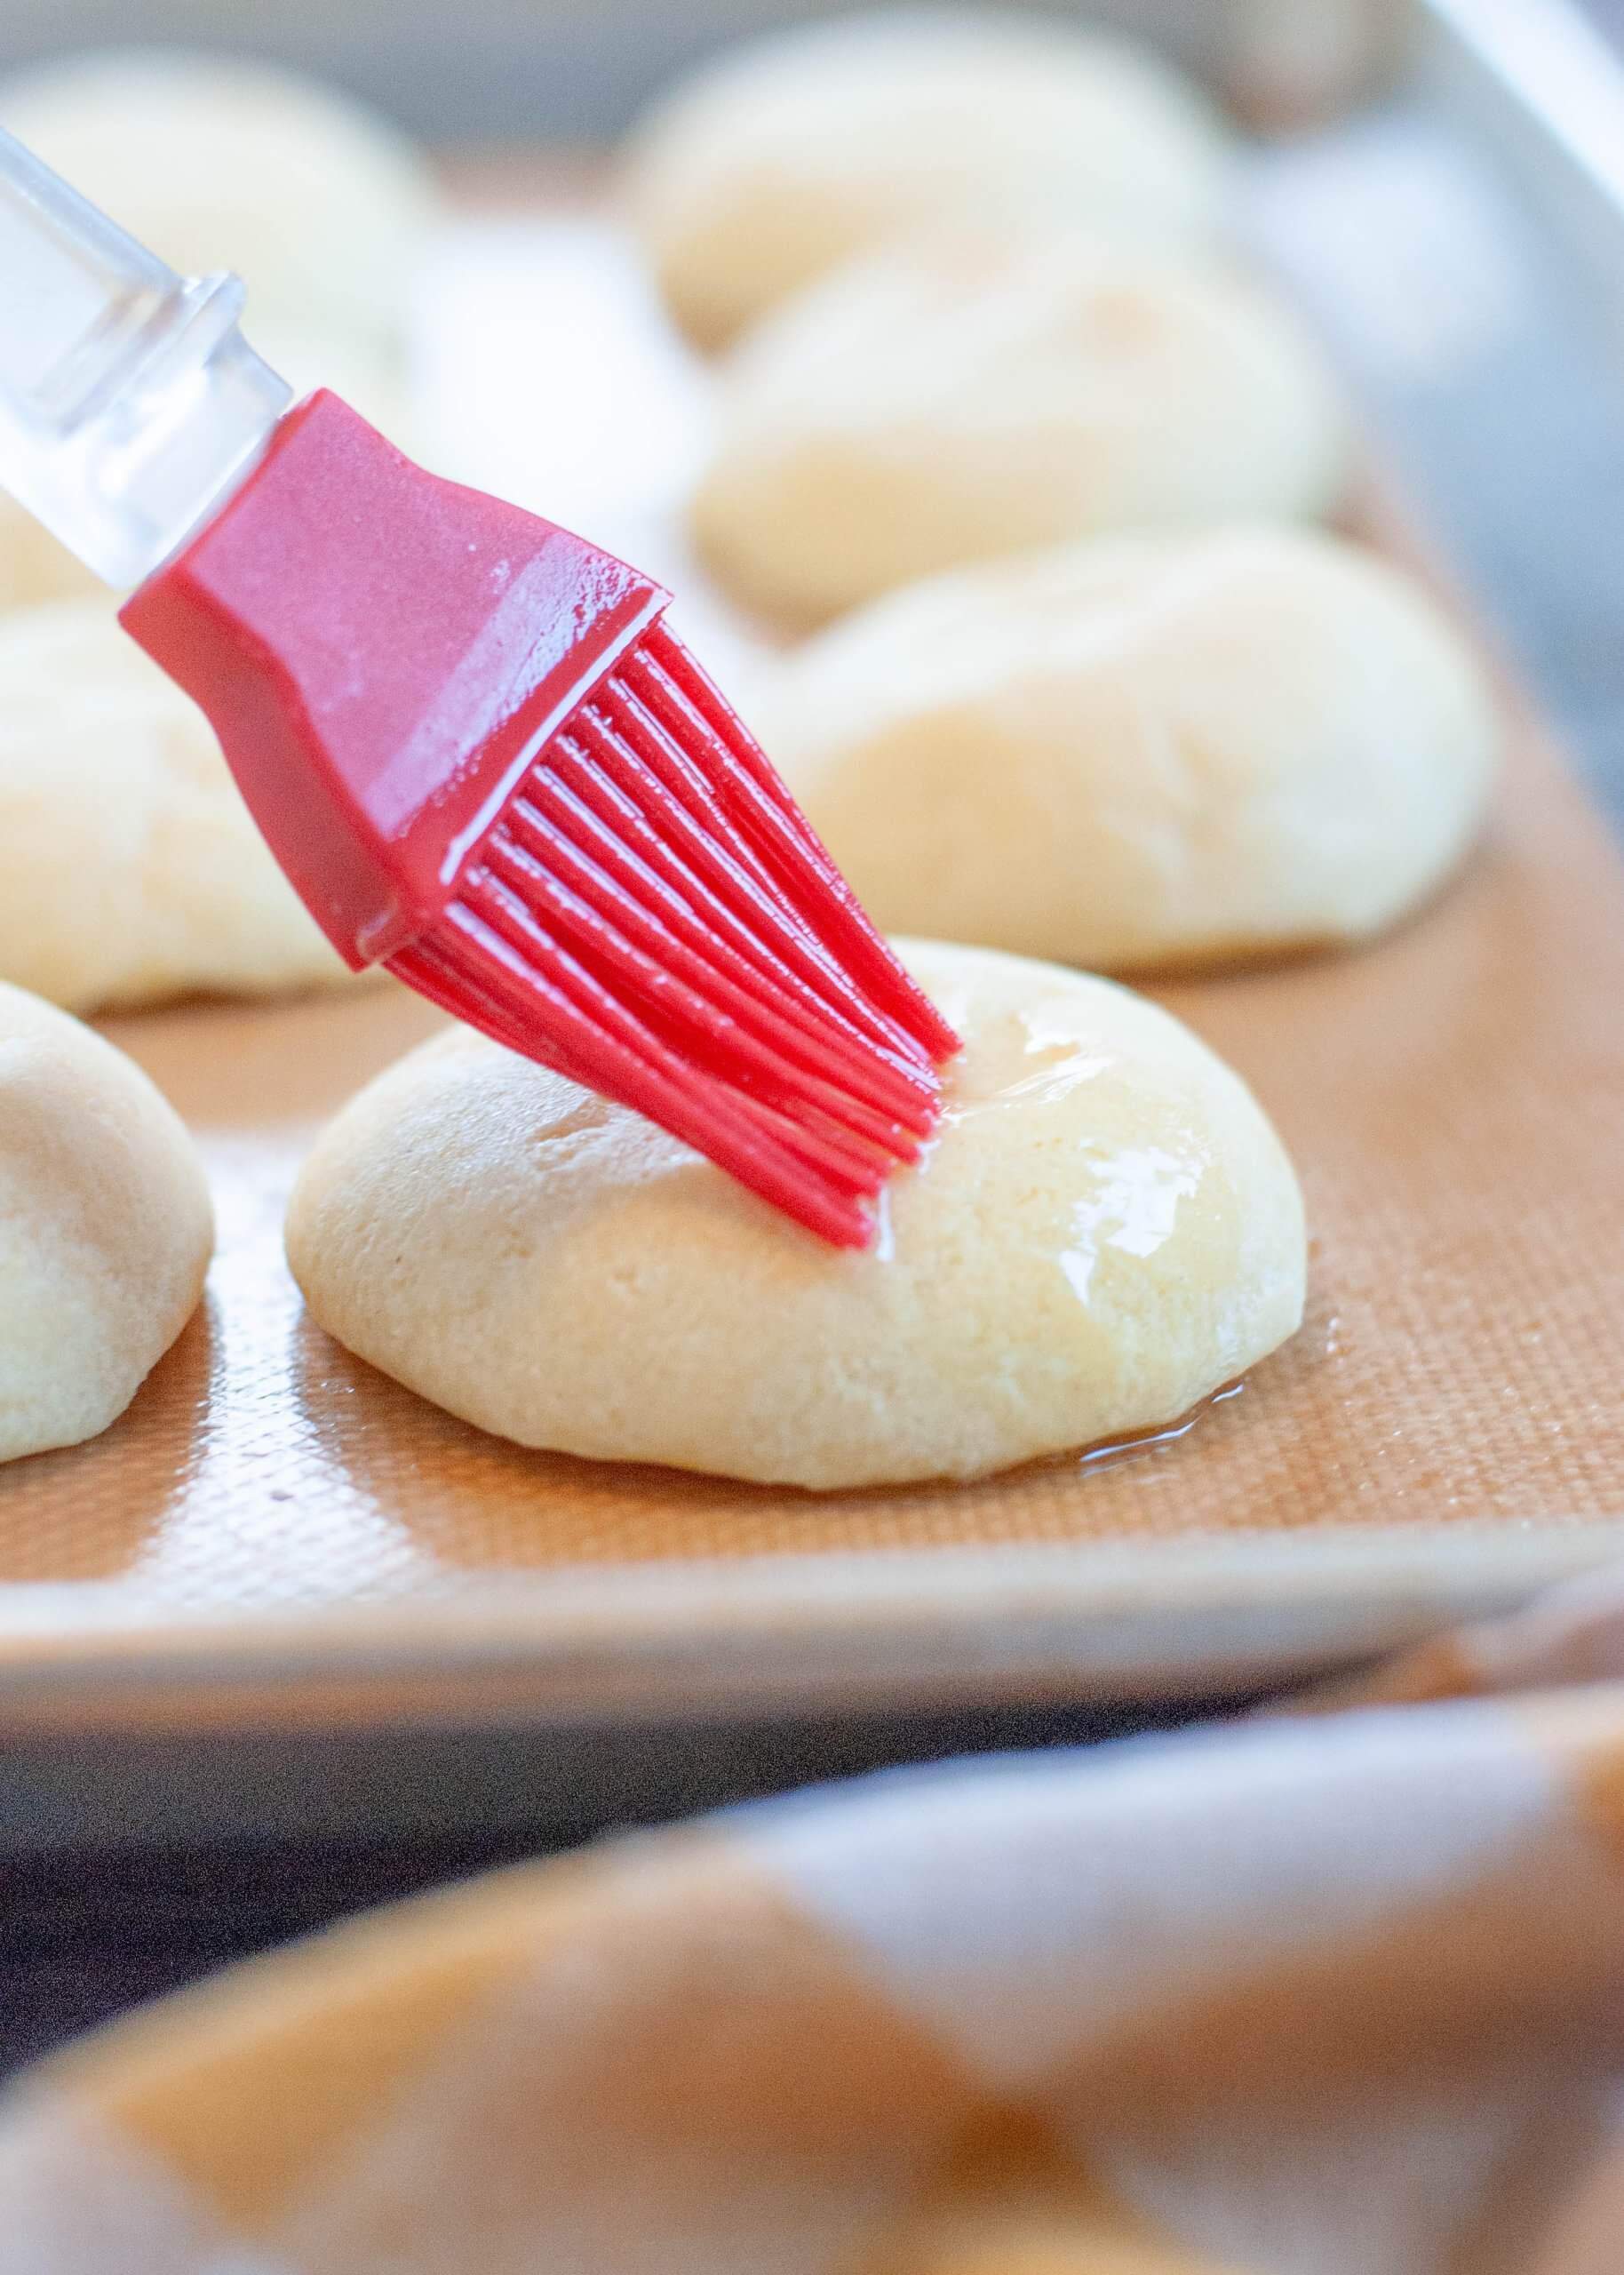
- Remove the baking sheet from the oven. Carefully brush each Pan de Bono roll with melted butter. This step adds rich flavor and helps achieve that beautiful golden-brown crust.
- Return the rolls to the oven and continue baking for approximately 10 more minutes, or until the bottoms are nicely browned and the tops are a deeper golden hue.
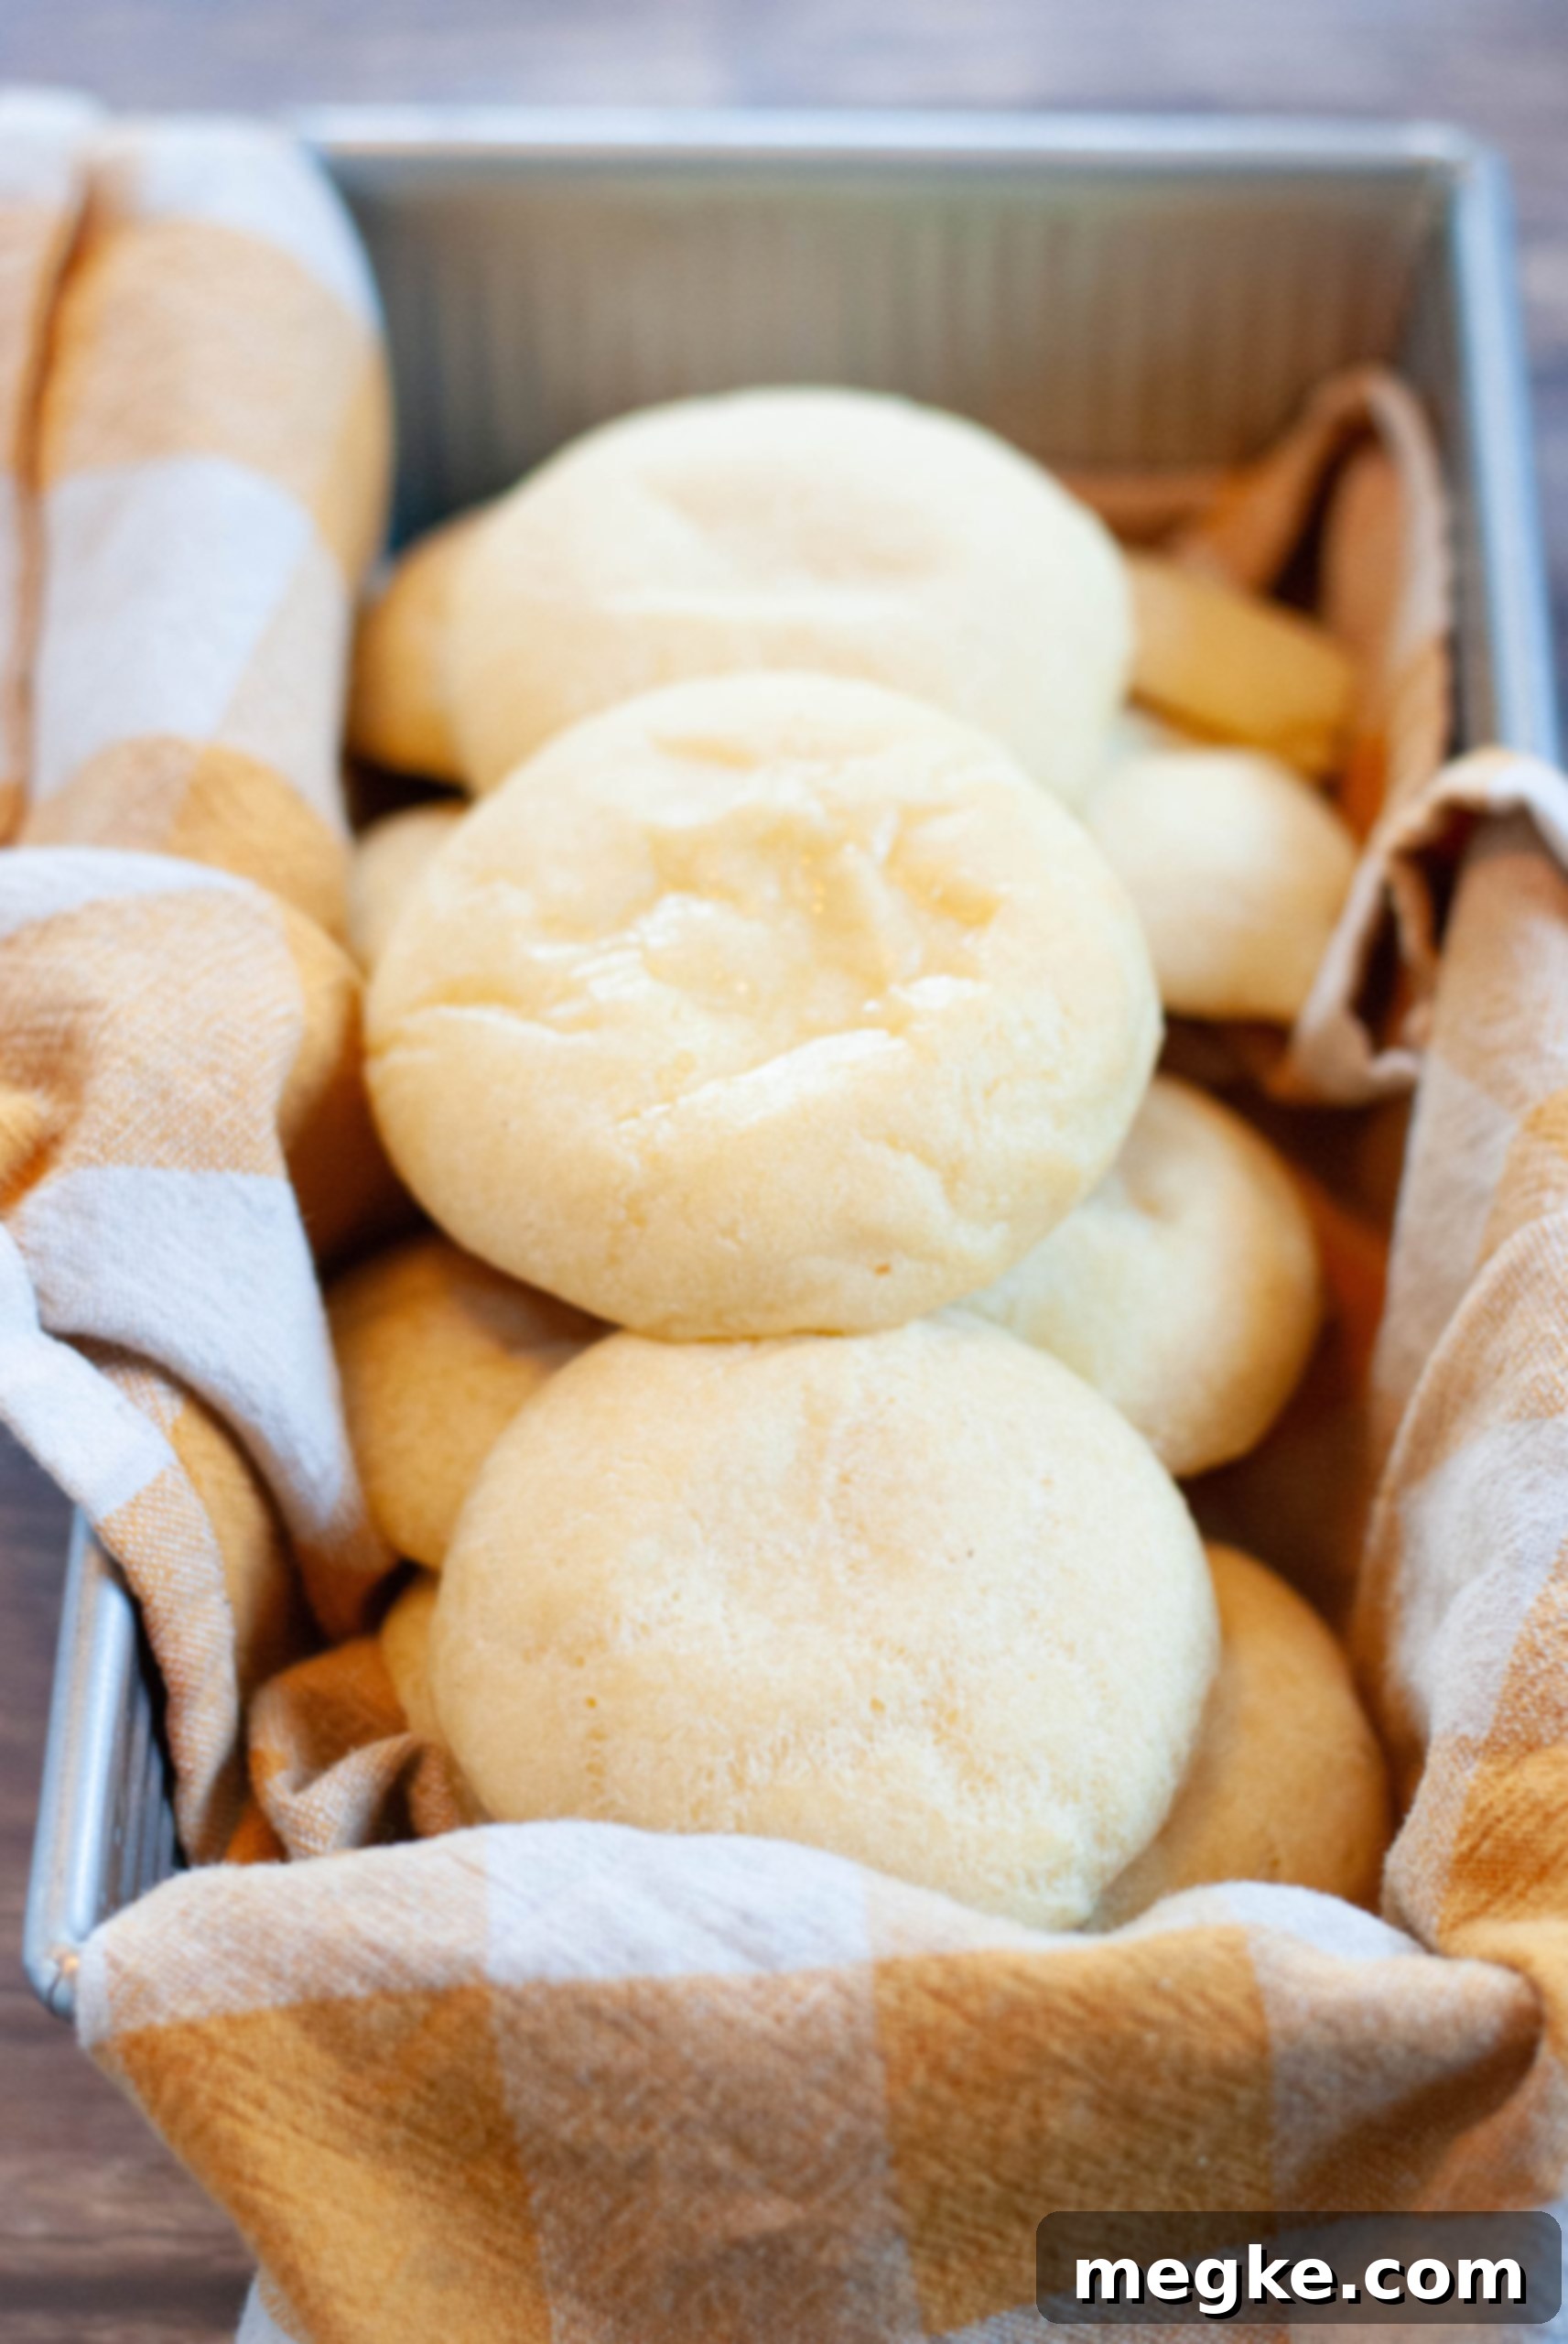
- Serve and enjoy immediately! Pan de Bono is truly at its best when it’s fresh out of the oven and still warm.
Storing and Reheating Pan de Bono
Pan de Bono is designed for immediate gratification. Without preservatives, these cheese breads are meant to be savored fresh and warm, ideally on the same day they are baked. After their initial baking, they can harden and become stale quite quickly, losing their signature soft and chewy texture.
If you find yourself with leftovers a few hours later, a quick reheat can help. Pop them into the microwave for a few seconds (10-15 seconds per roll) to refresh them somewhat, or for a crispier exterior, a toaster oven or conventional oven at a low temperature (around 300°F/150°C) for a few minutes can work. However, for the best experience, plan to enjoy them shortly after they emerge from the oven.
For longer storage, you might consider freezing unbaked dough balls. Simply prepare the dough as instructed, form the balls, and then freeze them on a baking sheet until solid. Once frozen, transfer them to an airtight freezer bag for up to a month. When ready to bake, you can bake them from frozen, adding a few extra minutes to the baking time.

Frequently Asked Questions About Pan de Bono
Do I Have to Use a Food Processor?
Yes, absolutely. A food processor is highly recommended, bordering on essential, for this recipe. The cheeses, particularly feta, are quite firm, and the dough itself has limited moisture. Without the powerful blades of a food processor, it would require an immense amount of hand strength and kneading to properly combine the ingredients and achieve a smooth, uniform dough. Manual mixing would likely result in an inconsistent texture, with chunks of cheese rather than a beautifully integrated dough. For the best and easiest results, make sure you have a food processor on hand.
Is Colombian Pan de Bono like the Brazilian Pão de Queijo?
Pan de Bono and Brazilian Pão de Queijo (cheese bread) are indeed very similar and often compared, sharing a common South American heritage and the delicious characteristic of being naturally gluten-free. Both are beloved cheesy rolls that offer a delightful chewy texture. However, there are subtle differences in their preparation and ingredients that give each its unique flair.
Traditional Pão de Queijo recipes typically include two additional liquid ingredients: milk and oil. These additions contribute to a slightly different texture, often making Pão de Queijo a bit lighter and airier inside, while Pan de Bono tends to be denser and chewier due to its reliance primarily on cheese and egg for moisture. Pão de Queijo has become incredibly popular in Brazilian steakhouses, often found at the start of a meal, and is even available pre-made in many supermarkets under brands like Brazi Bites.
While their flavor profiles are similar due to the shared core ingredients of cheese and starch, the specific ratios and additional liquids differentiate them. Both are fantastic in their own right, and if you enjoy one, you’re almost guaranteed to love the other!
Is Tapioca Starch the Same as Tapioca Flour?
Yes, tapioca starch and tapioca flour are interchangeable terms for the exact same product. You can confidently purchase it under either name for this recipe.
Is Tapioca Starch the Same as Cassava Flour?
This is a great question, as it touches on the traditional roots of Pan de Bono. While tapioca starch and cassava flour both come from the cassava plant, they are not exactly the same. Cassava flour is made from the entire cassava root, which is peeled, dried, and then ground into a flour. It contains more fiber and has a slightly different texture and flavor profile. Tapioca starch, on the other hand, is extracted solely from the starch of the cassava root, making it a purer starch with a finer texture and neutral flavor, excellent for chewiness and thickening.
Many traditional Pan de Bono recipes call for cassava flour. However, for this recipe, I use tapioca flour/starch because it’s generally more readily available in most grocery stores and offers a very similar and excellent result for the chewy texture we’re aiming for. Plus, any leftover tapioca starch can be used in other gluten-free baking projects, like my homemade gluten-free flour recipe, making it a versatile pantry staple.
Do You Have Any Other Gluten-Free Bread Recipes?
Absolutely! If you’re enjoying your gluten-free baking journey, I have a variety of other delicious recipes you might love:
- Gluten-Free Breadsticks
- Gluten-Free Orange Rolls
- Gluten-Free Banana Bread
- Gluten-Free Pancakes
- Easy Gluten-Free Bread
These recipes will help you continue to enjoy wonderful carby delights, even while avoiding gluten.
Is There a Video Showing How to Make Pan de Bono?
Yes, I do! A video tutorial is available to guide you through each step of making Pan de Bono. You’ll see just how simple it is – essentially, mix in the food processor, shape by hand, and then bake! The video should automatically play on this page; if not, you’ll find it embedded at the bottom of the recipe card below. You can also view it directly on my YouTube Channel.


Pan De Bono (Colombian cheese bread) + Video
12
10 minutes
20 minutes
20 minutes
Only 6 ingredients! If you love the taste of quesadillas, but want it in the form of a soft, pillowy, chewy roll–then look no further than Pan De Bono. A Colombian cheese bread that is naturally gluten-free.
Ingredients
INGREDIENTS:
- 1 cup feta (8 oz)
- 1 cup queso fresco (8 oz)
- 1/3 cup masa harina (I use the brand Maseca)
- 2/3 cup tapioca starch (also known as tapioca flour)
- 1 large egg
- 2 Tablespoons butter, melted
TOOLS:
- Food processor
- Digital kitchen scale, not required, but I prefer it
Instructions
- Preheat your oven to 375°F (190°C).
- Weigh out your cheese. I’ve found that even packages that claim 8 oz, can be up to 1 ounce more. I like to use a digital kitchen scale for this.
- Place measured cheese into the food processor. Pulse until the cheese is crumbly and mixed.
- Add your masa harina and tapioca flour. Pulse to combine.
- Crack an egg into a small bowl and whisk to combine.
- With your food processor on low, stream in the whisked egg.
- Let the food processor mix until the dough forms and makes a large ball (may take 1-2 minutes).
- Divine into 12 even balls.
- Place rolled balls on parchment paper or silicone maton a cookie sheet.
- Bake for 10 minutes.
- Remove from oven and brush with melted butter.
- Return to the oven and bake for around 10 minutes more, until bottoms are browned.
- Eat immediately. Best enjoyed fresh and warm.
Notes
See the post above for all ingredient questions and watch the video below.
*Our allergies, while severe and that get re-tested frequently, are such that we can go strictly by what’s on the label. I do not call companies to see what things are derived from, or call manufacturers to see about potential cross contact. If your allergies require you to do so, please do your own homework. I cannot assure you of any ingredient’s safety, only you can do that. I simply share what works for our family.
**If you are going to feed this to someone with food allergies, and you yourself do not have food allergies, I HIGHLY recommend having them check every single brand and ingredient you are using, to ensure they’re OK with each part of the recipe. And, to make sure you’ve talked to them about how to avoid cross contamination in your kitchen.
Inspired and tweaked from: My Colombian Recipes, Gluten Free on a ShoeString, Curious Cuisiniere and Gluten Free Alchemist
Don’t forget to pin this recipe to save it for later! While you’re there, explore my other gluten-free pins for more delicious inspiration.

