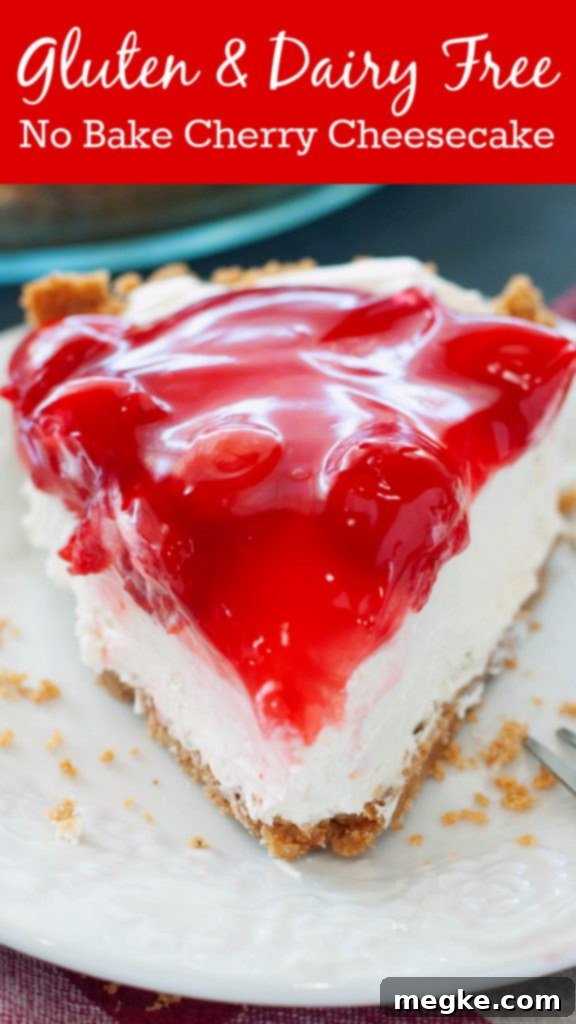
Ultimate Dairy-Free No-Bake Cherry Cheesecake: A Crowd-Pleasing, Allergy-Friendly Delight!

This post contains affiliate links, which means I may earn a small commission if you make a purchase through them, at no extra cost to you.
Why This Dairy-Free No-Bake Cheesecake is an Absolute Winner
Unlocking the Secret: How This No-Bake Cheesecake Becomes Dairy-Free
Achieving a truly dairy-free no-bake cheesecake that tastes authentic relies on selecting the right ingredients. Please note that none of the products mentioned here are sponsored. While I typically link to items on Amazon for convenience, refrigerated dairy alternatives are usually not available there. I consistently find all these essential ingredients at my local Walmart, typically located in the dairy or plant-based section.
The foundation of our creamy filling is a high-quality dairy-free cream cheese. I’ve thoroughly tested this recipe with both **Violife cream cheese** and **Daiya Original Cream Cheese**, which is now crafted with their new Daiya Oat Cream Blend. Both brands perform exceptionally well, yielding a rich and smooth filling. If you opt for Violife, you’ll use the entire 6 oz carton. For Daiya, which typically comes in an 8 oz package, I recommend cutting it into four equal quadrants and using three of them to achieve the necessary 6 oz. You can easily eyeball this measurement, or for precise results, use a kitchen scale.
Another pivotal ingredient for achieving that airy, stable texture is a superior dairy-free heavy cream that whips up beautifully to stiff peaks. My personal favorite is **Country Crock’s Plant Cream**. However, I believe **Silk’s Heavy Whipping Cream** would also work wonderfully, though it’s not readily available at my local store. If you try it, please share your experience and let me know how it turns out!
The final dairy-free component is butter, primarily used for the crust. You can confidently use any brand of dairy-free butter you prefer. I personally use **Country Crock Plant Butter with Olive Oil** for its excellent flavor and performance.
As always, when dealing with food allergies or dietary restrictions, it is absolutely crucial to read every single label on all your ingredients. Manufacturers frequently update their formulas or ingredient lists, so a product that was once safe might change. Double-checking ensures every component of your delicious dairy-free cheesecake remains safe for consumption.

Yes! Making This Cheesecake Gluten-Free is Easy!
Absolutely, transforming this already amazing dairy-free dessert into a gluten-free masterpiece is entirely achievable and straightforward! Since my son has a wheat allergy, I’ve perfected the gluten-free crust, and it’s a huge hit. For the perfect gluten-free graham cracker base, I use an entire package (typically three sleeves) of the Schar Honeygrams. These provide an excellent texture and flavor that beautifully complements the creamy filling.
To prepare the gluten-free crust, I simply crush the Honeygrams into fine crumbs and then mix them thoroughly with melted dairy-free butter. This mixture is then pressed firmly into a pie plate. Following the baking directions provided below for a homemade crust, you’ll end up with a wonderfully sturdy and flavorful gluten-free graham cracker crust. It’s truly a “VIOLA!” moment when you realize how easy it is to create such a delicious and inclusive dessert.
Beyond the crust, all other ingredients in this recipe should inherently be gluten-free. However, as an unwavering rule in allergy-friendly cooking, I cannot stress enough the importance of scrutinizing every single label of each ingredient you use. Brands can, and often do, change their formulations, and you’d be surprised how gluten might “sneak in” where you least expect it. My advice is always to be vigilant, as I can only speak for the brands I personally use, and your diligence ensures the absolute safety of your dessert. With a little care, you can confidently serve this delightful gluten-free and dairy-free no-bake cheesecake to everyone!
When to Indulge: Perfect Occasions for This Cheesecake
Honestly, this dairy-free no-bake cherry cheesecake is so impressive and delicious, it’s suitable for really *anytime* you desire an outstanding dessert! However, there are certain occasions where its vibrant appearance and delightful taste make it an especially fitting and festive choice.
- Thanksgiving: Its rich and comforting flavor profile makes it a fantastic alternative or addition to traditional holiday pies, offering something unique for guests with dietary needs.
- National Pie Day (March 14th): What better way to celebrate than with a pie that caters to everyone, proving that deliciousness knows no bounds?
- Fourth of July or Memorial Day: The bright red cherry topping makes this cheesecake visually striking and perfectly patriotic for summer celebrations. It’s a refreshing, cool treat on a warm day.
- Family Parties & Gatherings: Just like Grandma Egbert’s original, this version is a guaranteed crowd-pleaser, ensuring no one feels left out.
- Potlucks: Stand out from the crowd with a dessert that’s both allergy-friendly and incredibly tasty.
- Any Weeknight Treat: Because it’s so quick and easy to make, you don’t need a special occasion to whip up this creamy delight. Treat yourself and your loved ones!
Whether you’re celebrating a major holiday or simply craving something sweet and satisfying, this no-bake cherry cheesecake is always a wonderful choice. Its versatility and deliciousness ensure it will be a welcome addition to any table.
Customizing Your Creation: Can I Use a Different Fruit Topping?
Absolutely! While the classic cherry topping provides a stunning visual and a delightful tart-sweet contrast, this cheesecake’s rich and versatile base welcomes a variety of fruit toppings. The creamy filling and sturdy crust provide the perfect canvas for almost any fruit you can imagine.
Consider these delicious alternatives:
- Blueberries: Offer a beautiful purple hue and a subtly sweet flavor.
- Mixed Berries: A combination of strawberries, raspberries, and blueberries provides a complex flavor profile and vibrant color.
- Strawberries: Classic and always a favorite, sliced fresh strawberries or a strawberry pie filling work wonderfully.
- Peaches: Diced fresh or canned peaches (lightly sweetened) bring a taste of summer.
- Apple Pie Filling: For a more autumnal twist, a warmed apple pie filling can be surprisingly delicious atop the cool cream cheese.
- Pineapple: Crushed pineapple (well-drained) offers a tropical flair.
- Raspberries: Tart and sweet, raspberries are a sophisticated choice.
Beyond just fruit, this robust crust and creamy filling also serve as an excellent base for other dessert innovations. Imagine it as a delicious foundation for a “cookie pizza,” topped with your favorite dairy-free cookies, chocolate drizzles, and perhaps a sprinkle of additional fresh fruit. Don’t be afraid to experiment and discover your own favorite combinations!

Planning Ahead: Can This Cheesecake Be Made in Advance?
Yes, absolutely! This dairy-free no-bake cherry cheesecake is an excellent dessert for preparing ahead of time, which is perfect for holiday planning or entertaining guests. Once assembled and thoroughly chilled, it maintains its fantastic taste and texture for up to three days when stored properly in the refrigerator.
Making it a day or even two in advance can actually enhance its flavors as they meld together beautifully, and it allows the filling to set even more firmly. If you happen to have any leftovers – though that’s a rare occurrence with this delicious treat! – rest assured they will store well for the same duration. Always remember to keep your cheesecake refrigerated and covered tightly, preferably with a pie cover or plastic wrap, to maintain its freshness and prevent any odors from the fridge from affecting its taste.
Pie Plate vs. Springform Pan: Which to Choose?
When it comes to preparing this dairy-free no-bake cherry cheesecake, I strongly recommend using a standard pie plate rather than a springform pan. While springform pans are commonly used for baked cheesecakes to achieve those perfectly smooth, tall sides, they’re not ideal for this particular recipe.
The filling, especially once topped with the generous cherry pie filling, can become quite heavy. If you were to remove the sides of a springform pan, there’s a risk that the graham cracker crust might crack or crumble under the weight and moistness of the filling, potentially compromising the structural integrity of your beautiful dessert. A traditional pie plate provides continuous support for the crust and filling, ensuring your cheesecake holds its shape perfectly and slices cleanly every time. Plus, a pie plate often comes with a lid or is easier to cover, simplifying storage.
Convenience or Homemade: Can I Use a Store-Bought Crust?
Yes, absolutely! In fact, the primary recipe calls for a store-bought graham cracker crust for ultimate ease and speed, keeping the “no-bake” aspect simple and quick. Store-bought crusts are a fantastic shortcut, saving you time and effort in the kitchen, and they come in various options to suit different needs.
You have several choices:
- Standard Store-Bought Crust: Many conventional graham cracker crusts are surprisingly dairy-free. At the time of this publication, both Walmart’s Great Value brand and Keebler’s graham cracker crusts did not list dairy ingredients, only wheat and soy. Always double-check labels, as formulations can change.
- Gluten-Free Store-Bought Crust: If you need a gluten-free option, many brands now offer excellent gluten-free graham cracker crusts that work perfectly.
- Homemade Crust: If you prefer to make your own, whether regular or gluten-free (as detailed in the “Can I Make This Gluten-Free Too?” section), that’s also an excellent option.
One often-overlooked advantage of using a store-bought crust is that they frequently come with a plastic dome cover. This cover sits higher than standard plastic wrap, preventing it from sticking to the cherry topping while the cheesecake chills in the refrigerator. This small detail helps keep your beautiful topping intact and pristine until serving time.

Creative Servings: Can I Serve This Cheesecake Differently?
Indeed, you can! This versatile dairy-free cheesecake recipe lends itself beautifully to various serving styles beyond the traditional pie slices, making it perfect for different occasions and presentations. While I haven’t personally prepared it in these alternative ways, the possibilities are exciting!
- Individual Mini Cheesecakes: Use mini graham cracker crusts (check for dairy-free and gluten-free options, or make your own mini crusts) to create adorable individual portions. These are fantastic for parties, potlucks, or when you want to control serving sizes.
- Elegant Parfait Cups: Layer the crumbled crust, creamy filling, and cherry topping in clear parfait cups or small glasses. This creates a visually stunning dessert that highlights each delicious layer. This method is particularly popular for buffets or outdoor events where individual, easily served portions are preferred.
- Cheesecake Shooters: For a bite-sized treat, layer in smaller shot glasses.
While I can’t give exact yield numbers for these alternative presentations, a single recipe should comfortably produce at least 8 servings, and potentially more if serving in smaller parfait cups or shooters. You can easily adjust the amounts of each component to achieve your desired aesthetic and portion sizes. Get creative with your presentation and enjoy! This cheesecake is sure to be a hit no matter how you serve it.
Homemade Crust: Is a Food Processor Essential?
Essential Ingredients for Your Dairy-Free No-Bake Cherry Cheesecake:
- Premade graham cracker crust (At the time of publishing, both Walmart’s Great Value brand and Keebler’s did not have dairy in them, only wheat and soy. Always verify labels!)
- 1 carton of Country Crock’s Plant Cream (or another reliable dairy-free heavy whipping cream alternative)
- 1 container of dairy-free cream cheese (either Violife or Daiya – softened)
- Powdered sugar
- Vanilla extract
- 1 can cherry pie filling (or your preferred fruit topping)
Tools You’ll Need:
- 2 large mixing bowls
- Spatula
- Measuring cups and spoons
- Pie plate (essential if making a homemade crust)
- Stand mixer with the whisk attachment, or handheld electric beaters (crucial for whipping to perfection)
- Can opener

Key Tips for a Flawless Dairy-Free No-Bake Cheesecake:
Achieving that perfectly smooth, creamy, and stable dairy-free no-bake cheesecake is easy with these essential tips:
- Soften Your Dairy-Free Cream Cheese: This step is non-negotiable for a silky-smooth filling. Always remember to set your dairy-free cream cheese out on the counter for at least 30 minutes (or even an hour) before you plan to mix it. If the cream cheese is too cold or hard, it will not incorporate smoothly, resulting in an unappealing lumpy mixture. If you do find you have chunks, don’t despair! Leave the mixture out a bit longer to reach room temperature, then try beating it again until completely smooth.
- Chill Your Whipping Cream Components: For achieving robust stiff peaks with dairy-free heavy cream, temperature is your best friend. Place your mixing bowl, whisk attachment (for a stand mixer) or beaters (for handheld electric beaters), and the carton of dairy-free heavy whipping cream in the freezer for about 20-30 minutes prior to beating. This extreme chill helps the plant-based cream emulsify and whip much more effectively, leading to that crucial airy, stable texture.
- Don’t Skip the Electric Mixer: While some recipes can be done by hand, this is definitively not one of them. To properly aerate the heavy cream into stiff peaks and thoroughly combine it with the cream cheese mixture, you *must* use either a stand mixer with a whisk attachment or powerful electric handheld beaters. Attempting this by hand will likely result in a runny or inconsistent filling, as manual whisking simply won’t generate enough power or speed.
- Scrape the Bowl Thoroughly: When combining your cream cheese mixture and whipped cream, frequently stop and scrape down the sides and bottom of your mixing bowl with a spatula. This ensures that all ingredients are fully incorporated, preventing pockets of unmixed components and guaranteeing a uniform, creamy texture throughout your cheesecake filling.
- Patience with Setting Time: While it’s a “no-bake” cheesecake, it still requires ample time in the refrigerator to properly set. Resist the urge to cut into it too soon! A minimum of 2-4 hours is ideal, but for the best results, chill it for at least 6 hours or even overnight. This allows the filling to firm up beautifully, ensuring clean slices and a delightful texture.
Is There a Video Showing How to Make This Cheesecake?
Yes, absolutely! I understand how incredibly helpful it can be to visually see each step of a recipe, especially when it comes to techniques like whipping the dairy-free heavy cream to the perfect stiff peaks. The video tutorial is designed to guide you through the entire process, making it even easier to achieve a flawless dairy-free no-bake cherry cheesecake.
The video should ideally auto-populate on this page. If for any reason it doesn’t appear automatically, you should find it embedded within the bottom of the recipe card section below. And if all else fails, you can always visit my Youtube Channel to watch it there (and while you’re there, please consider subscribing for more allergy-friendly recipes!). Seeing the consistency and technique in action will undoubtedly boost your confidence in preparing this delicious dessert.
Explore More Dairy-Free Pies from My Kitchen!
Yes, indeed! My website is a treasure trove of allergy-friendly recipes, and everything you find here is guaranteed to be dairy-free, with a strong emphasis on gluten-free options too. If your dietary needs don’t require gluten-free, you can easily swap back in regular flour, regular pasta, or conventional graham crackers where applicable. My goal is to make delicious, inclusive eating accessible to everyone!
If you’ve enjoyed this dairy-free no-bake cherry cheesecake, I’m confident you’ll love my other decadent pie creations. Be sure to explore some of these fan favorites:
- My indulgent Triple Chocolate Pie – a dream for chocolate lovers.
- The refreshing Peach Pie, perfect for summer gatherings.
- A festive and cool Peppermint Pie, ideal for the holidays.
- The delightfully simple No-Bake Strawberry Jello Pie for a quick and fruity treat.
- My creamy and spiced Pumpkin Mousse Pie – a fall favorite reimagined.
- A unique and allergy-friendly No-Nut Pecan Pie (Black Bottom Oatmeal Pie) for those with tree nut allergies.
- And finally, my comforting Pumpkin Crumble Pie for a rustic, flavorful dessert.
Each recipe is crafted with care to ensure it’s not only safe for various allergies but also incredibly delicious and satisfying. Happy baking (and no-baking)!


Dairy-Free No Bake Cherry Cheesecake (Gluten-free option too!) + VIDEO
1 pie, 8 slices
10 minutes
10 minutes
30 minutes
50 minutes
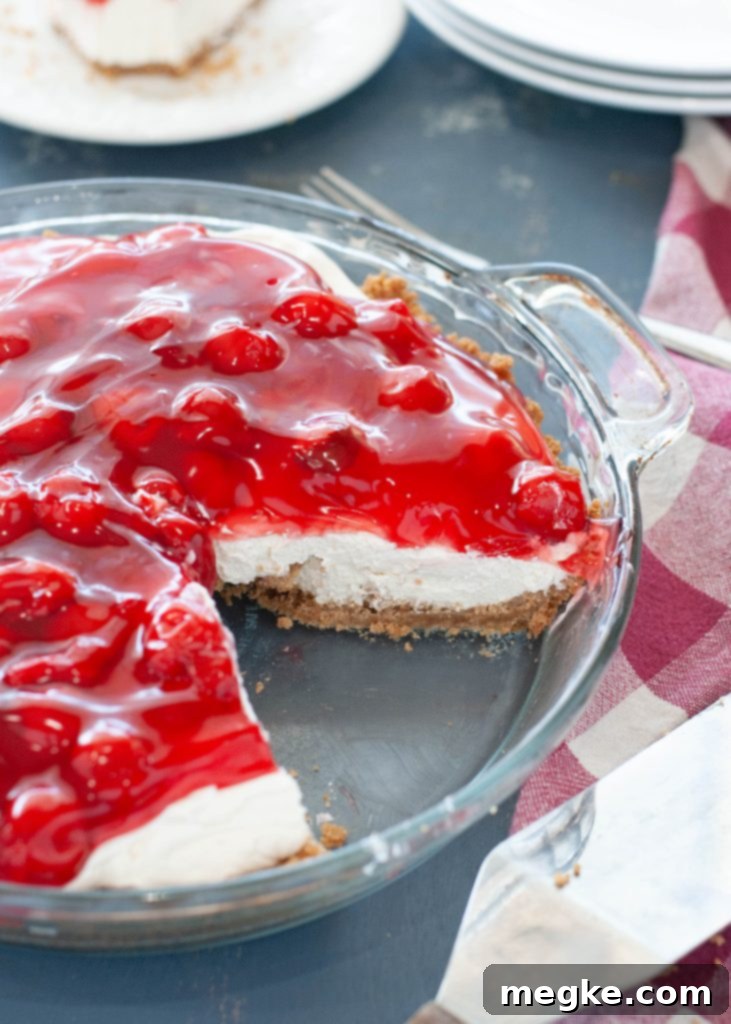
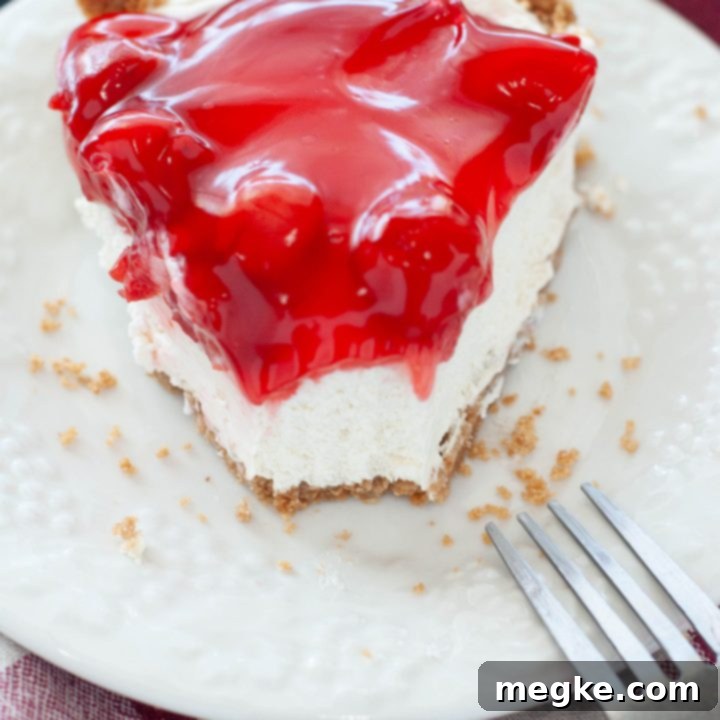
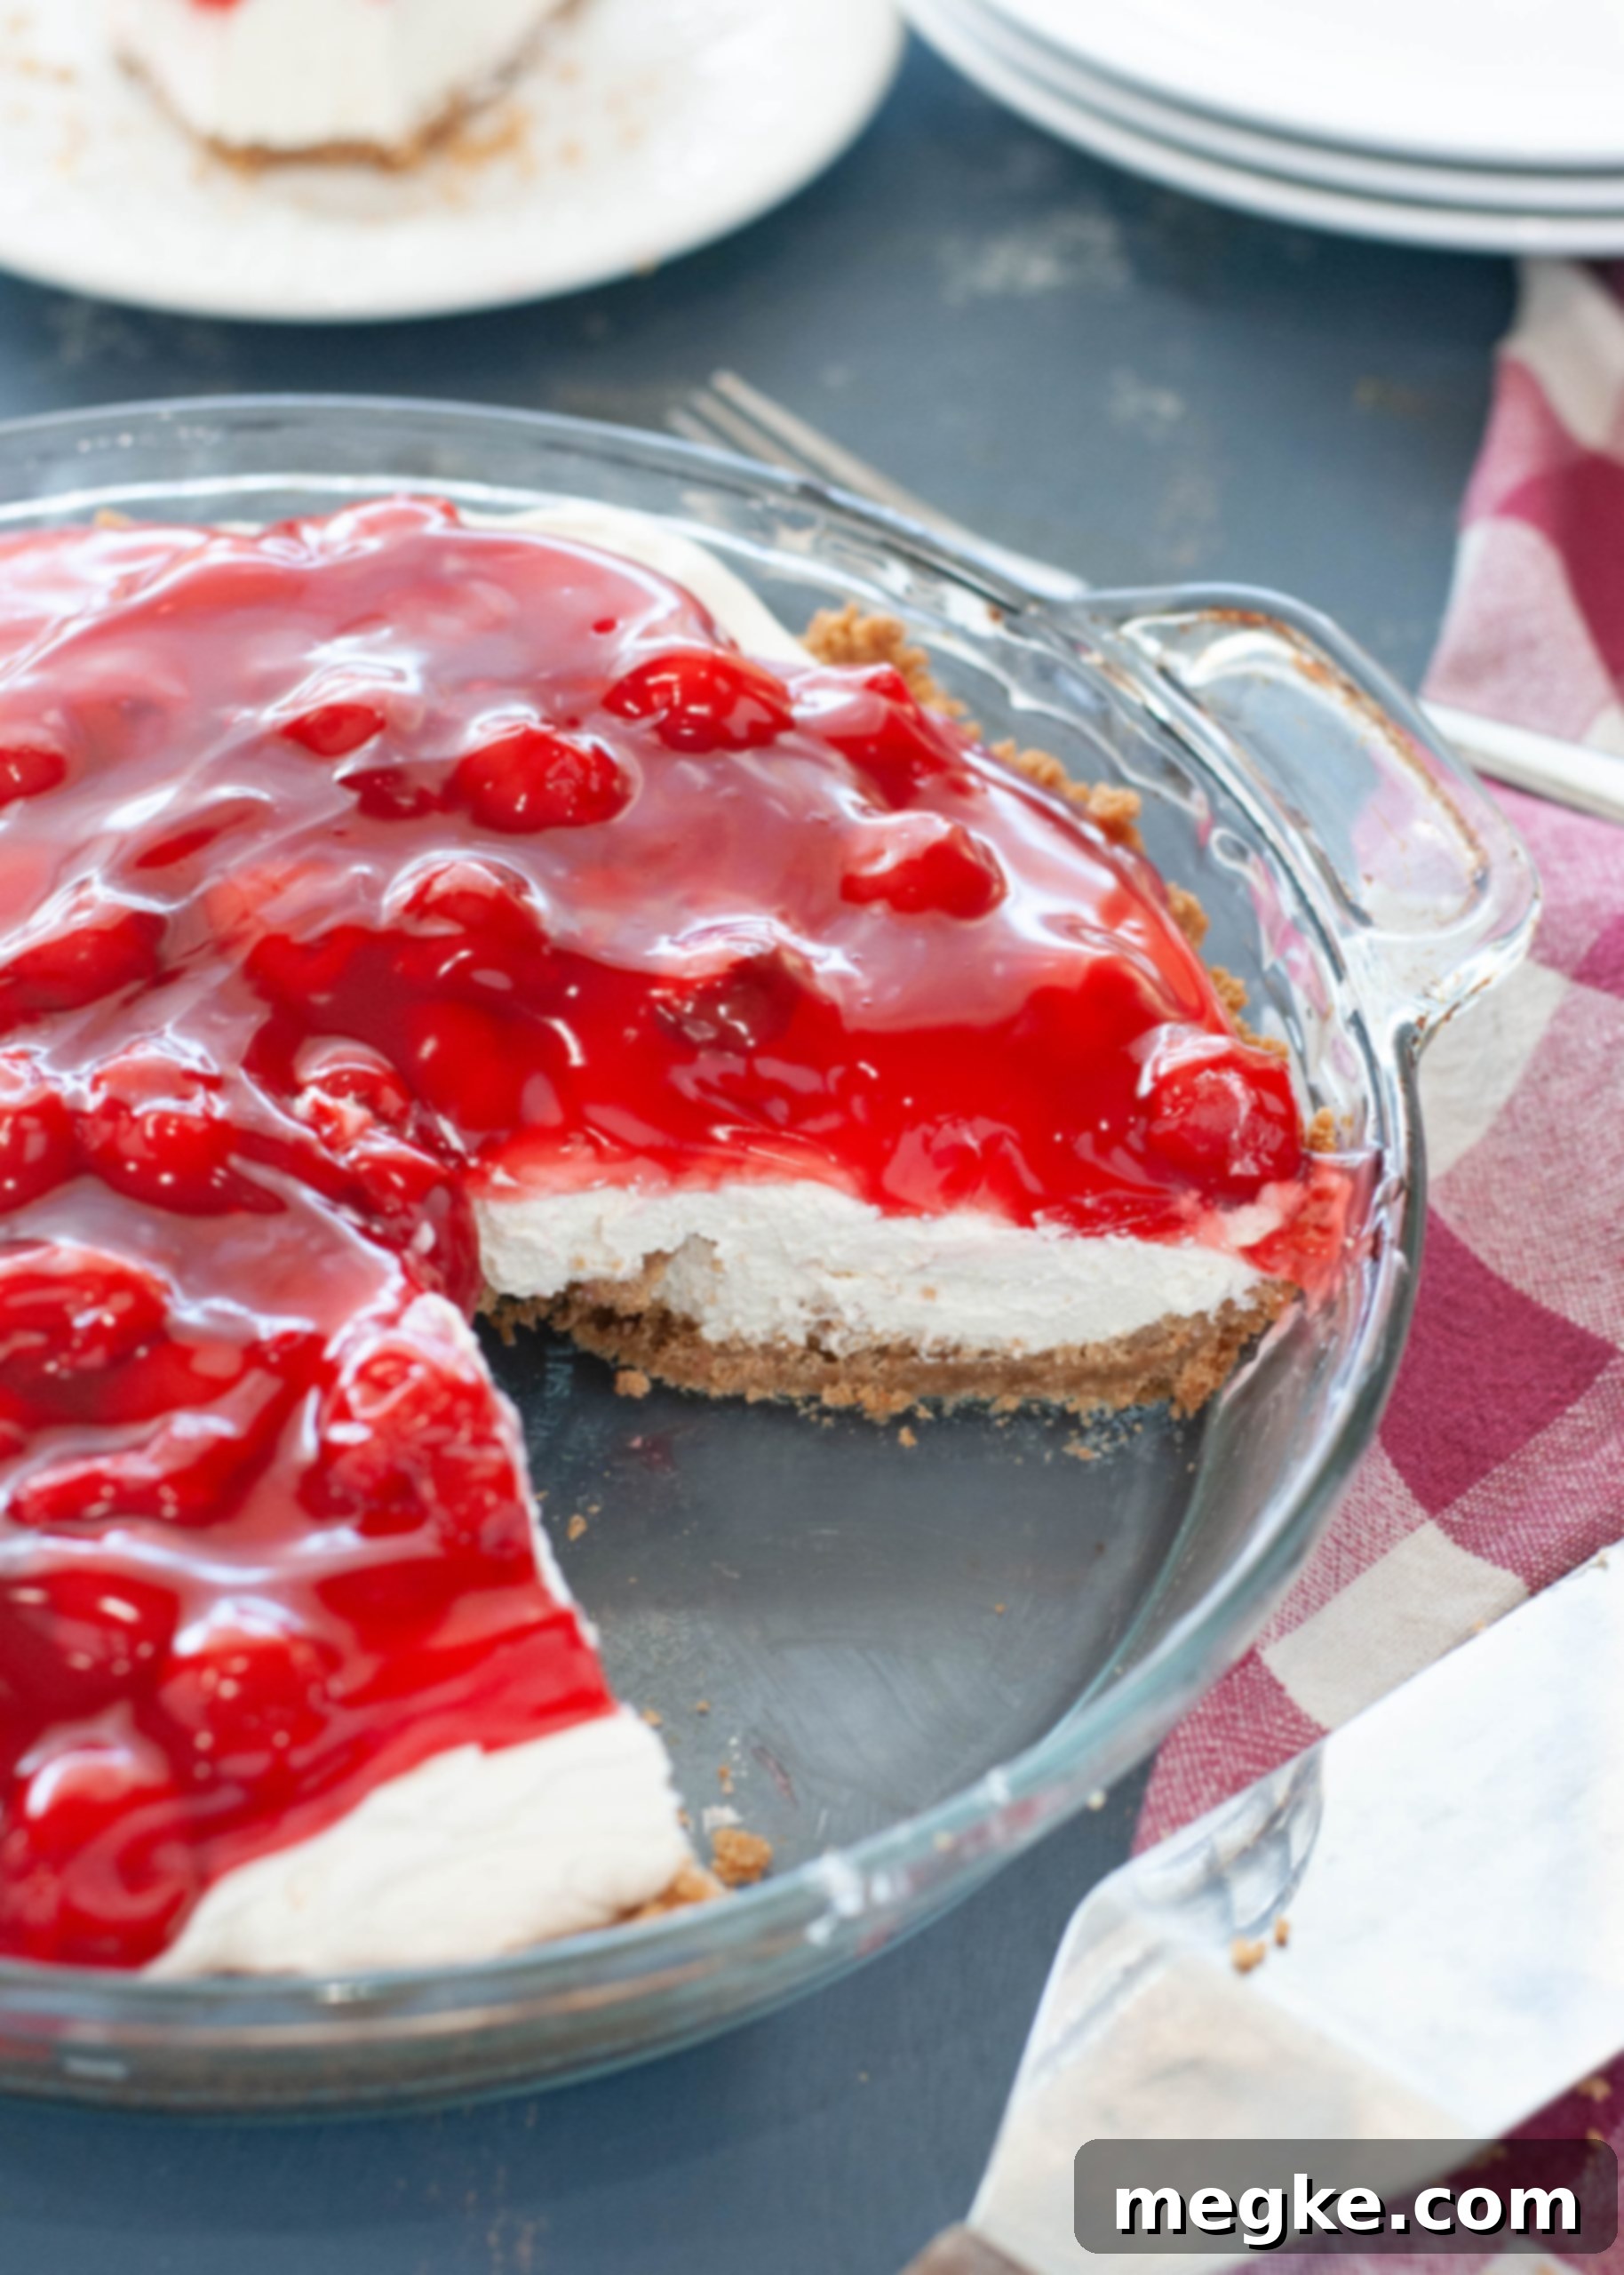
This dessert is truly gorgeous, rich, and decadent. The filling is so incredibly thick and creamy, you would NEVER guess it’s dairy-free. It tastes spot-on like classic no-bake cheesecake, with no odd aftertaste from the substitutions. Top it generously with cherries or blueberries for a stunning and delicious treat. This recipe is also free of: egg, peanut, tree nut, fish, shellfish, and sesame, and includes simple notes to make it gluten-free too!
Ingredients
- 1 premade graham cracker crust (both Keebler and Great Value do not have dairy ingredients) **see below for gluten-free directions
FILLING:
- 1 can cherry pie filling
- 6 oz. dairy-free cream cheese softened (either Daiya or Violife)
- 3/4 cup powdered sugar
- 1 cup Country Crock Plant Cream
- 1 tsp. vanilla extract
Instructions
1. Place your bowl, whisk (if you’re using a stand mixer) or beaters (if you’re using handheld electric beaters) and the carton of dairy-free whipping cream in the freezer 30 minutes prior.
2. Set your dairy-free cream cheese on the counter for 30 minutes prior to soften.
3. After 30 minutes, place your softened cream cheese and powdered sugar in a large mixing bowl. Beat with electric beaters (starting slowly to prevent powdered sugar from flying) until it’s smooth and creamy. Set aside in the fridge.
4. Take out the chilled bowl, beaters/whisk from the freezer and measure out 1 cup of the dairy-free heavy cream. Add in your vanilla. Beat on high until stiff peaks form.
5. Gently fold in your cream cheese/powdered sugar mixture to the whipped cream and beat until everything is fully incorporated. Be sure to scrape the bottom and sides of the bowl to ensure uniform mixing.
6. Gently spread the mixture evenly on top of the store-bought crust.
7. Carefully pour the cherries (or your chosen fruit) topping on top and spread gently to cover the cheesecake filling.
8. You can serve it immediately, or for best results and a firmer set, refrigerate until ready to serve. It keeps well for three days, covered.
***DIRECTIONS FOR A HOMEMADE GLUTEN-FREE CRUST***
1. After preparing for steps 1 and 2, preheat your oven to 350 degrees F (note: if you make a homemade crust, this step makes the crust “baked,” but the filling itself remains “no-bake”).
2. Take a box of Schar honeygrams and crush them to a fine sand-like consistency (either by smashing them with a rolling pin in a sealed bag, or by using a food processor). Melt 1/3 cup dairy-free butter. Mix the crushed honeygrams and melted butter together thoroughly.
3. Press the wet honeygrams mixture firmly into a pie plate to form an even crust.
4. Bake for ten minutes until lightly golden.
5. Remove from the oven and cool completely before proceeding with the regular steps above (3-8). A warm crust would melt the delicate filling. You can place the crust in your fridge to speed up the cooling process.
Notes
*Our family’s allergies, while severe and regularly re-tested, allow us to strictly adhere to what’s stated on product labels. We do not typically contact companies to inquire about ingredient derivations or potential cross-contact issues during manufacturing. If your allergies necessitate this level of diligence, please conduct your own research. I cannot personally guarantee the safety of any ingredient for all individuals; only you can determine what is safe for your specific needs. I simply share what works effectively and safely for our family.
**If you are preparing this dessert for someone with food allergies, and you yourself do not have allergies, I HIGHLY recommend discussing the recipe with them. Have them verify every single brand and ingredient you plan to use to ensure they are comfortable with each component. Additionally, it is crucial to discuss and implement strategies to avoid cross-contamination in your kitchen to ensure their safety and your peace of mind.

