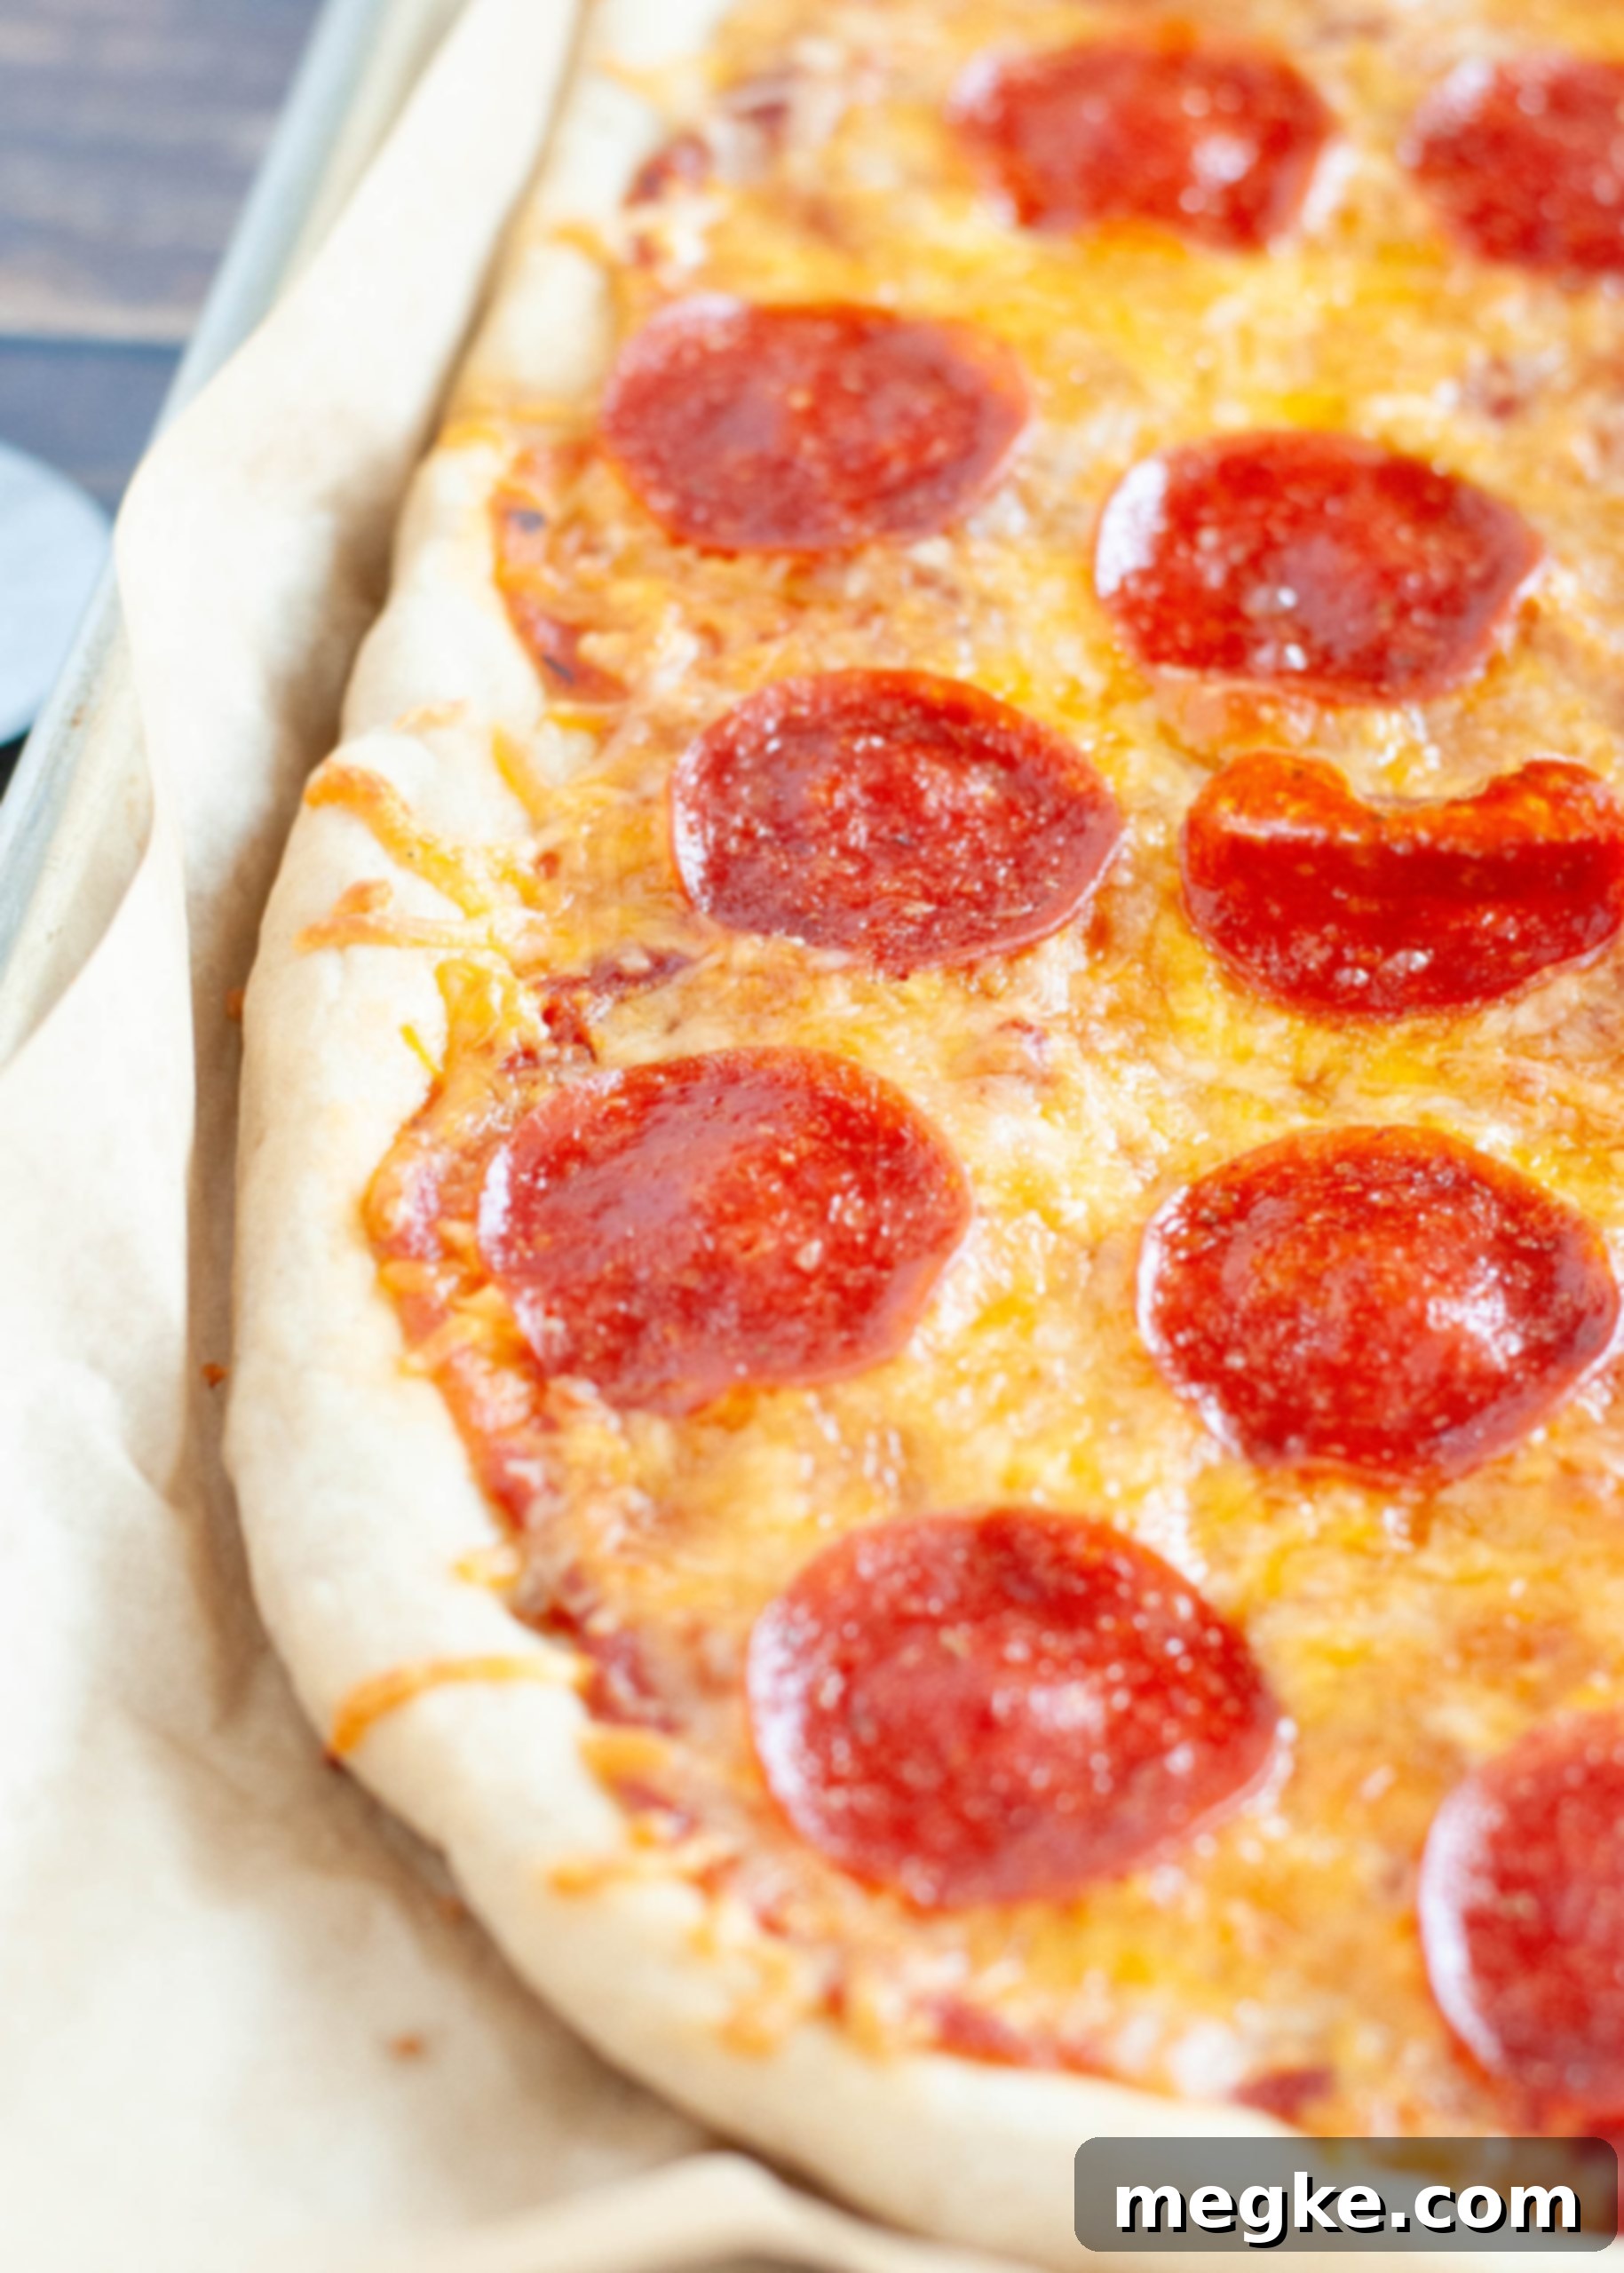
The Best Chewy & Springy Homemade Gluten-Free Pizza Crust: Easy, Sugar-Free & Allergy-Friendly
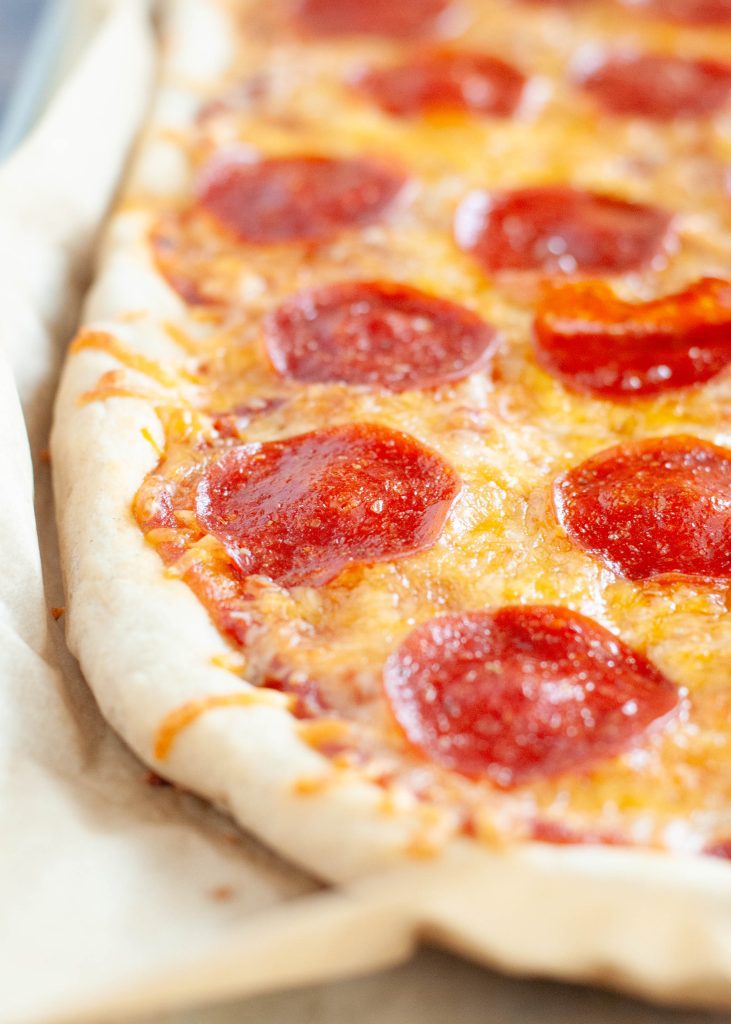
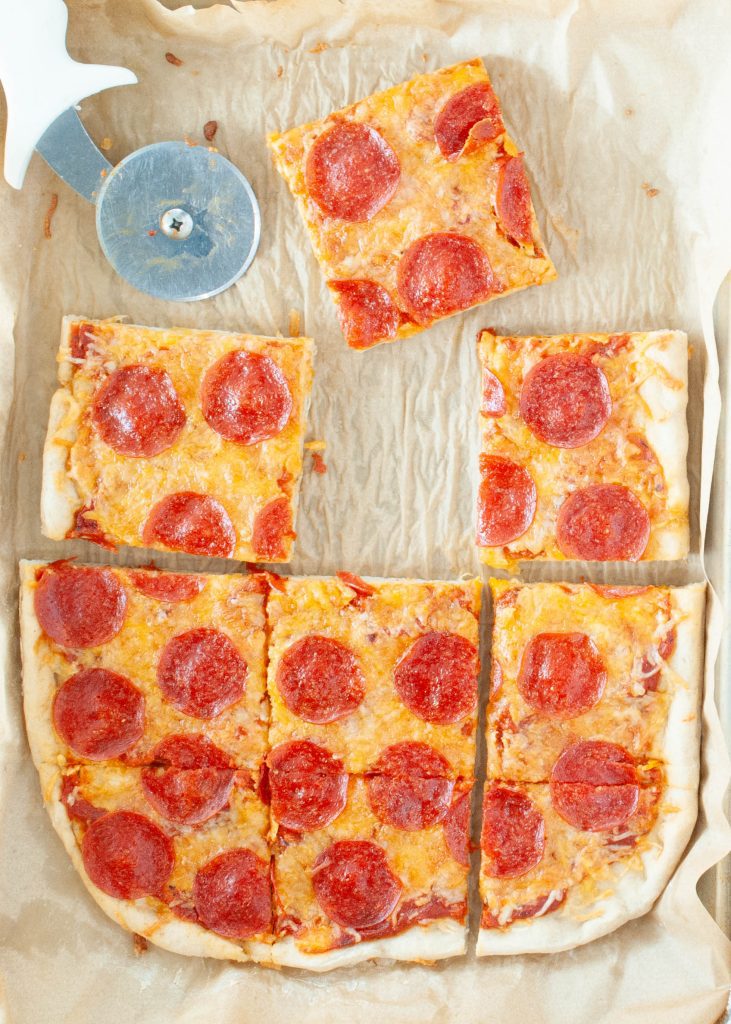
Imagine sinking your teeth into a pizza crust that’s not only gluten-free but also incredibly chewy, wonderfully springy, and full of flavor. This homemade gluten-free pizza crust is truly a delight to bite into, making pizza night at home an absolute dream. Whether you prefer one large sheet pan pizza, perfect for sharing (as shown here!), or two smaller 10-inch round pizzas, this versatile recipe has you covered. As an added bonus, it’s completely sugar-free, making it a healthier option without compromising on taste or texture. What’s more, this recipe is incredibly easy to follow, requires only one simple rise, and consistently delivers delicious results every single time. Get ready to transform your gluten-free pizza experience!
This post contains affiliate links, which means I may earn a small commission if you make a purchase through these links, at no extra cost to you.
Why This Homemade Gluten-Free Pizza Crust Is Unbeatable
This isn’t just another gluten-free pizza crust; it’s a game-changer for anyone craving an authentic pizza experience without gluten. What makes it truly exceptional? Let’s dive into why this particular recipe stands out from the rest:
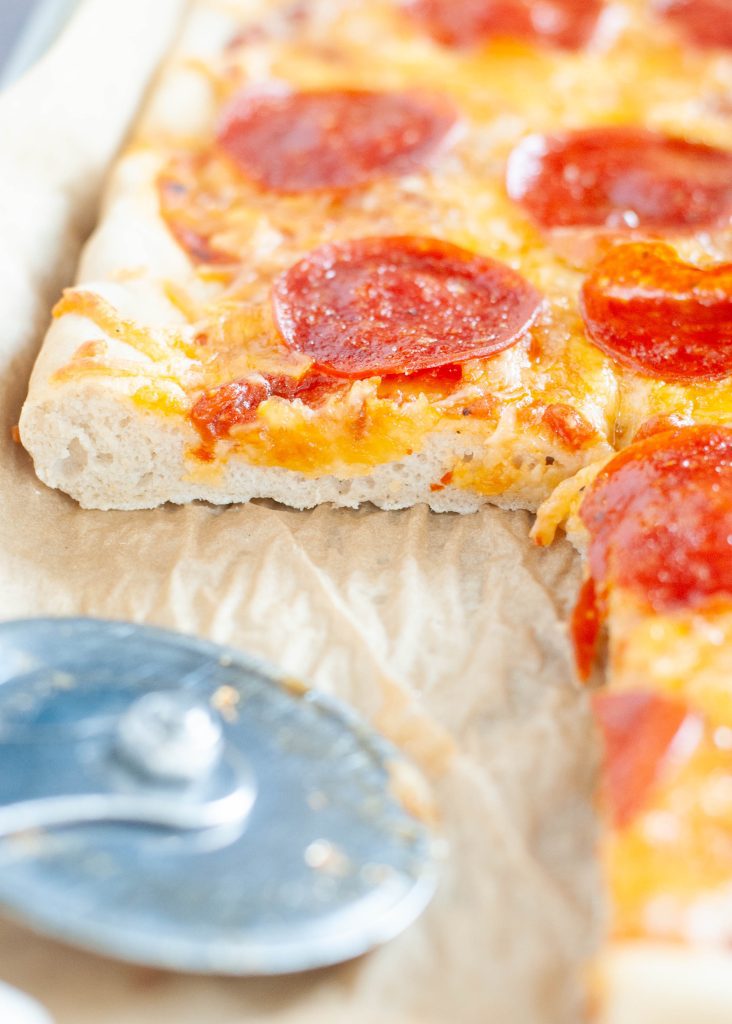
- Perfect Texture: Fluffy, Chewy, and Springy. Say goodbye to dense, crumbly, or bland gluten-free crusts. This recipe yields a crust that is delightfully fluffy, wonderfully chewy, and so springy it actually bounces back when touched (you can even see it in the accompanying video!). This isn’t just a crust; it’s the foundation for a truly satisfying pizza. You’ll find no dry, flavorless edges here – the crust is so soft and inviting that every last bit will be devoured.
- Simplicity with Just 7 Key Ingredients. Achieving such incredible texture with so few ingredients is a testament to the recipe’s thoughtful development. You won’t need an endless list of obscure items; just seven common gluten-free pantry staples are all it takes to create this masterpiece.
- No Specialty Tools Required for Baking. Many traditional pizza recipes often suggest using a pizza stone and a pizza peel for optimal results. While these tools are great, they can be bulky and require extra storage space. If you’re like me and prefer a minimalist kitchen, you’ll love that this recipe works perfectly with just plain old parchment paper and a standard rimmed baking sheet. This eliminates the need for messy transferring and makes the entire process hassle-free.
- Generous, Family-Sized Portions. A common frustration with store-bought gluten-free pizzas is their often tiny, unfilling size, especially when you need to share. This recipe solves that problem by making a substantial, large pizza – it perfectly fills a half-sheet pan! Alternatively, you can divide the dough to create two generous 10-inch round pizzas, providing plenty of crust for everyone to enjoy without feeling shortchanged.
- Effortless One-Rise Dough. Unlike many homemade bread recipes that demand multiple proofs and long waiting times, this gluten-free pizza dough requires only one short rise of 30 minutes. This significantly cuts down on prep time, meaning you can go from craving pizza to enjoying a fresh slice much faster.
- Naturally Sugar-Free. A happy accident during the recipe development led to discovering that this crust doesn’t need sugar to activate the yeast or enhance flavor. This makes it an excellent choice for those looking for a lower-carb or sugar-free pizza option, without sacrificing any of the deliciousness.
With all these benefits combined, you’ll be whipping up delicious gluten-free pizzas for impromptu pizza parties all the time!
Essential Ingredients for Your Gluten-Free Pizza Crust
One of the best things about this recipe is that you likely already have most, if not all, of these gluten-free friendly ingredients in your pantry. Here’s what you’ll need to create this fantastic crust:
- Psyllium Husk Powder: This is arguably the most crucial ingredient for achieving that signature chewy and springy texture in gluten-free baking. It acts as a binder, mimicking the gluten typically found in wheat flour, giving the dough elasticity and preventing it from becoming crumbly. Important Note: Some brands of psyllium husk powder can impart a blue or purple hue to your baked goods. To ensure your pizza crust has a natural, appealing color, always opt for a blonde variety. I often find a suitable blonde psyllium husk powder in the bulk section of stores like Winco, but an online option like this Amazon brand can also work well. While I haven’t personally tried this specific brand for psyllium husk, I’ve had good experiences with their other products.
- Water: Used to activate the psyllium husk and the yeast. Ensure it’s warm, but not too hot, for optimal yeast activity.
- Instant Yeast: This recipe specifically calls for instant yeast because it’s a fantastic time-saver. Unlike active dry yeast, instant yeast doesn’t require prior activation (or “proofing”) in warm water before being added to your dry ingredients. You can simply mix it directly with the flour and other dry ingredients, streamlining the process and allowing you to skip an extra step. While I often use the Great Value brand, any good quality instant yeast like Red Star will work wonderfully.
- King Arthur’s Measure for Measure Gluten-Free Flour Blend: This specific flour blend was used to develop and perfect this recipe, and its consistent performance is why it’s highly recommended. Gluten-free flour blends vary significantly from one brand to another in their composition (types of flours, starches, and gums). Using a different brand might alter the hydration needs or the final texture of the crust. Therefore, while other blends *might* work, I cannot guarantee the same excellent results. It’s crucial not to substitute a single-grain gluten-free flour (like rice flour or almond flour) for a multi-purpose blend, as it takes a precise combination of several grains and starches to effectively mimic the properties of traditional wheat flour.
- Baking Powder: Works in conjunction with the yeast to provide additional lift and tenderness, contributing to the crust’s fluffy texture.
- Salt: Essential for enhancing the overall flavor of the crust.
- Olive Oil: Adds richness, helps with elasticity, and contributes to a beautifully browned, slightly crispy exterior.
You’ll notice that this recipe is purposefully sugar-free. This was actually an accidental discovery during recipe development – I simply forgot to add sugar! I was convinced the yeast wouldn’t activate and the dough would be ruined. To my pleasant surprise, it turns out that with the other ingredients in this specific recipe, the yeast works perfectly fine without added sugar. This not only means one less ingredient to worry about but also makes it a fantastic option for anyone looking for a lower-carb or sugar-free pizza crust.
Essential Tools for Your Homemade Gluten-Free Pizza
While some specialized equipment can make baking easier, you don’t need a fully equipped professional kitchen to make this fantastic gluten-free pizza crust. Here’s a list of the tools you’ll find most helpful:
- Digital Kitchen Scale: While measuring cups are fine for most ingredients, a digital scale is highly recommended for accurately measuring psyllium husk powder. Even slight variations in this ingredient can significantly impact the dough’s texture, so precision is key.
- Measuring Cups and Spoons: For all your other dry and liquid ingredients.
- KitchenAid Mixer with Paddle Attachment (or Handheld Electric Beaters): As you’ll see in the instructional video, I use a stand mixer, which makes the mixing process effortless and ensures the ingredients are thoroughly combined. However, if you don’t have a stand mixer, powerful handheld electric beaters will also do the job effectively. It’s not a strict requirement, but a good mixer definitely makes life easier for gluten-free doughs.
- Small Mixing Bowl: For whisking the psyllium husk powder and water.
- Spatula: For scraping down the sides of the mixing bowl and handling the dough.
- Plastic Wrap: Essential for covering the dough during its rise, helping to maintain a warm, moist environment.
- Unbleached Parchment Paper: A must-have for preventing sticking and making transfer to the hot baking surface incredibly easy.
- Pizza Stone or 12×17-inch Rimmed Baking Sheet (Half Size): While a pizza stone can offer the best crispy crust, a standard rimmed baking sheet (also known as a half-size sheet pan) works wonderfully and is more practical for most home kitchens, saving on storage space.
- Pizza Cutter: For neatly slicing your delicious homemade pizza.
Expert Tips for Making the Best Gluten-Free Pizza Crust
Achieving a perfect gluten-free pizza crust is within your reach with these helpful tips:
- Ensure Optimal Water Temperature for Yeast Activation: Yeast is a living organism, and its activity is highly dependent on temperature. The warm water you use should be between 105 and 115 degrees F (40-46 degrees C) – it should feel almost hot, but not scalding, to the touch. Water that’s too cold won’t activate the yeast, and water that’s too hot can kill it. While not strictly required, a digital instant thermometer is an excellent tool for precision.
- Accurate Flour Measurement is Key: In gluten-free baking, precise flour measurement is even more critical than with traditional wheat flour. To avoid compacting the flour and inadvertently adding too much, always spoon your flour into the measuring cup and then level it off with a straight edge (like the back of a knife). Do not scoop directly from the bag. Too much flour will result in a dry, dense crust.
- Don’t Fear Sticky Dough: Gluten-free doughs are notoriously stickier than their gluten-containing counterparts, and this recipe is no exception during the spreading and shaping phase. You might be tempted to add more flour to make it easier to handle, but resist this urge! Adding extra flour will dry out your crust, making it less chewy and springy. Instead, work on parchment paper to prevent sticking to your surface, and generously grease your hands with olive oil to keep the dough from sticking to you.
- Preheat Your Baking Surface: Whether you’re using a pizza stone or a rimmed baking sheet, it’s crucial to preheat it while your oven comes to temperature (450 degrees F). A hot surface instantly crisps the bottom of the crust as soon as the dough is placed on it, which is essential for preventing a soggy bottom and achieving that desirable crispy-chewy texture.
- Check Yeast and Baking Powder Expiration Dates: The freshness of your leavening agents directly impacts the rise of your dough. Always double-check the expiration dates on your instant yeast and baking powder. Old or expired agents will result in a flat, dense crust. While this dough won’t have a massive rise like some traditional breads, freshness is still vital for its optimal texture.
- Always Parbake the Crust Before Adding Toppings: This is a non-negotiable step for gluten-free pizza. Parbaking (partially baking) the crust for about 10 minutes before you add any sauce or toppings allows it to set and firm up. This prevents the crust from becoming gummy or soggy once the wet sauce and toppings are added, ensuring a perfectly cooked and sturdy base for your pizza.
Is This Gluten-Free Pizza Crust Allergy-Friendly? Absolutely!
Yes, this gluten-free pizza crust recipe is designed to be incredibly accommodating for various dietary needs and allergies. It’s naturally free of many common allergens, making it a fantastic option for almost everyone:
- Top 9 Allergen Free: This crust contains no wheat, gluten, dairy, egg, soy, fish, shellfish, peanut, tree nuts, or sesame. This comprehensive freedom from common allergens makes it a safe choice for individuals with multiple food sensitivities, proudly making it Top 9 Free.
- Vegan-Friendly: In addition to being allergen-free, this crust is also completely vegan, as it contains no animal products whatsoever.
While the crust itself is highly allergy-friendly, it’s vital to remember that the toppings you choose will determine if your final pizza remains within these categories. Always ensure you select safe, allergy-friendly toppings, and for severe allergies, take precautions against cross-contamination in your kitchen. With the right toppings, you’ll have a truly delicious and safe allergy-friendly pizza!
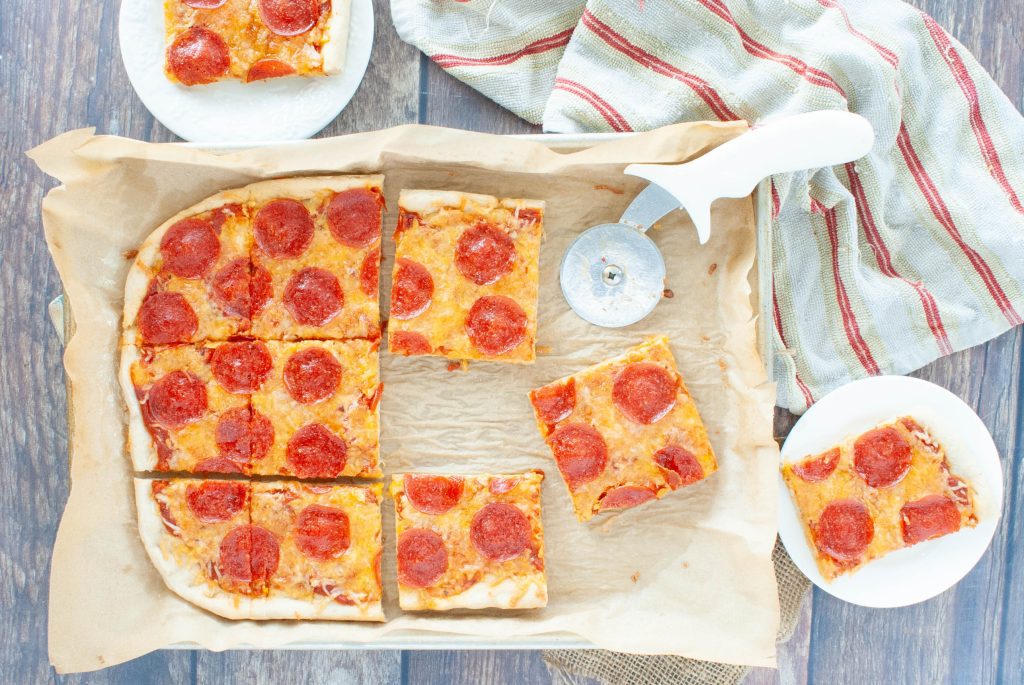
Creating a Delicious Gluten-Free & Dairy-Free Pizza
This crust is the perfect base for a delicious gluten-free and dairy-free pizza! In our family, with six people and one who is allergic to milk/dairy, we often make a larger batch. I typically prepare 1.5 times the crust recipe. This allows me to create a “normal” pizza with dairy toppings for the rest of the family and a dedicated small or half-sized dairy-free pizza for my son.
Since the crust itself is already dairy-free, half the battle is won! For the sauce, we typically use a jar of Prego Roasted Garlic and Herb Pasta Sauce, which is dairy-free, but you can use any pizza sauce that fits your dietary needs. For the “cheese,” we’ve had great success with a mixture of Daiya Mozzarella shreds and Violife Just Like Colby Jack Shreds. This combination melts beautifully and my son confirms it tastes fantastic – he opts for a simple “cheese” pizza as he’s not a fan of pepperoni. Don’t be afraid to get creative with your toppings!
Here are some other yummy dairy-free topping ideas to inspire your next pizza night:
- Fresh Bell Peppers (sliced, any color)
- Black or Green Olives
- Crumbled Italian Sausage (plant-based or lean meat, ensure no dairy additives)
- Pepperoni (dairy-free versions available or traditional if only dairy is an issue)
- Fresh Basil Leaves (add after baking for best aroma)
- Crispy Bacon Crumbles (check for dairy in processing)
- Diced Ham (check for dairy in processing)
- Sweet Pineapple Chunks (a classic for a reason!)
- BBQ Sauce with Shredded Chicken (or plant-based chicken) and Red Onion
- Mushrooms, Sautéed Onions, Spinach, Cherry Tomatoes, Jalapeños, Artichoke Hearts… the possibilities are endless!
Can You Make This Gluten-Free Pizza Crust Ahead of Time and Freeze It?
Yes, absolutely! This is a fantastic feature of this recipe, allowing you to prep ahead and enjoy homemade pizza whenever the craving strikes. Here’s how to do it:
- Prepare and Parbake the Crust: Follow the recipe instructions exactly, all the way through the parbaking step. Bake the crust for the initial 10 minutes as directed.
- Cool Completely: Once parbaked, remove the crust from the oven and let it cool completely on a wire rack. This is crucial to prevent condensation and ice crystals when freezing.
- Wrap and Store: Once fully cooled, wrap the parbaked crust tightly in aluminum foil. Then, place the foil-wrapped crust into a large zip-top plastic freezer bag or an airtight freezer-safe container.
- Label and Freeze: Don’t forget to write the date on the bag or container. Your parbaked gluten-free pizza crust can be stored in the freezer for up to 6 months, giving you plenty of time to enjoy it!
When You’re Ready to Bake:
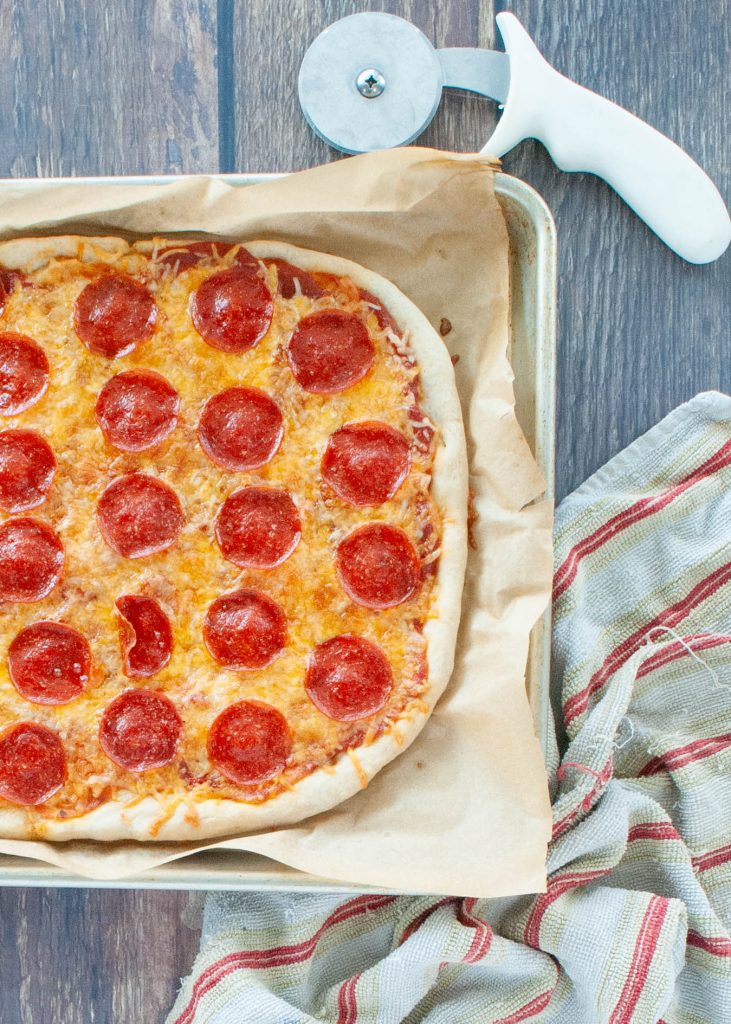
When you’re ready for pizza night, simply take the frozen crust out of the freezer and let it thaw at room temperature. Once thawed, add your desired sauce and toppings, and bake according to the recipe. You might find it needs an extra minute or two in the oven compared to a freshly made crust. Keep in mind that gluten-free crusts typically won’t brown as much as traditional wheat crusts (as you can see in my photos), so don’t rely solely on color. Instead, bake until the crust is fully set, and the toppings are hot, melty, and cooked through to your liking. Why buy expensive store-bought frozen pizzas when you can have your own homemade, delicious, and convenient options?
What is Psyllium Husk Powder and Why is it Essential for Gluten-Free Pizza?
If you’re new to gluten-free baking, you might be wondering about psyllium husk powder and its significance. Let me tell you, it’s nothing short of a magical ingredient, especially when it comes to replicating the texture of traditional baked goods without gluten!
Psyllium husk powder is derived from the seeds of the *Plantago ovata* plant. It’s an excellent source of soluble fiber, which forms a viscous gel when mixed with water. This gelling property is precisely why it’s a superstar in gluten-free recipes like this pizza crust. In traditional wheat-based baking, gluten proteins form a network that gives dough its elasticity, chewiness, and ability to hold shape and trap gases (creating that airy texture). Without gluten, baked goods can often be crumbly, dense, and lack that satisfying chew.
This is where psyllium husk powder steps in. When combined with water in this recipe, it creates a flexible, gel-like substance, as you can clearly see in the instructional video. This gel acts as a pseudo-gluten, providing the much-needed elasticity and structure that gluten-free flours inherently lack. It’s the secret behind why this dough is so wonderfully stretchy and flexible, and why the baked crust maintains its chewy integrity and springs back when pinched. It transforms a potentially brittle gluten-free crust into one that’s genuinely delightful to eat.
If you haven’t yet incorporated psyllium husk powder into your gluten-free baking arsenal, now is the time to jump on the bandwagon! It will make a remarkable difference in the texture and overall quality of your gluten-free breads, rolls, and more. It’s a versatile ingredient that won’t go to waste in your kitchen.
Again, a friendly reminder: always make sure to buy the blonde variety of psyllium husk powder. Other varieties can sometimes impart unexpected colored hues (like blue or purple) to your bakes. While the flavor remains delicious, the color can be a bit off-putting. I frequently purchase mine from the bulk section at Winco grocery stores, but you can also find reliable options online.
Visual Learner? Watch the Step-by-Step Video!
I completely understand that making pizza dough from scratch, especially a gluten-free version, might seem a bit daunting at first. That’s why I’ve created a comprehensive video to walk you through every single step of this recipe! The video demonstrates just how basic and straightforward the process truly is. You’ll see that nothing is too difficult or overly complicated, making you feel confident and ready for success after watching. The video should auto-populate on the page; if not, it is embedded directly into the recipe card below. And, as always, you can head over to my YouTube channel to watch it anytime.
Explore More Delicious Gluten-Free Breads and Baked Goods
Now that you’ve mastered the art of making a perfect homemade gluten-free pizza crust, your gluten-free baking journey has just begun! This success can open up a world of other fantastic gluten-free baked goods. If you’re looking for the perfect accompaniment to your pizza, these herbed gluten-free breadsticks are always a wonderful and savory side dish. Beyond pizza night, consider expanding your repertoire with these other tried-and-true gluten-free recipes from my site:
- Fluffy and Easy Gluten-Free Bread: Perfect for sandwiches or toast.
- Moist and Delicious Gluten-Free Banana Bread: A comforting treat.
- Flaky Gluten-Free Pie Crust: The foundation for any sweet or savory pie.
- Tender Gluten-Free Biscuits: Ideal for breakfast or alongside dinner.
- Light and Fluffy Gluten-Free Pancakes: A weekend breakfast staple.
- Irresistible Gluten-Free Cinnamon Rolls: A sweet, decadent breakfast or dessert.
And so much more! Remember, all of the recipes on my site are gluten-free – with over 300 options, you have an entire world of deliciousness waiting to be explored. Go crazy and enjoy your gluten-free culinary adventures!
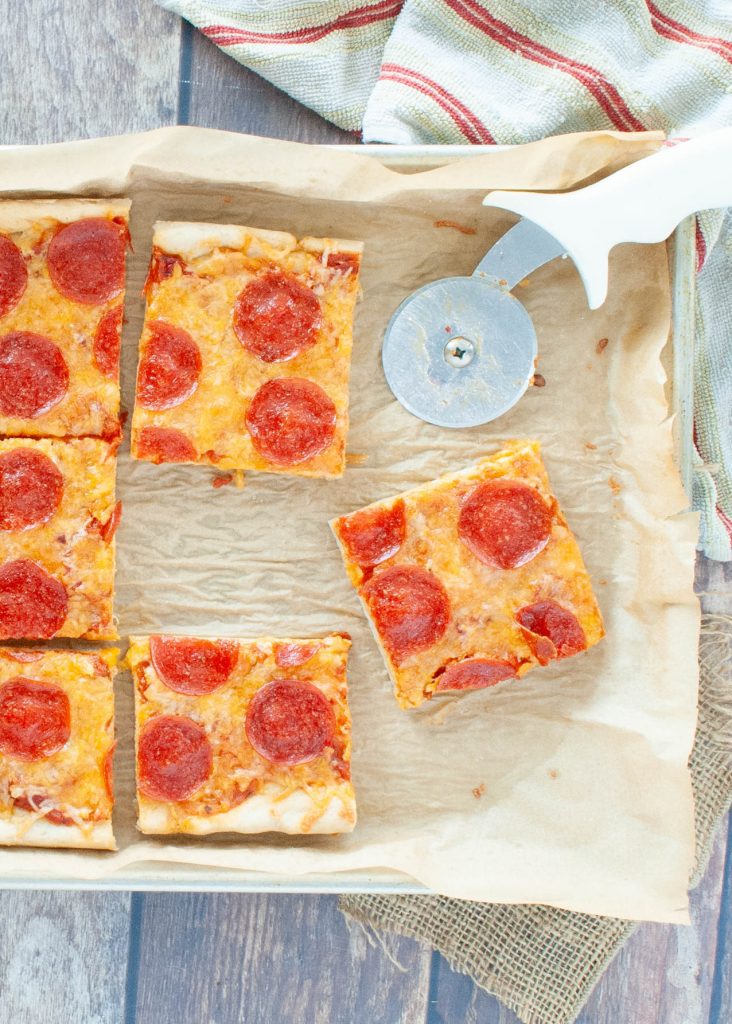
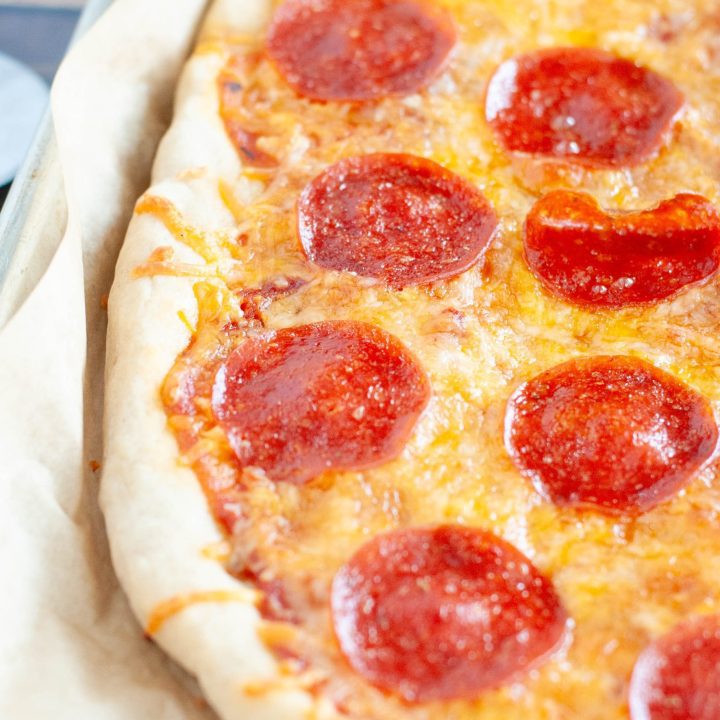
Chewy & Springy Gluten-Free Pizza Crust + Video
1 large sheet pan pizza (14 slices) or 2 smaller 10-inch round pizzas
Chewy, springy gluten-free pizza crust that is a DELIGHT to bite into. Top with any of your favorite toppings for a pizza night at home. Makes one large sheet pan pizza (as shown) or two smaller 10 inch pizzas. Bonus: sugar free too! Easy, only one rise and delicious! (Naturally dairy, egg, soy, fish, shellfish, peanut and tree nut free too! Top 9 free!)
Ingredients
- 10 g psyllium husk powder
- 1 cup warm water (for psyllium husk)
- One 7g instant yeast packet
- 2 and 1/2 cups King Arthur Measure for Measure gluten-free flour blend
- 2 tsp baking powder
- 1 tsp salt
- 3/4 cup warm water (between 105-115 degrees F)
- 2 TBSP olive oil
Instructions
In a small mixing bowl, whisk together your psyllium husk powder and 1 cup of warm water. Set aside to gel for a few minutes.
In a stand mixer, with the paddle attachment (or in a large bowl with electric hand held beaters) place your yeast, flour, baking powder and salt. Mix briefly to combine.
Then add your wet ingredients: the prepared psyllium husk mixture, the remaining 3/4 cup warm water, and olive oil.
Mix for 2.5 minutes at medium speed, and then scrape the bottom and sides of the bowl.
Mix for another 2.5 minutes.
Place plastic wrap over the bowl and set somewhere warm to proof for 30 minutes. I like to put a small saucepan of boiling water in my microwave AND the covered bowl so that it’s a small space that keeps the heat better and the humidity from the boiling water helps it be more humid (I live in a desert).
After 30 minutes, start preheating your oven to 450 degrees F (230°C). Place your pizza stone or rimmed baking sheet in there while it preheats so it gets nice and hot.
Turn the dough out onto a large piece of unbleached parchment paper. Grease your hands generously with olive oil. Shape the dough, either into one large rectangle, or two smaller rounds.
Once your oven is preheated, take your hot pan out and carefully slide the parchment paper with the dough onto the hot pan.
Place in the oven to parbake for 10 minutes.
Afterwards, take it out and add your desired toppings.
Place back in the oven and bake for 10-15 minutes, or until the crust is done (it won’t brown much, especially for GF) and the toppings are melty and how you like them.
Take out of the oven, cut with a pizza cutter and serve immediately.
Store cooled leftovers in an airtight container in the fridge for 2-3 days.
For make ahead and freezing directions, see the detailed instructions above the recipe card.
Notes
Read all FAQs and watch the video at the bottom of the recipe card to ensure best success.
*Our allergies, while severe and that get re-tested frequently, are such that we can go strictly by what’s on the label. I do not call companies to see what things are derived from, or call manufacturers to see about potential cross contact. If your allergies require you to do so, please do your own homework. I cannot assure you of any ingredient’s safety, only you can do that. I simply share what works for our family.
**If you are going to feed this to someone with food allergies, and you yourself do not have food allergies, I HIGHLY recommend having them check every single brand and ingredient you are using, to ensure they’re OK with each part of the recipe. And, to make sure you’ve talked to them about how to avoid cross contamination in your kitchen.
Inspired by: Bakerita, Let Them Eat Gluten Free Cake, Vanilla Bean and Meaningful Eats.
Nutrition Information:
Yield: 14
Serving Size: 1 slice
Amount Per Serving:
Calories: 53Total Fat: 2gSaturated Fat: 0gTrans Fat: 0gUnsaturated Fat: 2gCholesterol: 0mgSodium: 237mgCarbohydrates: 8gFiber: 1gSugar: 0gProtein: 1g
DON’T FORGET TO PIN IT, SO YOU DON’T LOSE IT. BE SURE WHILE YOU’RE THERE TO CHECK OUT MY OTHER GLUTEN-FREE PINS.

