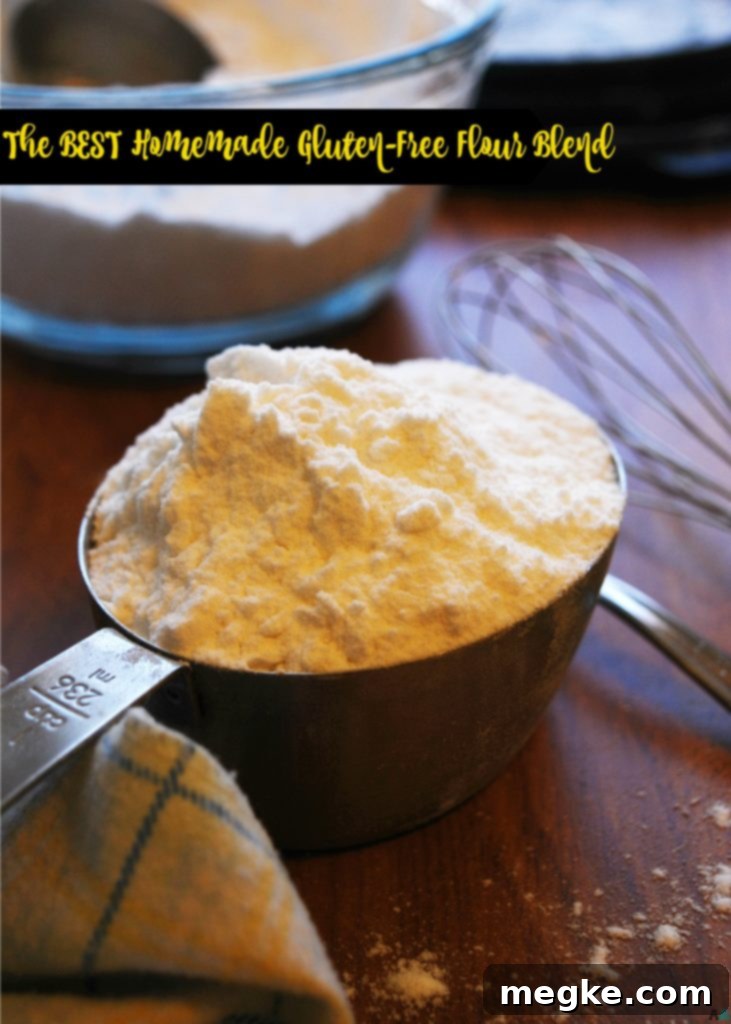
The Ultimate Easy & Affordable 3-Ingredient Homemade Gluten-Free All-Purpose Flour Mix
Embark on your gluten-free baking journey with this incredibly simple, budget-friendly, and versatile flour mix. Requiring just three essential ingredients, this homemade blend allows you to prepare large batches, ensuring you always have a reliable, all-purpose gluten-free flour on hand. It’s designed to seamlessly substitute regular wheat flour in most baked goods at a 1:1 ratio, consistently delivering beautifully moist and delicious results every time.
This post contains affiliate links.
Why This Homemade Gluten-Free Flour Blend is a Game Changer
As the holiday season approaches, my oven is constantly in use. That’s why having a reliable, all-purpose, and allergy-friendly gluten-free flour is absolutely essential. Many people still associate gluten-free baking with dense, dry, and unappetizing results from years ago. However, gluten-free baking has evolved dramatically, offering delicious alternatives that rival their gluten-containing counterparts.
For over six years, this specific gluten-free flour blend has been my go-to, and I’ve never had a reason to look elsewhere. It consistently performs, whether I’m baking chewy brownies, soft cookies, delicate cakes, or hearty muffins. The magic lies in its ability to produce moist, non-gritty textures, mimicking the feel of traditional wheat flour. The best part? It’s a true 1:1 substitute for regular flour. If a recipe calls for 1 cup of wheat flour, simply use 1 cup of this homemade blend. I frequently share my baked goods with those who don’t follow a gluten-free diet, and their astonished reactions – “THAT’S gluten-free?!” – speak volumes about its success. It truly passes the ultimate taste test.
The Advantages of Crafting Your Own Gluten-Free Flour
Making your own gluten-free flour blend offers numerous benefits, starting with significant cost savings. While the initial purchase of three individual flours might seem daunting compared to buying a pre-made blend, the long-term economic advantages are substantial. Many commercial gluten-free flour recipes often call for four to six or even more ingredients, which can quickly drive up expenses. This simple three-ingredient approach keeps costs down without compromising quality.
Another major advantage is convenience. Preparing a large batch means you’ll always have plenty on hand, eliminating the frustration of running out mid-recipe or having to mix a new batch every time a baking craving strikes. I store my blend in airtight glass jars, which not only keeps the flours fresh for longer but also makes for an organized pantry. The surge in gluten-free popularity has led to a wide array of alternative flours like sorghum, buckwheat, millet, chickpea, coconut, and fava. While these offer variety, they can often be more expensive and harder to source locally. My blend focuses on readily available and cost-effective ingredients, ensuring accessibility for everyone.
Can I Substitute Brown Rice Flour for White Rice Flour in This Blend?
Absolutely, you can! Both brown rice flour and white rice flour are quite interchangeable in this gluten-free blend. I personally tend to use white rice flour as it is often more readily available, generally less expensive, and can sometimes impart a slightly “softer” texture to baked goods. However, if you prefer the nutritional benefits and subtle nutty flavor of brown rice flour, feel free to use it as a 1:1 substitute for the white rice flour in this recipe without any issues.
Is Making Your Own Gluten-Free Flour Truly More Economical?
The cost-effectiveness of making your own gluten-free flour is a frequently asked question, and the answer can be nuanced, depending on various factors like your geographical location, chosen brands, and shopping habits. Prices for individual components can fluctuate significantly, ranging from budget-friendly bulk options to premium organic blends.
To provide a clear comparison, let’s consider using Bob’s Red Mill components, a popular and widely available brand. For a batch that yields approximately 6 cups of this versatile blend, here’s a breakdown based on typical local prices and weights:
- 24 oz/680 g Bob’s Red Mill White Rice Flour: Approximately $4.49
- 22 oz/623 g Bob’s Red Mill Potato Starch: Approximately $5.99
- 16 oz/454 g Bob’s Red Mill Tapioca Flour/Starch: Approximately $4.49
Estimated Total Initial Cost: $14.97
For comparison, a popular commercial all-purpose gluten-free blend might cost around $6.98 for approximately 5 ¼ cups. While the initial outlay for homemade ingredients might seem higher, remember that you’ll have substantial amounts of potato starch and tapioca flour leftover. This significantly reduces the cost of subsequent batches, making homemade flour much more economical over time, especially if you bake frequently. Many individuals also save money by purchasing ingredients in bulk at stores like Winco or through online subscription services like Thrive Market, which offer specialty foods at discounted prices.
Beyond cost, making your own blend gives you complete control over ingredients. Many commercial blends contain xanthan gum or other additives like psyllium husk, cellulose, or alternative grains (sorghum, oats, millet) that some individuals prefer to avoid due to dietary restrictions or sensitivities. This simple three-ingredient blend offers purity and customization that pre-made mixes cannot. Furthermore, having single-grain flours on hand is incredibly useful for recipes that specifically call for one type of flour, like my gluten-free tortilla recipe which requires extra tapioca flour. Ultimately, the decision to make your own gluten-free flour blend is a personal one, balancing cost, health considerations, and convenience. I hope this recipe empowers you to make the best choice for your baking needs.
Understanding Gluten-Free Flour Substitution: What You Need to Know
A common misconception in gluten-free baking is that you can simply omit flour from a recipe or replace it with a single alternative ingredient. Unfortunately, this is not the case. If a recipe requires flour, it needs a carefully balanced blend of grains to achieve the desired structure and texture. You absolutely cannot substitute regular wheat flour with a single gluten-free grain, such as brown rice flour alone. Wheat flour possesses unique properties (like its gluten structure) that a single gluten-free flour cannot replicate. It takes a precise combination of multiple gluten-free flours and starches to mimic the properties of traditional wheat flour effectively.
While this versatile flour blend is often a fantastic 1:1 substitute for wheat flour, it’s crucial to understand that gluten-free baking can sometimes require more than just a direct flour swap. The liquid content in a recipe, for instance, might need adjustment. This is why I strongly advise against simply tweaking a recipe that was not originally developed as gluten-free. For consistent and successful results, it’s always best to seek out tried-and-true gluten-free recipes that have been thoroughly tested and optimized. This saves you the time, expense, and potential disappointment of experimentation. For more complex baked goods, especially yeasted breads, specialized gluten-free flour blends like Better Batter, King Arthur’s Measure for Measure, or Bob’s Red Mill 1:1 Baking Flour may be better suited, providing a more robust structure for those specific applications.
The Crucial Role of Finely Ground Gluten-Free Flours
The texture of your finished baked goods largely depends on the fineness of your gluten-free flours. If you use components that are not very finely ground, your end result will likely have an unpleasant, gritty mouthfeel. Consider that rice kernels, which form the base of many gluten-free flours, are naturally hard. If these grains are not meticulously milled into a very fine powder, you will undoubtedly detect that grainy texture in your cookies, cakes, or muffins. Investing in high-quality, finely ground flours from reputable brands is paramount for achieving smooth, tender, and delightful gluten-free baked goods.
As you gain more experience with gluten-free baking, you’ll naturally discover which brands you trust and whose products consistently yield superior results that align with your taste and texture preferences. Remember that learning to bake gluten-free is a continuous process, and it’s completely normal to encounter both successes and occasional failures. These challenges make the successful recipes all the more rewarding and cherished, as they are a testament to your perseverance and growing skill.
Where to Source Ingredients for Your Homemade Gluten-Free Flour
Finding the right ingredients for your homemade gluten-free flour blend is generally straightforward, as many stores now stock a good selection of specialty flours. Here are some common places where you can typically find the components:
- Sprouts Farmers Market
- Whole Foods Market
- Walmart (check for specific brands and bulk options)
- Winco Foods (excellent for bulk purchasing by the pound)
- Smiths Food & Drug
- Maceys
- Natural Grocers
- Online retailers like Amazon, Vitacost, or Thrive Market
Step-by-Step Guide: How to Mix Your Gluten-Free Flour Blend
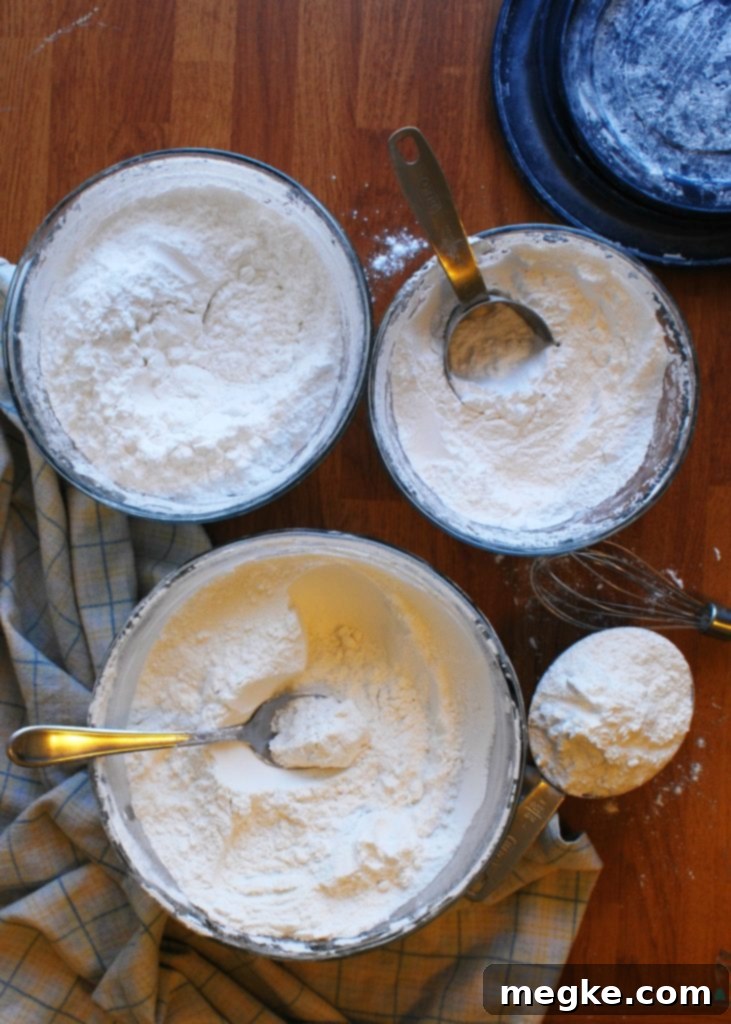
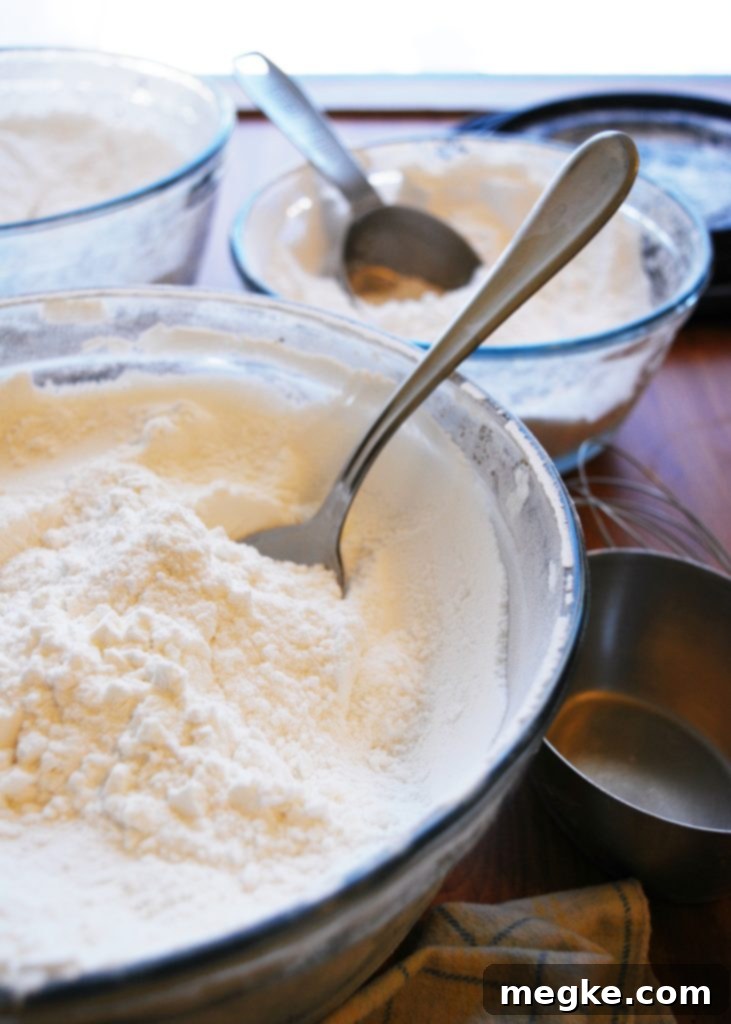
Mixing your gluten-free flour blend correctly is key to ensuring even distribution of ingredients and optimal baking performance. Begin by measuring out all the specified ingredients into a large mixing bowl. Using a whisk, thoroughly combine them to help distribute the various flours and starches evenly. For an extra measure of uniformity, secure a lid on the bowl and give it a vigorous shake. Before opening, gently tap the bowl firmly on the counter a few times; this helps the fine flour particles settle, preventing a ‘flour cloud’ from escaping when you lift the lid. If the blend has been sitting for a while, it’s always a good practice to re-whisk or re-shake it before use to ensure the ingredients haven’t settled.
Mastering the Art of Measuring Gluten-Free Flour
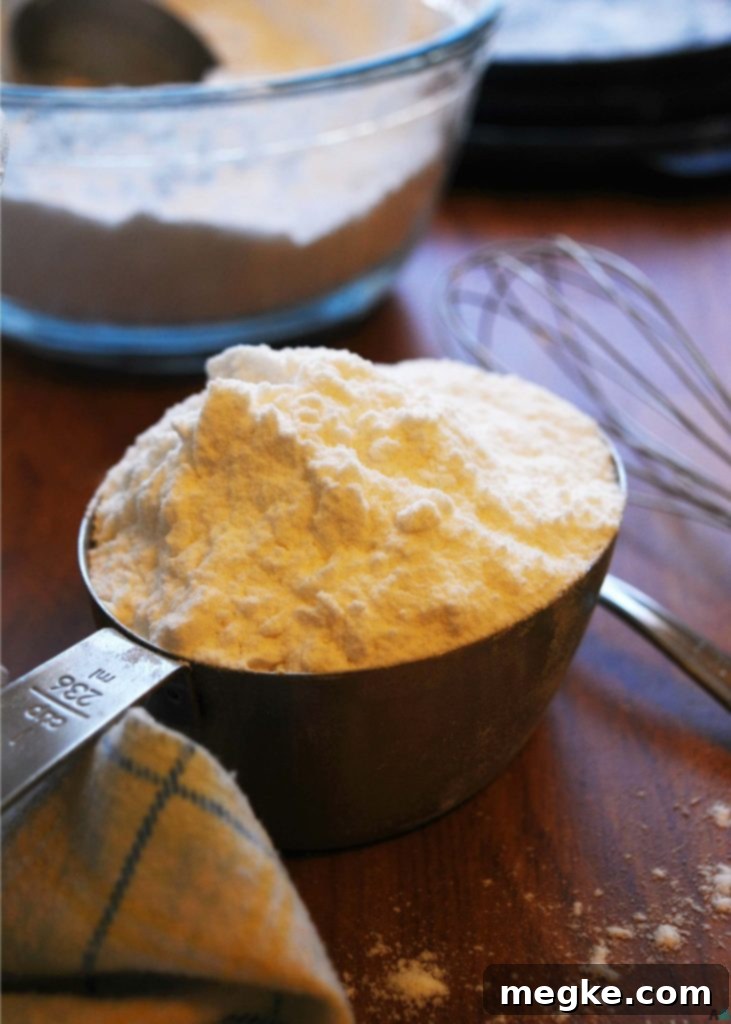
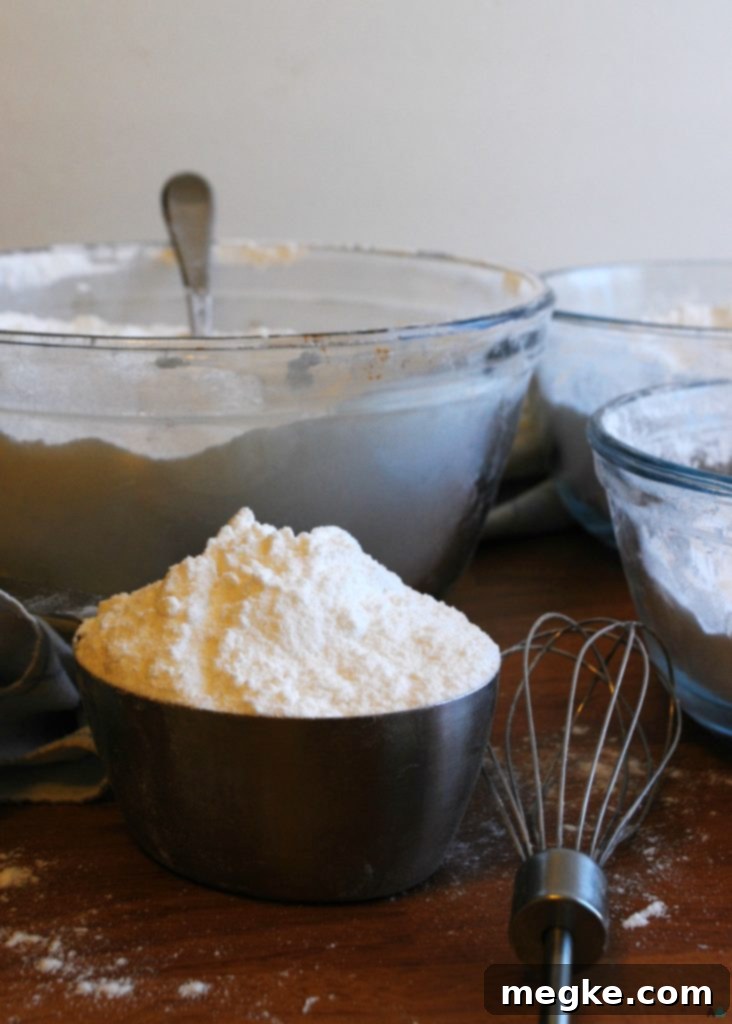
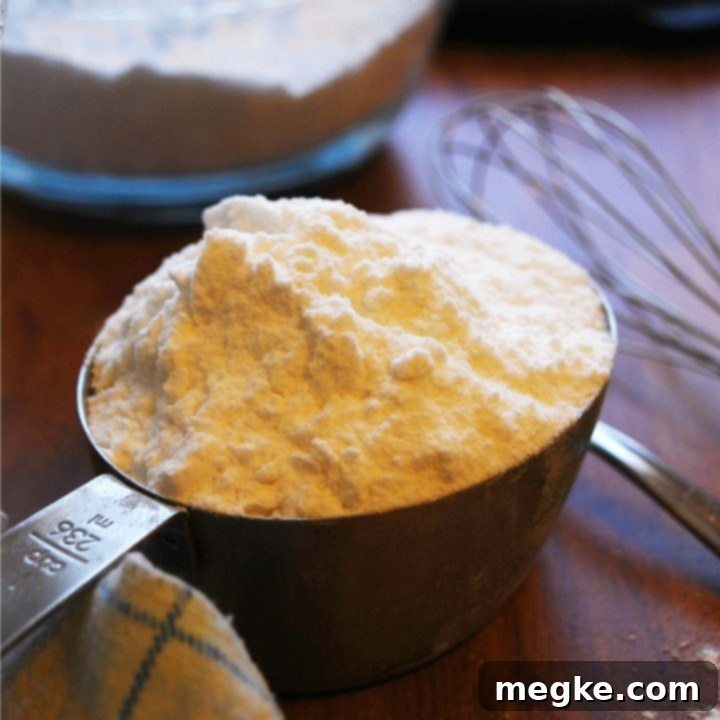
Accurate measurement is critical in gluten-free baking to achieve the perfect texture. When measuring gluten-free flour (or its individual components), resist the urge to scoop directly with your measuring cup or pack the flour down. Instead, employ the “spoon and level” method: use a large spoon to gently dump the flour into your measuring cup until it overflows, forming a small mound. Then, take the flat back of a knife or a straight edge and carefully scrape off the excess flour, creating a clean, even line flush with the rim of the measuring cup. This technique ensures you get the precise amount of flour without compacting it, which can result in an incorrect flour-to-liquid ratio and lead to dense, undesirable baked goods. For a visual demonstration, refer to the video above on how to properly measure gluten-free flour.
By following these guidelines, you’ll be well on your way to enjoying delicious gluten-free versions of your favorite baked goods!
**PLEASE NOTE: Gluten-free flour does not rise in the same way as regular flour due to the absence of gluten. Therefore, nearly all my recipes incorporating this blend will call for an additional ingredient, xanthan gum. Xanthan gum acts as a crucial binding agent and helps to provide the structure, rise, and airy texture that gluten typically offers. I prefer to add xanthan gum separately to each recipe rather than including it directly in the blend, as the required amount can vary significantly depending on the specific type of baked good. As a general rule of thumb for substituting gluten-free flour for regular wheat flour in recipes not explicitly designed as gluten-free, use one teaspoon of xanthan gum for every cup of gluten-free flour.**
The Simple Composition of This Gluten-Free Flour Recipe
This remarkable gluten-free flour recipe stands out for its simplicity and effectiveness, requiring only three key ingredients:
- White rice flour or brown rice flour (White is often preferred for its milder flavor and smoother texture, but brown rice flour works equally well.)
- Potato starch (It is crucial to use potato starch, NOT potato flour, as they have different properties.)
- Tapioca flour/starch (These terms are commonly used interchangeably and refer to the same ingredient.)
Potato Starch vs. Potato Flour: Understanding the Difference
It’s a common point of confusion, but potato starch and potato flour are indeed distinct ingredients. Potato starch is a fine, powdery starch extracted from potatoes, primarily used as a thickening agent and to add tenderness in baking. Potato flour, on the other hand, is made from whole dried potatoes and has a much heavier consistency and stronger flavor. For this blend and most gluten-free baking, potato starch is the correct ingredient.
Tapioca Flour vs. Tapioca Starch: Are They the Same?
Yes, tapioca flour and tapioca starch refer to the exact same ingredient. Both terms are used interchangeably to describe the starchy flour derived from the cassava root. It’s a wonderful ingredient for gluten-free baking, providing chewiness and helping to bind ingredients together.
Recipes Not Ideal for This All-Purpose Gluten-Free Flour Blend
While this DIY gluten-free flour blend excels in a wide array of baked goods, including fluffy pancakes, moist muffins, rich brownies, chewy bars, delightful cakes, and classic cookies, there are certain applications where more specialized ingredients are necessary. Specifically, when it comes to bread making, the complex structure of yeast breads typically requires a more robust and tailored flour composition than a general-purpose blend can provide. For optimal results with yeast-leavened breads, it’s highly recommended to seek out and follow dedicated gluten-free bread recipes that specify unique flour blends or specialized mixes. For example, my gluten-free dairy-free homemade bread recipe calls for a particular box mix, and my gluten-free vegan breadsticks require yet another specific store-bought blend. These recipes are formulated with precise ratios and ingredients to ensure proper rise, texture, and flavor for bread-specific applications.
Delicious Creations to Make with This Gluten-Free Flour
This versatile homemade gluten-free flour blend opens up a world of baking possibilities! It’s perfect for a wide range of delightful treats. Here are some of our most beloved gluten-free baking recipes, all of which have garnered rave reviews and showcase the excellent performance of this blend:
- The BEST Gluten-Free Vegan Brownies
- Allergy-Friendly Chocolate Cupcakes
- Gluten-Free Vegan Chocolate Sheet Cake
- Gluten-Free Baked Chocolate Donuts
- 20+ Allergy-Friendly Muffin Recipes
- Gluten-Free Sugar Cookies
The BEST Homemade Gluten-free Flour Mix
6 cups
10 minutes
10 minutes
One of the easiest (only three ingredients!) and cheapest gluten-free flour mixes you can make. Homemade so you can make large batches, this is a fabulous all-purpose flour you can use in any baked good. I substitute it 1:1 for regular wheat flour and it turns out beautifully.
Ingredients
- 4 cups rice flour (you can use brown or white rice)
- 1 and 1/3 cups potato starch (NOT flour)
- 2/3 cups tapioca starch (also known as tapioca flour)
Instructions
- Taking a large spoon, gently pour the ingredients into the specified measuring cups. Pour more than needed, making a domed measuring cup. Take the back of a knife, and scrape the excess off, leaving a clean, even line with the measuring cup.
- Measure each ingredient and pour into a large bowl.
- Whisk the ingredients to evenly distribute.
- Afterwards, put a lid on the bowl and shake to finish distributing it well.
- Tap the bowl on the counter before opening it, to ensure it has settled and you don’t get a cloud of flour when you open it.
- This can keep in your fridge for several months, if air-tight (although mine never lasts that long!)
- If your flour has sat for a while, you’ll want to re-whisk it to make sure the ingredients have not settled too much before using it in a recipe.
- Once this recipe is made, it can be swapped 1:1 with regular flour–keeping in mind you’ll still need a leavening agent like xanthan gum (which all of my recipes include).
This fantastic flour blend recipe is adapted from the baking genius, Cybele Pascal, and featured in her renowned cookbook “The Allergen-Free Baker’s Handbook“, a must-have for any allergy-friendly kitchen.
Don’t Forget to Pin This Recipe for Later!
Ensure you never lose this valuable recipe by pinning it to your favorite Pinterest boards. While you’re there, be sure to explore my other comprehensive allergy-friendly Pinterest boards for more delicious and safe baking ideas!
