Easy 2-Ingredient Gummy Bear Popsicles: The Ultimate Allergy-Friendly Summer Treat
This post is sponsored by Surf Sweets. All opinions are mine.
Imagine the delightful chewiness and vibrant flavors of classic gummy bears, now transformed into the most refreshing and incredibly delicious jelly popsicles. With just two simple ingredients, you can create a summer treat that both kids and adults will adore. These homemade gummy pops aren’t just bursting with flavor and fun colors; they’re also wonderfully soft – a welcome change from traditional juice pops that often turn into solid, hard blocks of ice. The best part? This recipe is naturally gluten, dairy, egg, soy, peanut, and tree nut free, featuring organic ingredients, making it a fantastic top-8-free option for families with food allergies.

This post contains affiliate links.
The Irresistible Charm of Gummy Bear Popsicles
Who doesn’t love gummy bears? They’re the ultimate nostalgic candy, a perfect companion for road trips, and an irresistible snack that’s hard to put down. This summer, my kids were constantly asking for homemade popsicles, and being in my third trimester, I confess I was putting off the task. #pregnancyproblems, right?
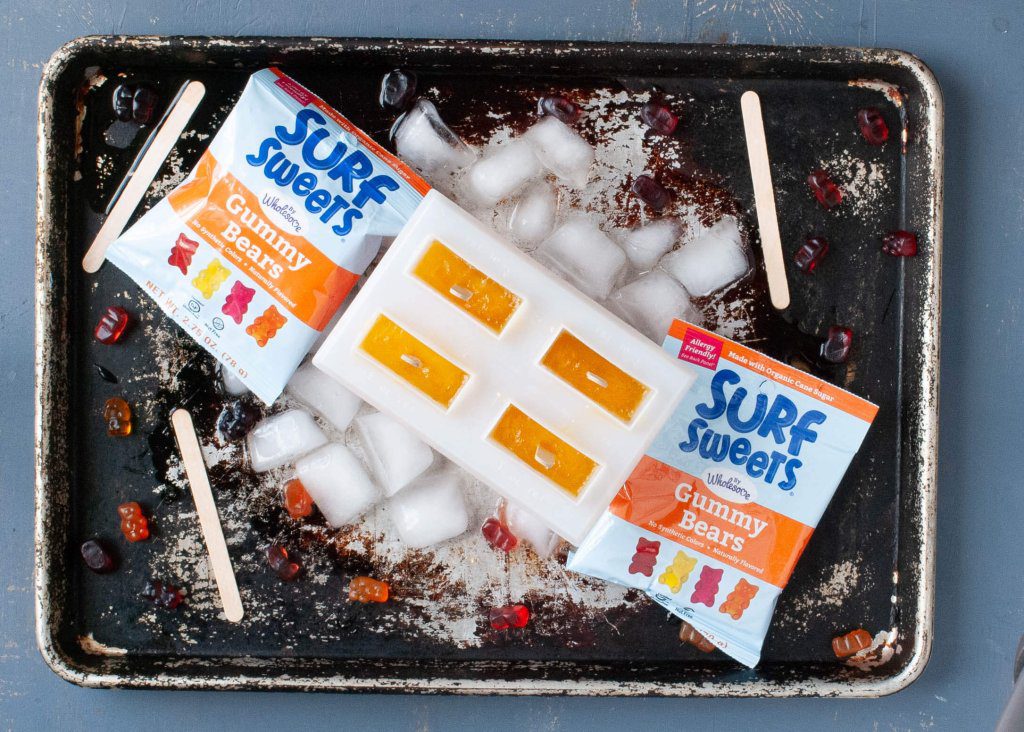
But then, a wonderful and literally sweet package arrived from Surf Sweets, brimming with their fantastic organic gummy bears. This was my “aha!” moment. I realized this was the perfect opportunity to combine their request for a cool summer treat with the fun flavors, vibrant colors, and unique texture of Surf Sweets gummy bears. My goal was simple: create an easy, delicious, and allergy-friendly popsicle that would beat the summer heat.
The idea of melting gummy bears isn’t entirely new; it’s been a popular trend on platforms like YouTube, where people melt large quantities to create giant gummy molds. While intriguing, that wasn’t quite what I had in mind. I wanted a frozen treat – a popsicle – that would still be juicy and retain some of that beloved gummy chewiness after freezing. My mission was to find the ideal balance, ensuring the popsicle would freeze perfectly while maintaining its delightful color, intense flavor, and that signature soft, jelly-like texture. And after some fun kitchen experiments, I found it!
Unlocking the Perfect Gummy Bear Popsicle Ratio
After a few trials, I discovered the magic ratio that transforms gummy bears into perfectly freezable, yet wonderfully soft, jelly popsicles. For four standard popsicles, the sweet spot is melting 48 gummy bears with 1 and 1/2 cups of organic apple juice. This combination yields a consistency that freezes beautifully without becoming a rock-hard ice block. The apple juice provides the liquid base for freezing, while the melted gummy bears infuse it with their distinct flavor, color, and gelatinous texture, resulting in a uniquely satisfying chew.
Of course, this is a starting point! If you prefer a slightly thinner, more juice-like popsicle, you could add a little more liquid. Conversely, for an even chewier, more concentrated gummy experience, you might reduce the apple juice slightly. I highly recommend trying this initial ratio first, as it was a resounding success in our household, and then adjust future batches to perfectly match your family’s preferences. The beauty of homemade treats is the ability to customize them!
Crafting Colorful Layers: Ombre or Single-Hued Gummy Pops
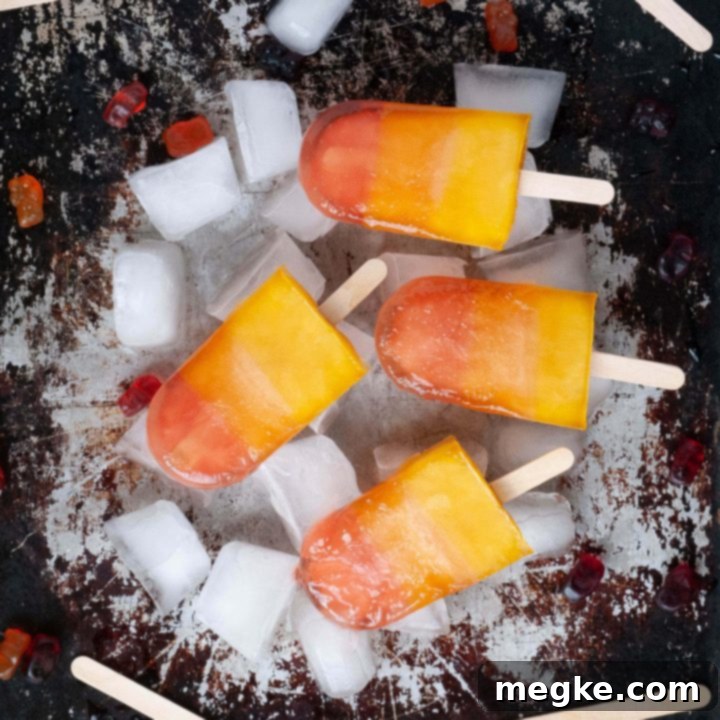
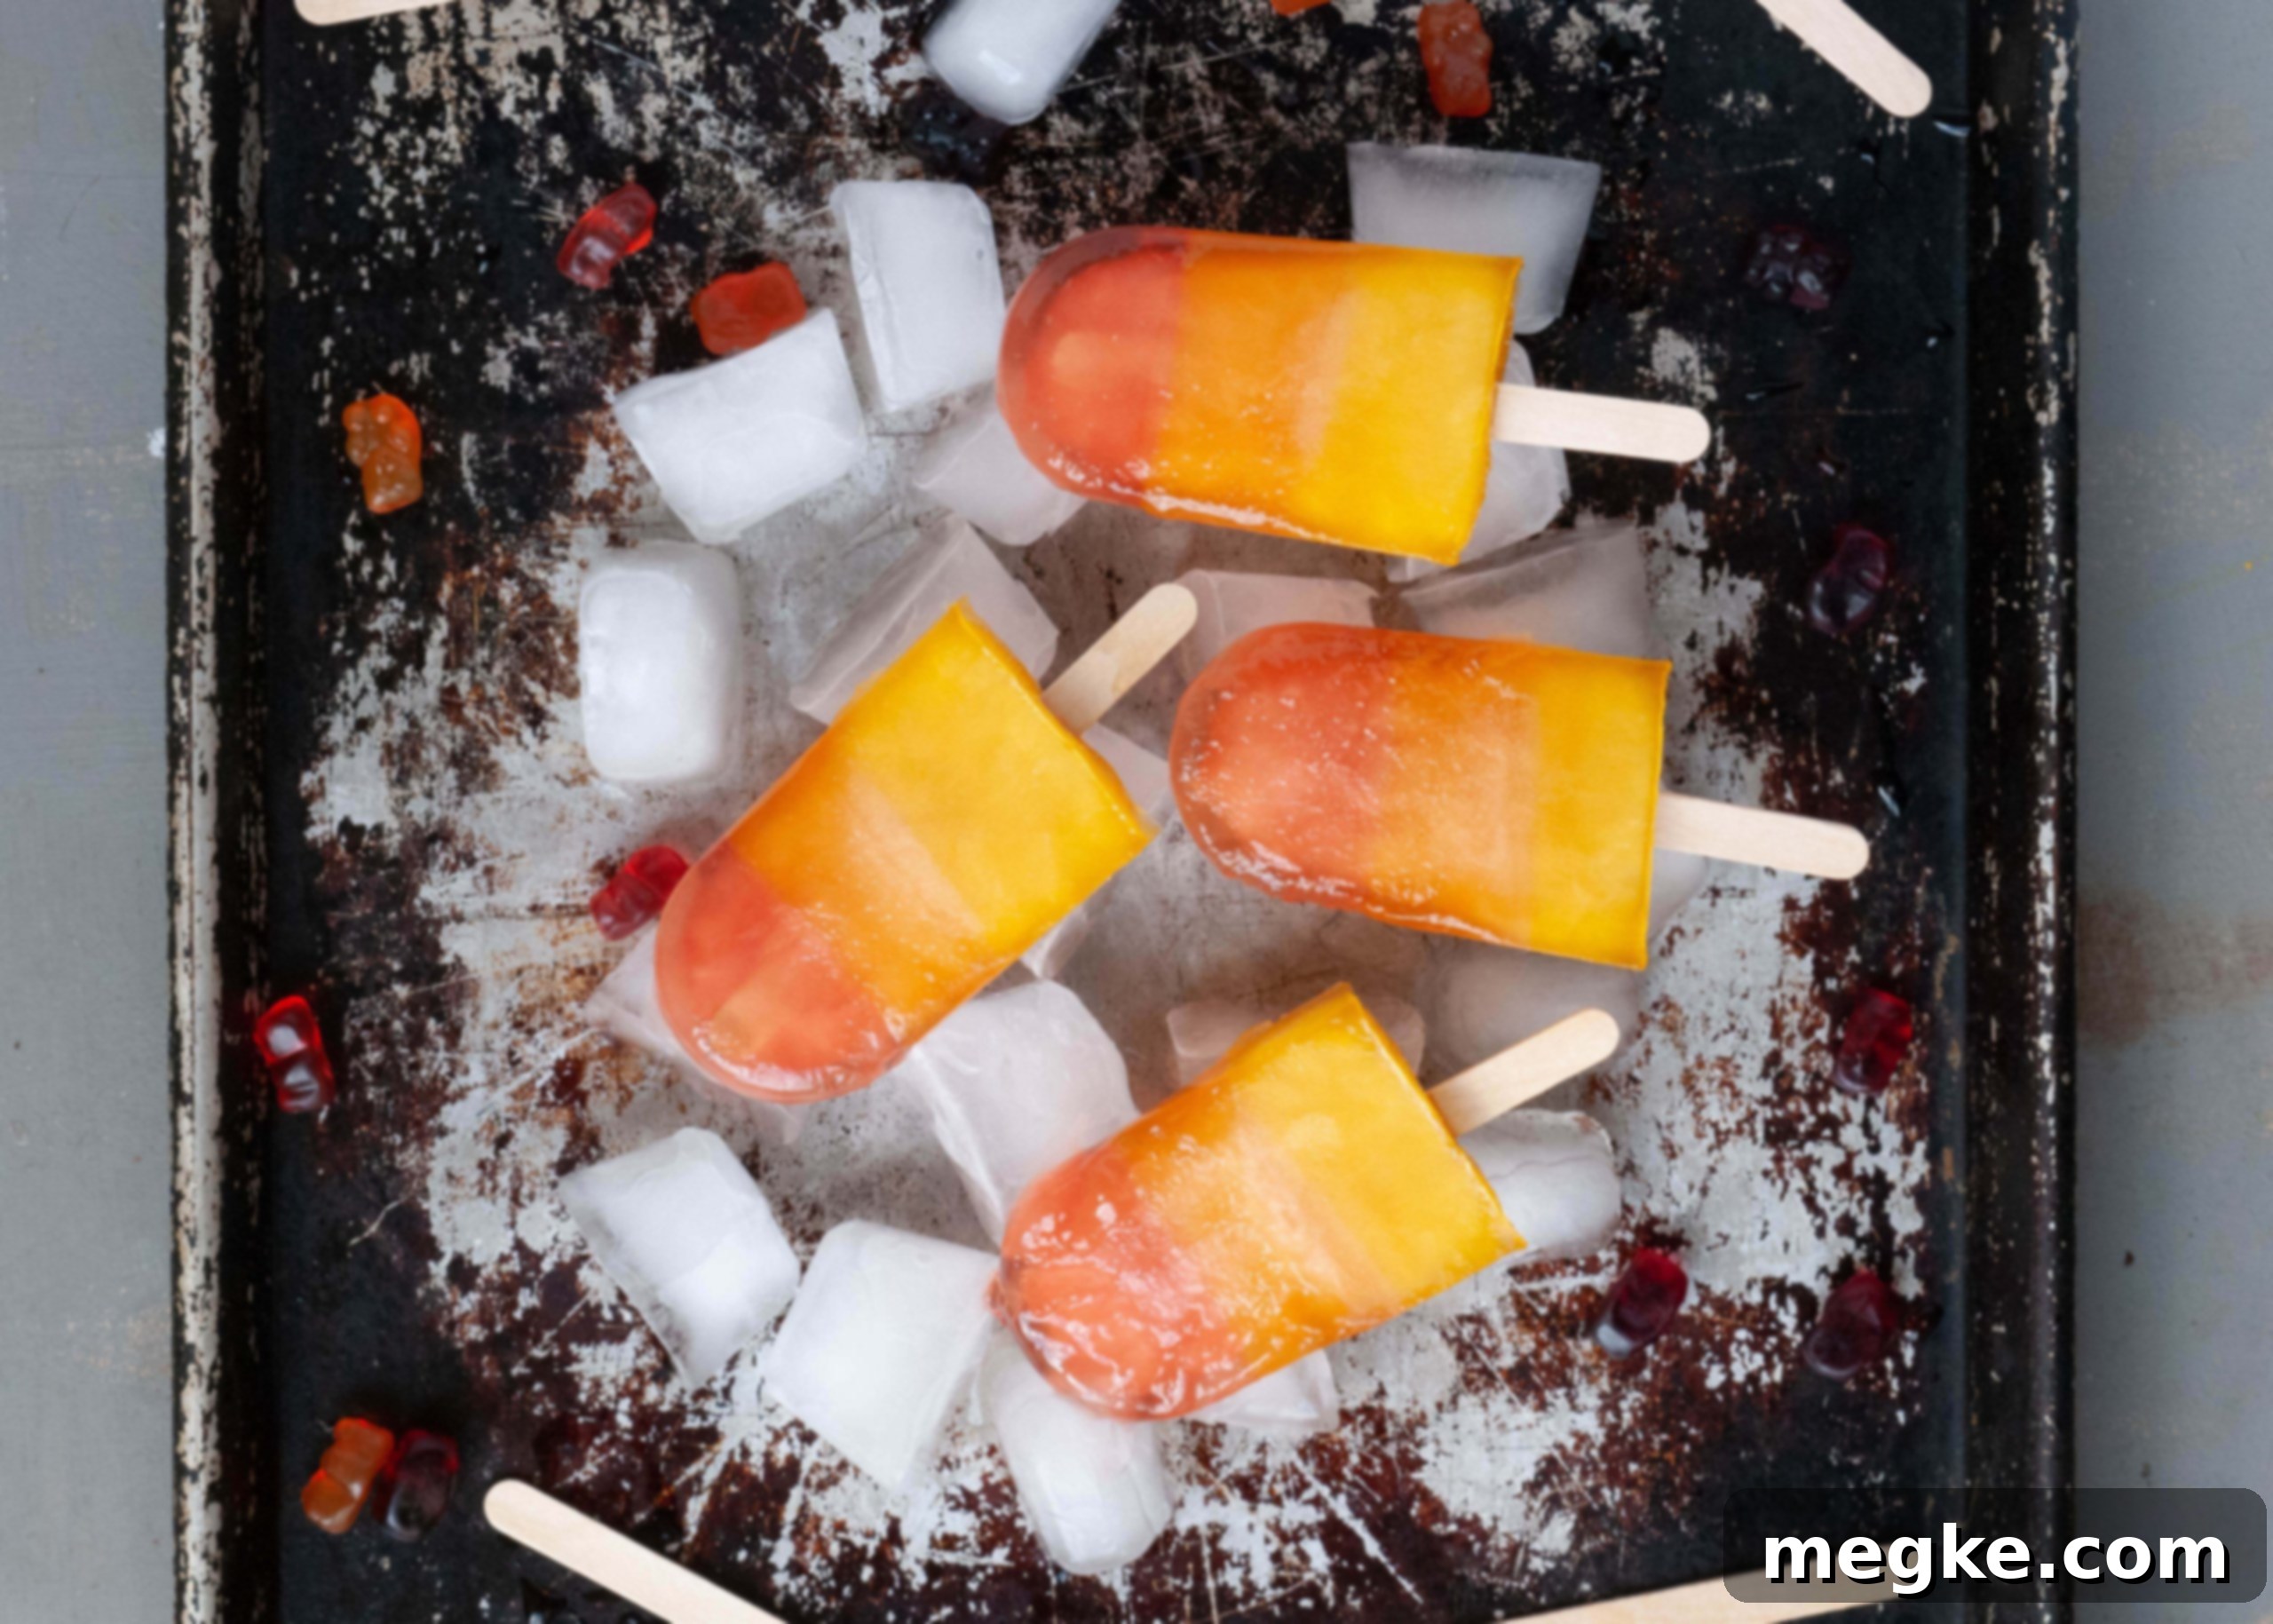
Do you have to use only one color of gummy bears? Absolutely not! While I admit I’m a bit of a sucker for the beautiful visual effect of ombre layers, you have complete creative freedom. For my ombre creations, I meticulously separated my gummy bears by color (starting with yellow, then orange, and finally red), melting and freezing each color individually. The result, as you can see, is a stunning, layered finished product that looks as good as it tastes. The distinct color bands make these popsicles extra special and appealing, especially for presentation.
Creating ombre popsicles does require a bit more patience. Melting each batch of gummy bears takes only a minute or two, but you’ll need to allow each color layer to freeze sufficiently before pouring the next. In a deep freezer, this usually means waiting at least 1-2 hours per layer to ensure they don’t blend together. However, the visual payoff is truly worth the wait!
If you’re short on time or simply eager to enjoy your treats sooner, feel free to use multiple colors of gummy bears all at once. Simply melt them together with the apple juice and pour the entire mixture into your molds without waiting for layers to set. Either approach will yield delicious results! After all, we often enjoy a handful of gummy bears with all their flavors mingling at once, and these popsicles capture that same delightful combination.
The Delightful Texture: Why Gummy Popsicles Are a Mom & Kid Favorite
One of the most common questions I get is, “Do gummy bear popsicles melt?” Yes, they do! Thanks to the organic apple juice, the gelatin from the gummy bears breaks down just enough to allow them to melt, but not in the messy, drippy way of a purely juice-based popsicle. What you get is a truly unique gummy texture, as you can see in the image below, which I actually prefer, especially for my younger children. Traditional juice pops often freeze into one big, hard brick of ice, making them difficult for little ones to bite into and notoriously messy as they rapidly melt.
The addition of gummy bears helps these popsicles retain their shape much better, reducing drips and keeping hands cleaner. Furthermore, for children with sensitive teeth, the softer, jelly-like consistency of these gummy pops is a huge advantage. My son specifically commented on how much he preferred biting into a softer gummy pop over a hard, icy one. This is a definite MOM WIN! It offers the refreshing coolness of a popsicle with a delightful, kid-friendly chew that makes them stand out from the crowd.

Essential Tools for Your Gummy Popsicle Adventure
Gathering the right tools will make your gummy popsicle crafting seamless and enjoyable. Here’s what you’ll need:
- Surf Sweets Gummy Bears: The star ingredient, providing delicious flavor and the perfect gummy texture.
- Organic Apple Juice: The liquid component that helps the popsicles freeze and adds a complementary fruity flavor.
- Small sauce pan: Ideal for melting the gummy bears and juice over medium heat.
- 1/2 cup measuring cup: Essential for precise measurement of the apple juice.
- Popsicle mold: To shape your delicious creations. Silicone molds are particularly easy for removal.
- Craft sticks for the popsicle mold: For easy handling and enjoyment once frozen.
- Freezer space: Crucial for setting your popsicles, especially if you’re making layered ones.
- Heat resistance silicone spatula: Perfect for stirring the melting gummy mixture without scratching your saucepan and for easy cleanup.
Beyond Gummy Pops: More Allergy-Friendly Cool Summer Treats
Once you’ve mastered these fantastic gummy bear popsicles, you might be looking for more ways to beat the heat with delicious, allergy-friendly options. Here are some of my other favorite no-bake or cooling summer treats that are designed to be inclusive for various dietary needs:
- No Churn Vegan Chocolate Banana Homemade Ice Cream: A rich and creamy treat that comes together without an ice cream maker, perfect for chocolate lovers.
- Struesel Stuffed Peaches Topped with Dairy-free Ice Cream: A delightful blend of warm, spiced peaches and cool, creamy dairy-free ice cream.
- Allergy-friendly Brownie Sundae Cups: Individual servings of fudgy brownie goodness topped with your favorite allergy-friendly fixings.
- Allergy-friendly No Bake Strawberry Jello Pie: A light, refreshing, and incredibly easy pie that’s perfect for summer gatherings.
- Allergy-friendly No Bake Triple Chocolate Pie: For the ultimate chocolate indulgence without turning on the oven, rich and satisfying.
Why You’ll Love Surf Sweets Candies for Your Food Allergies & Dietary Restrictions
Choosing the right ingredients is paramount when dealing with food allergies, and this is where Surf Sweets truly shines. Their commitment to producing delicious, safe, and high-quality candies makes them a staple in our allergy-friendly kitchen. Here’s why Surf Sweets gummy bears and other candies are an exceptional choice for your family:
- No Artificial Colors: Surf Sweets uses natural fruit and vegetable juices for coloring, ensuring your treats are free from synthetic dyes.
- No Artificial Sweeteners: You won’t find any artificial sweeteners in their products, just wholesome, natural sweetness.
- Organic: Their candies are made with organic ingredients, providing a cleaner, more natural snack option.
- Dedicated Facility Free of the Top 10 Allergens: This is a game-changer for families managing severe food allergies. Surf Sweets operates a dedicated facility that is rigorously free from the top 10 common allergens, offering immense peace of mind. These include peanuts, tree nuts, dairy, soy, egg, wheat, fish, shellfish, sesame, and artificial dyes.
Beyond gummy bears, be sure to explore Surf Sweets’ extensive range of allergy-friendly candies. (Or stay tuned below for a fun summer craft using their jelly beans!). And seriously, if you haven’t tried their watermelon rings, you’re missing out – they are my absolute favorite!
DON’T FORGET TO PIN IT, SO YOU DON’T LOSE IT! BE SURE TO ALSO CHECK OUT MY OTHER ALLERGY-FRIENDLY PINTEREST BOARDS!!!


How to Make Popsicles Out of Gummy Bears
4 popsicles
10 minutes
10 minutes
20 minutes
Take the delicious flavor of gummy bears and learn how to turn them into the most delicious jelly popsicles with only 2 ingredients! Kids will love the colors and taste, and moms will love that they are softer than plain juice pops. Naturally gluten, dairy, egg, soy, peanut, tree nut free, organic and top-8-free!
Ingredients
- Surf Sweets Gummy Bears
- Organic Apple Juice
Instructions
OMBRE INSTRUCTIONS:
- Separate gummy bears by color. (I did yellow, orange and red.)
- In a small saucepan over medium heat, place 16 gummy bears of one color and 1/2 cup apple juice.
- Stir frequently with a silicone/heat proof spatula until the gummy bears are melted and everything is combined.
- Carefully pour an equal amount into each of the four popsicle molds. Rinse the sauce pan out.
- Place the top on the molds, and insert the wooden stick.
- Place the mold in a freezer for 1-2 hours, or until the layer has set.
- Once the layer has set, choose your next color of gummy bear and place 16 of that color into the small sauce pan. Add 1/2 cup of apple juice. Stir and melt like before, until everything is incorporated.
- Divide and carefully pour the second color onto top of the first color. Rinse the sauce pan.
- Place the lid back on the mold, and place it in the freezer again for the second layer to set up, 1-2 hours.
- Once the second layer is set, take your third and final color of gummy bear and place 16 of them in the small sauce pan. Stir and melt like before, until everything is incorporated.
- Carefully pour the final color on top of the two set layers, being careful to not overfill.
- Place the popsicle mold back in the freezer for the final set, 1-2 hours (depending on the temperature of your freezer.)
- When ready to serve, run hot water over the popsicle mold to loosen them enough to pull out. Serve immediately.
ONE COLOR INSTRUCTIONS:
- Place 48 gummy bears (either all of the same color, or multi colored) in a small sauce pan. Place 1 and 1/2 cups apple juice.
- Melt them together over medium high heat, stirring frequently with a heat safe./silicone spatula.
- Carefully pour the melted mixture into your popsicle molds, being careful to not overfill them. Place the wooden popsicle sticks in the center.
- Freezer 3-4 hours, or until set (depending on the temperature of your freezer.)
- When ready to serve, run hot water over the popsicle mold to loosen them enough to pull out. Serve immediately.
Notes
See above for the recommendations of what tools I use!
BONUS: Engaging Summer Food Craft with Jelly Beans!
Oh, momma – I completely understand that summer can be a wonderful blend of awesome moments and challenging days. For me, while I cherish having my kids home all day, keeping little ones entertained for hours on end can sometimes be a struggle. Two phrases echo through my house all summer long: “Can we have a treat?” and “We’re bored.” These two common refrains inspired a brilliant idea to tackle both at once!
I took Surf Sweetsjelly beans and transformed them into a fun activity that doubles as a delightful reward. The next time my kids asked for a treat, I cheerfully agreed, but with a playful condition: they could have them IF they first created some art using the jelly beans. This instantly sparked their interest and engagement, turning a simple request into a creative adventure.

The craft itself was incredibly simple, even for someone like me who isn’t particularly artistic! I merely drew some basic grass and flower stems onto white paper using a green crayon. Then, I challenged them to arrange the colorful jelly beans to form the flower petals and centers. With the beautiful array of pretty pastel colors offered by Surf Sweets, it was easy for them to unleash their creativity and bring their floral designs to life. This activity encouraged imaginative play, fine motor skill development, and provided a peaceful few minutes where they were quietly engaged.
They, of course, absolutely loved the reward waiting for them at the end – getting to eat their artistic creations! It was a true win-win situation, satisfying their craving for a treat while also providing a constructive and fun activity. If someone as artistically challenged as I am could whip this up successfully, then you most certainly can too! To show you just how incredibly simple and fun this really is, I’ve included a stop-motion video below:
I’d absolutely love to see how you and your kids get some extra mileage out of your jelly beans with creative crafts, and to witness the wonderful colors and varieties you create with your gummy bear popsicles. Be sure to tag me in your social media posts so I can celebrate your awesome creations!


