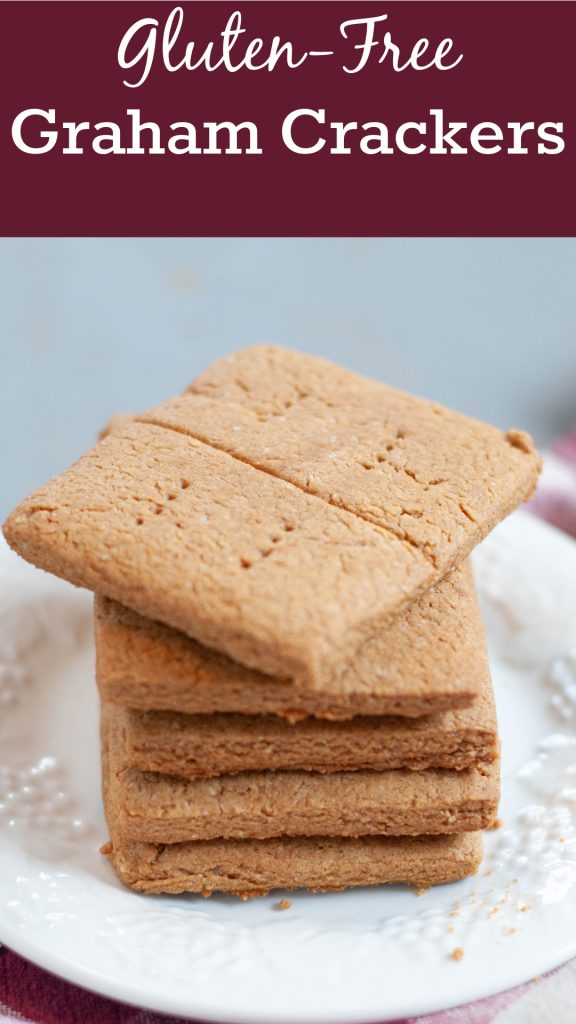
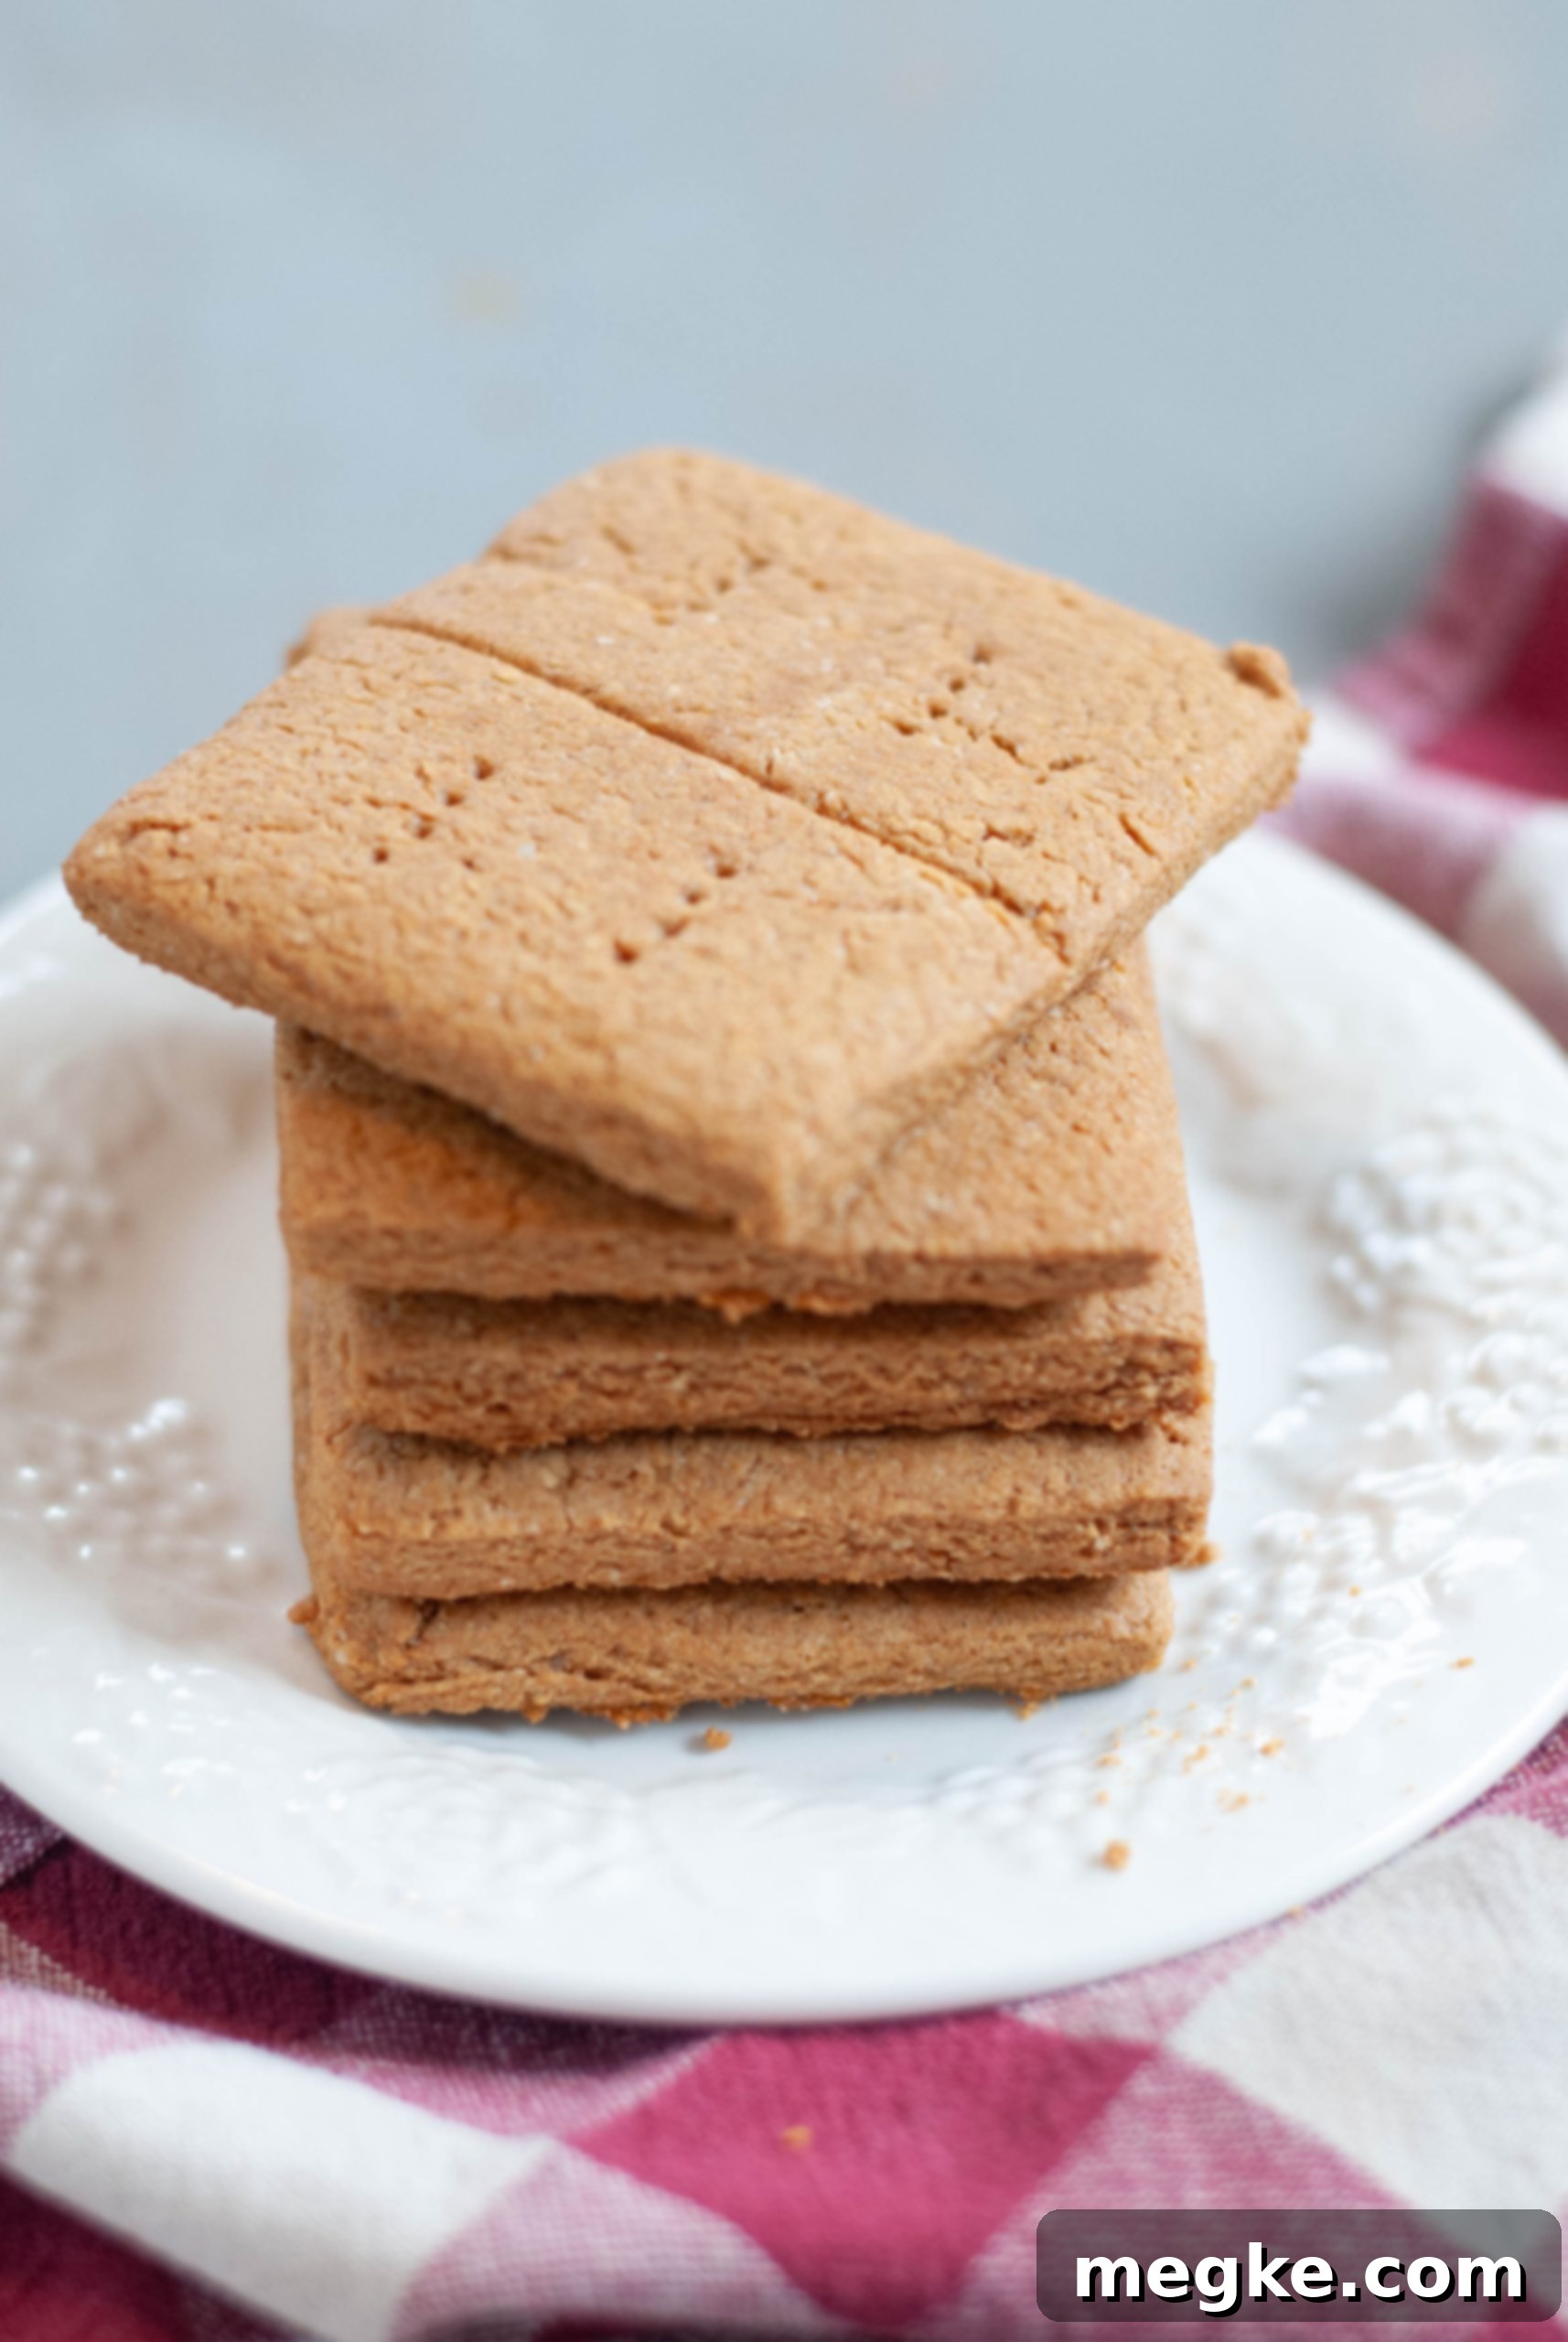
Homemade Gluten-Free Graham Crackers: Your Easy & Allergy-Friendly Recipe for S’mores, Pies, and Snacks
Imagine enjoying the classic taste and tender crisp of graham crackers, completely free from gluten and common allergens. This homemade recipe makes it possible and incredibly simple! Whether you’re craving a nostalgic snack, planning to build the perfect s’more, or need a sturdy base for your favorite pie crust, these gluten-free graham crackers deliver. Forget the hassle of searching for expensive, often hard-to-find, and disappointingly small store-bought options. Our recipe is as straightforward as making a batch of sugar cookies – just mix, shape, and bake. Plus, it’s thoughtfully crafted to be free from milk, peanuts, and tree nuts, with an easy-to-implement soy-free variation, ensuring everyone can safely indulge in this delightful treat.
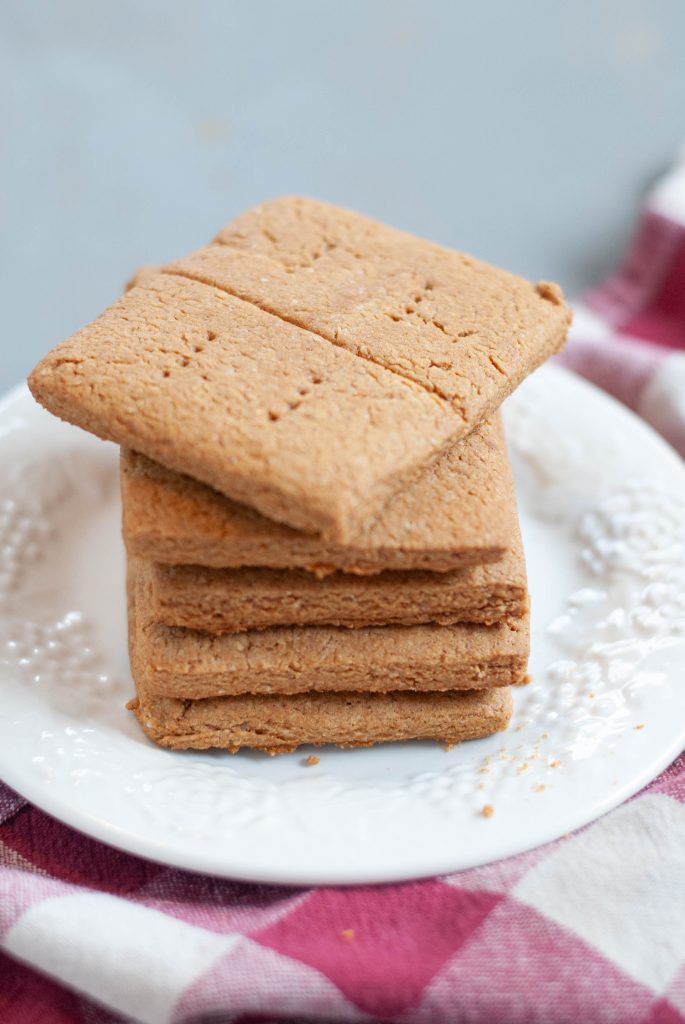
This post contains affiliate links.
Why This Homemade Gluten-Free Graham Cracker Recipe Is Truly Exceptional
When developing this recipe for homemade gluten-free graham crackers, I noticed many recipes relied solely on an all-purpose gluten-free flour blend. While functional, gluten-free flours often lack the distinct, wholesome flavor found in traditional graham crackers. This is where my recipe truly shines. I’ve incorporated a touch of oat flour, a crucial ingredient that helps to mimic the robust, whole-grain taste typically provided by graham flour in classic recipes. Graham flour, a type of coarsely ground whole wheat flour, is what gives traditional graham crackers their signature character. By adding oat flour, we achieve a similar depth of flavor, creating a more authentic and satisfying cracker experience.
Furthermore, the combination of oat flour with rich molasses is key to achieving that quintessential golden-brown hue and delightfully crispy texture you crave in a graham cracker. Before going gluten-free, Nabisco Honey Grahams were my absolute favorite, and I made sure to infuse this recipe with a hint of natural honey to capture that beloved, naturally sweet essence. This small addition elevates the flavor profile, making these homemade crackers truly reminiscent of the classics.
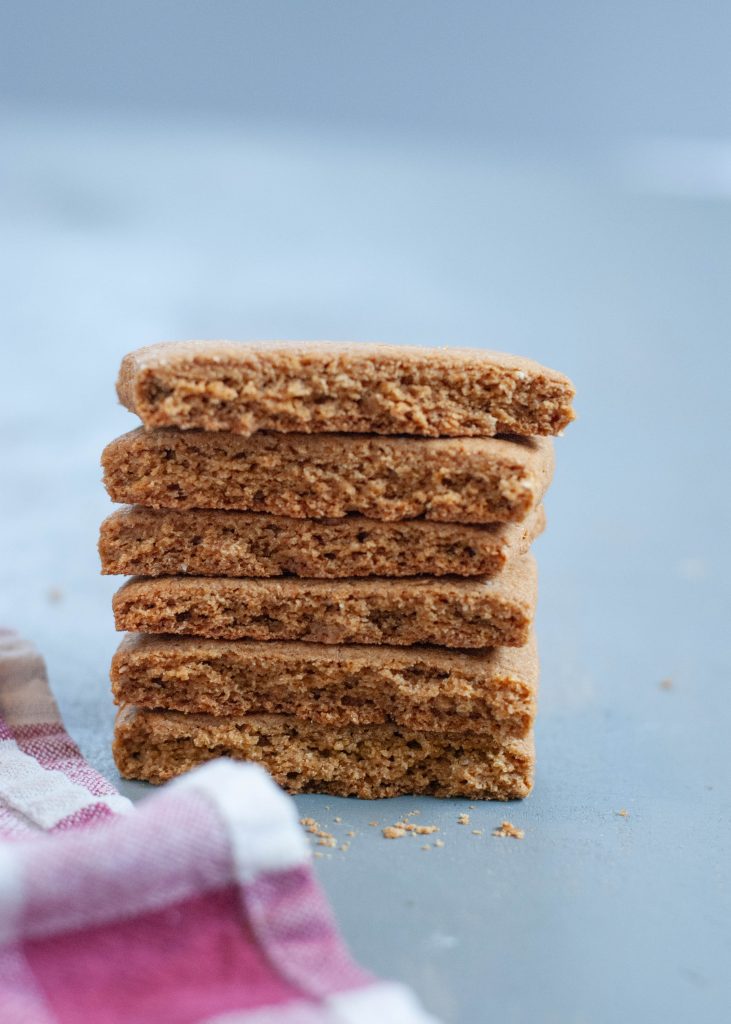
Another significant difference that sets this recipe apart is the choice of sweetener. Many recipes opt for white sugar, which can result in a drier, snappier cracker. Instead, I use brown sugar. The natural moisture content in brown sugar contributes to a more tender crispness, preventing the crackers from becoming overly dry and brittle. This means when you bite into a s’more made with these, the cracker holds together beautifully, offering a satisfying give rather than crumbling into pieces. This tender-crisp texture is ideal for dipping in milk, layering in desserts, or simply enjoying on its own.
And the best part? You don’t need any fancy equipment! This incredibly simple recipe requires no stand mixer. Everything can be easily mixed by hand, making it accessible for any home baker, regardless of their kitchen setup. It’s a truly uncomplicated process that yields superior results every time.
Essential Ingredients for Your Gluten-Free Graham Crackers
Crafting these delicious allergy-friendly graham crackers requires a thoughtful selection of ingredients, each playing a vital role in achieving the perfect taste and texture. Here’s what you’ll need to gather:
- All-purpose gluten-free flour blend that already contains xanthan gum. (If your blend does not include xanthan gum, you will need to add 1 teaspoon separately, as specified in the recipe card.)
- Oat flour: This is crucial for mimicking the whole-grain flavor of traditional graham crackers. Ensure it is certified gluten-free.
- Baking powder and Baking soda: These leavening agents help achieve the ideal rise and tender crumb.
- Salt: A pinch of salt balances the sweetness and enhances all the flavors.
- Brown sugar: Provides moisture and a richer, deeper flavor compared to white sugar.
- Honey: Adds a touch of natural sweetness and that classic graham cracker flavor.
- Butter-flavored shortening sticks: These add richness and a buttery taste while keeping the recipe dairy-free. (See notes below for a soy-free option.)
- Molasses: Essential for the signature color, deep flavor, and tender texture of graham crackers.
- Vanilla extract: A flavor enhancer that complements the other sweet notes.
- Egg: Acts as a binder. (See FAQ for an egg-free option.)
- Water: Used to adjust the dough consistency to perfection.
Can I Make My Own Oat Flour for This Recipe?
Absolutely! There’s no need to purchase pre-made oat flour if you have certified gluten-free oats on hand. Making your own oat flour is incredibly simple and cost-effective. I routinely prepare mine by taking certified old-fashioned oats and grinding them in a high-powered blender. I personally use a Blendtec, but any robust blender should work. Simply pulse the oats until they transform into a soft, fine flour consistency. This process takes just a minute or two and ensures you have fresh oat flour whenever you need it, contributing to the authentic, whole-grain taste of these homemade gluten-free graham crackers.
Essential Tools for Making Homemade Gluten-Free Graham Crackers
While this recipe is designed to be straightforward and minimal on specialized equipment, having the right tools can make the process even smoother and more enjoyable. Here’s what you’ll need to successfully create your batch of delicious gluten-free graham crackers:
- Large mixing bowl: Essential for combining your dry and wet ingredients without making a mess.
- Large mixing spoon or spatula: For thoroughly stirring your dough until it comes together. Remember, no stand mixer needed!
- Measuring cups and spoons: Accurate measurements are key for baking success.
- Parchment paper or a silicone baking mat: These are crucial for rolling out the dough without sticking and for easy transfer to the baking sheet.
- Rimmed cookie sheet (baking sheet): To bake your crackers evenly. You’ll likely need two to accommodate all the dough.
- Rolling pin: To roll the dough to a uniform thickness, ensuring even baking.
- Rectangular cookie cutter, ruler and knife, or a pizza cutter: For cutting the dough into desired rectangular shapes. A pizza cutter is excellent for quick, clean lines.
- Fork: For scoring the crackers, giving them that classic dotted look and helping with an even bake.
- Spatula: For carefully transferring the baked crackers from the cookie sheet to a cooling rack.
- Cooling rack: Allows air circulation for even cooling and to help the crackers crisp up.
How to Make Gluten-Free Graham Crackers: A Step-by-Step Guide
Crafting these wholesome gluten-free graham crackers is a rewarding process. Follow these detailed steps to achieve perfect, tender-crisp results every time.
- Preheat Your Oven: Begin by preheating your oven to 350°F (175°C). This ensures your oven is at the correct temperature when the crackers are ready to bake, promoting even cooking.
- Combine and Mix the Dough: In a large mixing bowl, measure and thoroughly stir together all your dry ingredients (gluten-free flour blend, oat flour, baking powder, baking soda, and salt). Once well combined, pour in all the wet ingredients (brown sugar, honey, molasses, melted shortening, vanilla extract, egg, and water). Stir everything vigorously with a large spoon or spatula until a cohesive dough forms. The dough should have a consistency similar to sugar cookie dough – soft but not overly sticky. If it feels too dry or isn’t coming together, gradually add 1 to 2 tablespoons more water, mixing after each addition, until the desired consistency is reached. I often find a light knead with my hands at the end helps to ensure all ingredients are fully incorporated and the dough is uniform.
- Shape the Crackers: Lay a large piece of parchment paper or a silicone baking mat on your countertop. Transfer the dough onto it and, using a rolling pin, roll the dough out evenly to approximately 1/4 inch thick. Aim for a consistent thickness across the entire sheet of dough for even baking. Next, cut out your desired rectangular shapes. You can use a dedicated rectangular cookie cutter, or for quick and easy cuts, a ruler and a sharp knife or a pizza cutter work wonderfully. Arrange the cut cracker shapes on the parchment paper or silicone mat, ensuring there’s a small space between each one to allow for air circulation during baking. You will likely need two cookie sheets for this amount of dough. Once your mat is filled with cut shapes, carefully transfer the entire mat onto a rimmed cookie sheet.
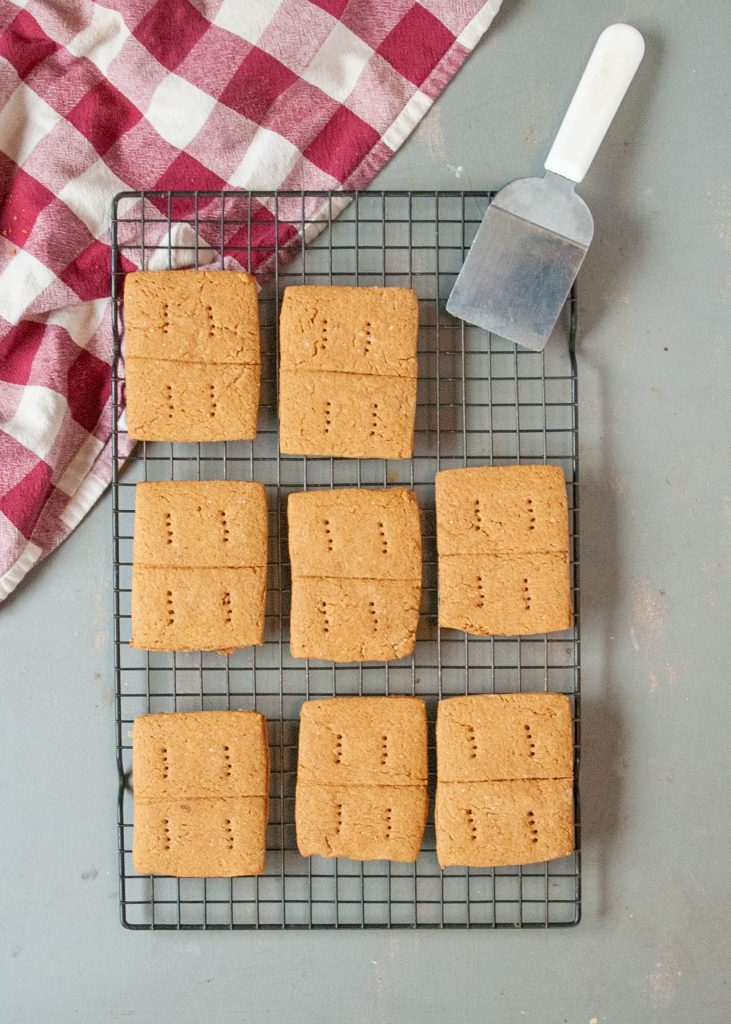
Optional: Half-Cut & Scoring: If you want the classic look and easy snapping capability after baking, use a pizza cutter to create an indentation down the middle of each cracker. Do not cut all the way through, just halfway, so they can be easily broken in half later. For the iconic graham cracker appearance, gently score each cracker with the tines of a fork a few times on each side. This also helps with even baking and prevents excessive puffing. - Bake to Golden Perfection: Place the cookie sheets with the shaped crackers into your preheated oven. Bake for 18-20 minutes, or until the edges begin to turn a light golden brown and the crackers feel firm to the touch when gently pressed. Baking times can vary slightly depending on your oven, so keep a close eye on them towards the end.
- Cool for Crispness: Once baked, remove the cookie sheets from the oven. It’s important to leave the crackers on the hot cookie sheet for an additional five minutes. This residual heat helps them continue to set and contributes to their crispness. After five minutes, carefully use a spatula to transfer the crackers to a wire cooling rack to finish cooling completely. As they cool, they will continue to crisp up and firm to the desired texture.
- Store and Enjoy: Your delicious homemade gluten-free graham crackers are now ready to be enjoyed! Eat them plain for a simple snack, dunk them in milk, assemble them into classic s’mores, or crush them to create a fantastic pie crust (see instructions below). Store any leftover crackers at room temperature in an airtight container for up to 5 days to maintain their freshness and crispness. For longer storage, you can freeze them in an airtight container for up to two months. Simply thaw them at room temperature when you’re ready to enjoy them again.
*Conversely, some bakers prefer to roll the entire dough into one large rectangle and simply score where the individual crackers will be broken. While this might seem like a time-saver upfront, I highly recommend shaping them into individual rectangles before baking. This method allows the heat to reach all edges directly, resulting in more uniform color and a superior crispness on every side. You also avoid the common issue of the center crackers being less done than the edges, or struggling to get a clean snap when breaking a large baked sheet. I would only suggest the “one large rectangle” method if your sole intention is to immediately crush the entire batch for a pie crust, where the shape and individual crispness are less critical.
Frequently Asked Questions About Homemade Gluten-Free Graham Crackers
What Type of Molasses Do I Need for This Recipe?
For these gluten-free graham crackers, I recommend using an unsulphured molasses. Brands like Grandma’s Original Unsulphured Molasses or Brer Rabbit Unsulphured Molasses are excellent choices. Unsulphured molasses means that it has been processed without the addition of sulfur dioxide, which can sometimes impart a slightly bitter taste. This ensures a purer, sweeter flavor that contributes beautifully to the deep, characteristic taste of graham crackers. Avoid blackstrap molasses, as its flavor is much stronger and less sweet, designed for different culinary uses.
Which Gluten-Free Flour Blend is Best for These Crackers?
To keep things accessible and budget-friendly without compromising on quality, I personally use and highly recommend Walmart’s Great Value All-Purpose Gluten-Free Flour. It consistently delivers excellent results in terms of texture and flavor for these homemade gluten-free graham crackers. For best results, sticking with this specific blend is advised.
However, if you wish to experiment with other blends, aim for high-quality, all-purpose gluten-free flour blends that are primarily composed of rice flour, potato starch, and tapioca starch, and ideally include xanthan gum (or add it separately as directed). Brands like King Arthur’s Gluten-Free All-Purpose Flour are generally reliable. Be aware that different flour blends can absorb liquids differently and may affect the final texture, so minor adjustments to the water content might be necessary.
What Type of Shortening Should I Use? Is There a Soy-Free Option?
For this recipe, I opt for Crisco butter-flavored shortening sticks. The butter flavor adds an extra layer of richness and depth, enhancing the overall taste of the graham crackers beyond what a plain shortening would provide, while keeping them dairy-free.
If you or someone you’re baking for has a soy allergy, you can easily swap the butter-flavored shortening for palm shortening. Palm shortening is an excellent soy-free and dairy-free alternative that will still provide the necessary fat and texture without introducing allergens. Always double-check labels to ensure your chosen shortening meets your specific dietary needs.

Can These Gluten-Free Graham Crackers Be Used for Pie Crusts?
Absolutely! These homemade gluten-free graham crackers are exceptionally versatile and make an outstanding base for pie and cheesecake crusts. Personally, I often prefer the flavor and ease of a graham cracker crust (also known as a cookie crust) over traditional pastry crusts. They’re not only a million times simpler to prepare but also infuse your desserts with a wonderful depth of flavor. To transform these crackers into a perfect pie crust, follow these simple directions:
- Measure the Crackers: Weigh out 6.5 ounces of your freshly baked gluten-free graham crackers. This provides a consistent amount for a standard 9-inch pie tin.
- Create Fine Crumbs: Place the measured crackers into a food processor and pulse until they form a very fine, even crumb. If you don’t have a food processor, no problem! You can achieve the same result by placing the crackers in a sealed zip-top bag and crushing them with a rolling pin until they reach a fine crumb consistency. Pour the crumbs into a mixing bowl.
- Combine with Fat and Sugar: Melt 1/3 cup of butter (or your preferred vegan butter alternative for a dairy-free crust) and stir it thoroughly into the graham cracker crumbs. Add 1/2 tablespoon of granulated sugar to the mixture and mix well until all the crumbs are evenly moistened.
- Press and Bake: Press the crumb mixture firmly and evenly into a pie tin. Use the back of a spoon or your fingers to create a compact crust. Bake the crust in a preheated oven at 350°F (175°C) for 8-10 minutes. This helps to set the crust and give it a slight crispness. Allow the baked crust to cool completely before filling it with your favorite pie filling.
*These instructions also work perfectly for cheesecake crusts! Simply swap the pie tin for a springform pan. Depending on the size of your springform pan and how high you prefer your crust to extend up the sides, you might want to double the recipe to ensure ample crust.
You can use these delicious gluten-free graham cracker crumbs in a variety of other recipes, including:
- Strawberry Jello Pie (Allergy-Friendly & No-Bake)
- Gluten-Free Dairy-Free S’mores Brownie Bars
- S’mores Parfait Cups
- Allergy-Friendly Pumpkin Mousse Pie
4 Types of Store-Bought Gluten-Free Graham Crackers for Quick Solutions
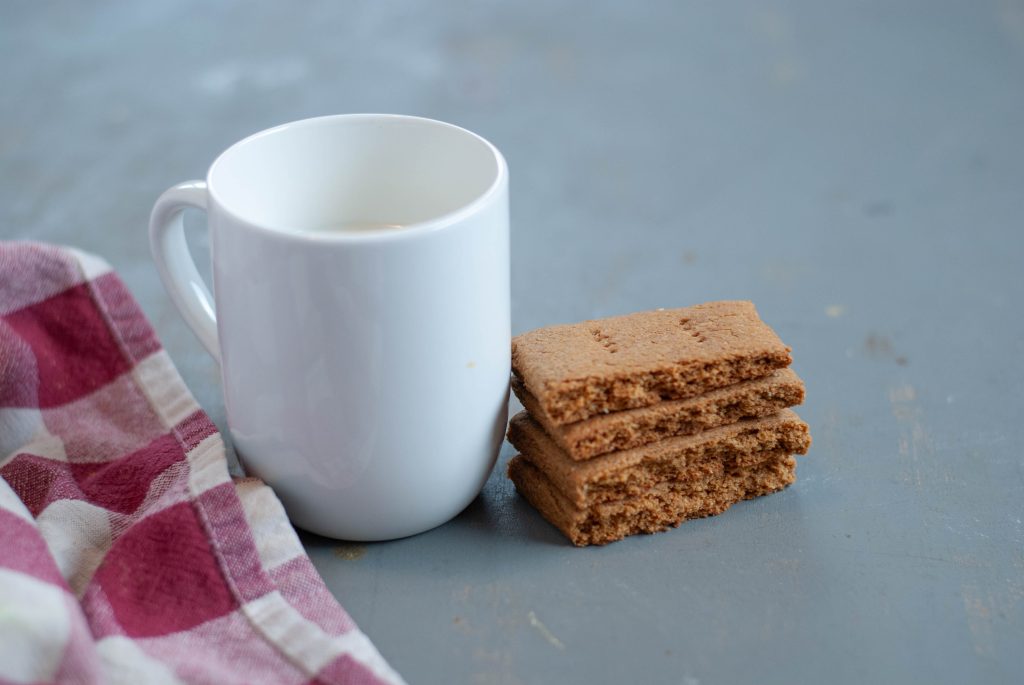
While homemade is always a wonderful option, there are certainly times when you need a quick solution for a last-minute dessert or snack. When time is of the essence and baking from scratch isn’t feasible, several brands offer decent gluten-free graham crackers. I’ve found four reliable options on the market:
- Kinnickinnick S’moreables: These are specifically designed for s’mores, often a favorite for their classic shape and good texture.
- Pamela’s Honey Grahams: Known for their quality gluten-free baking mixes, Pamela’s also offers a popular graham cracker option with a distinct honey flavor.
- Partake Classic Grahams: Partake is renowned for its allergy-friendly products, making these a safe bet for those with multiple dietary restrictions.
- Schar Honeygrams: These are our family’s go-to when we need a store-bought option. They’re typically easy to find at major retailers like Walmart and offer a good flavor. My only minor complaint is their relatively small size, which can be a bit challenging for building substantial s’mores.
Always remember to check the labels to ensure they meet your specific dietary needs, as product formulations can sometimes change.
Can I Make These Graham Crackers Cinnamon and Sugar Flavored?
Absolutely! If you’re a fan of the cinnamon variety, similar to what the classic gluten-filled Nabisco brand offers, you can easily adapt this recipe. While I personally prefer the plain version for its versatility in pie crusts and s’mores, adding a cinnamon-sugar twist is a popular choice. To achieve this, you’ll want to make two simple modifications:
- Add Cinnamon to the Dough: Incorporate 1 teaspoon of ground cinnamon directly into the dry ingredients when you’re mixing the dough. This infuses the crackers with a subtle cinnamon flavor from the inside out.
- Apply a Cinnamon-Sugar Topping: Prepare a topping by mixing 1/2 cup of granulated sugar with 1 and 1/2 teaspoons of ground cinnamon in a small bowl. Once your dough is rolled, shaped into individual crackers, and placed on the cookie sheets, liberally sprinkle this cinnamon-sugar mixture all over the surface of each cracker before baking.
Then, bake them as originally directed in the recipe. The topping will create a delightfully sweet and spicy crust, perfect for those who enjoy a hint of cinnamon with their graham crackers.
Can This Gluten-Free and Dairy-Free Cracker Recipe Also Be Made Egg-Free?
This recipe is already wonderfully free of gluten, dairy, peanuts, and tree nuts (with the flexibility for a soy-free option, as mentioned). However, I haven’t personally tested an egg-free version of this specific recipe. My best professional guess for an egg substitute would be to use one Ener-G egg replacer, prepared according to its package directions. Alternatively, a flax egg (1 tablespoon ground flaxseed meal mixed with 3 tablespoons water, allowed to sit for 5 minutes until gel-like) could also be a viable option.
If an egg replacer works successfully, this would make these delicious crackers not only gluten-free and dairy-free but also completely vegan. If you decide to experiment with an egg-free version, please consider leaving a comment below to share your results. Your feedback would be invaluable to other readers navigating similar dietary restrictions!
Can I Make a Fully Gluten-Free and Dairy-Free S’more?
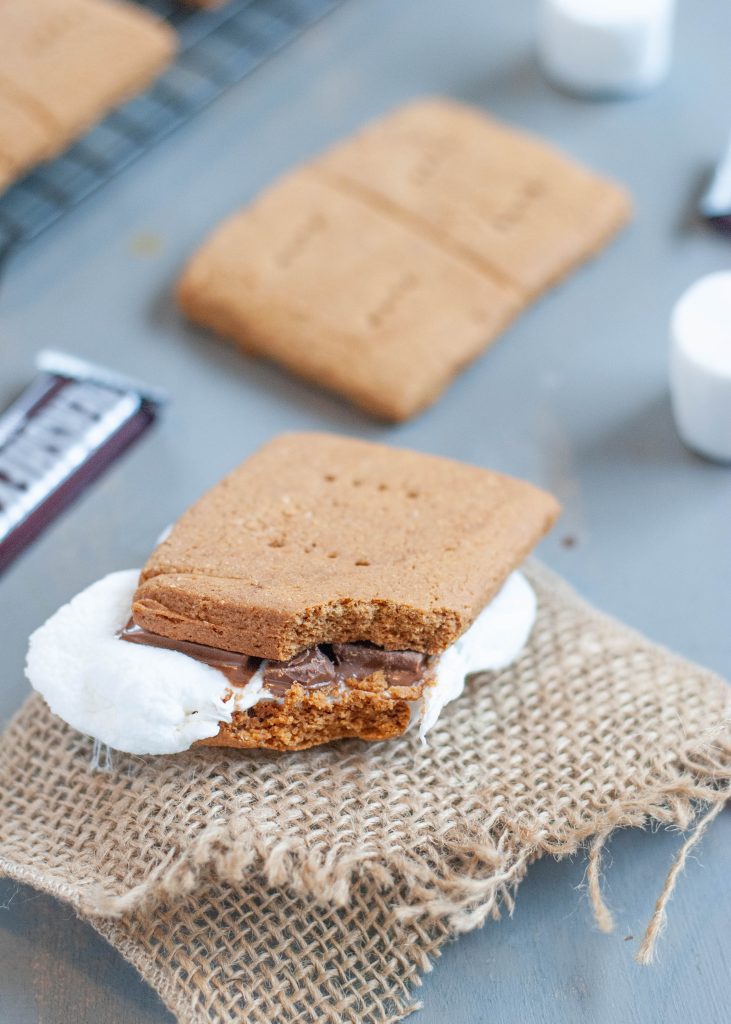
Absolutely! Making a delicious and safe gluten-free and dairy-free s’more is not only possible but incredibly easy with these homemade graham crackers. Our son manages both gluten and dairy allergies, and we’ve perfected the art of the allergy-friendly s’more.
For the base, you can confidently use these homemade crackers, or if you’re in a pinch, Schar Honeygrams work well (despite their smaller size). Instead of a traditional Hershey’s chocolate bar, we opt for an Enjoy Life chocolate bar. Enjoy Life offers a fantastic range of dairy-free and allergy-friendly chocolate options that melt beautifully. As for marshmallows, most standard brands are naturally free of both gluten and dairy, so you can generally use your favorite regular marshmallows without worry.
This combination ensures that everyone, regardless of dietary restrictions, can partake in the joyous ritual of making s’mores around a campfire or at home. It truly helps to make summer traditions feel as normal and inclusive as possible!
Is There a Video Showing How to Make These Gluten-Free Graham Crackers?
Yes, absolutely! For all the visual learners out there, I’ve created a comprehensive video that walks you through every step of successfully making these gluten-free graham crackers, from start to finish. The video is designed to auto-populate on the page, so you should see it appear shortly. If for any reason it doesn’t load automatically, you can also find it conveniently embedded at the bottom of the recipe card. Furthermore, you can always access it directly on my YouTube channel, where you’ll find a collection of other allergy-friendly recipes and helpful tips. Watching the video is a fantastic way to ensure you achieve the perfect dough consistency, shaping, and overall results for these delicious homemade treats.

Gluten Free Graham Cracker + VIDEO
18
15 minutes
20 minutes
5 minutes
40 minutes
These crisp, golden, gluten-free graham crackers are perfect for dipping in milk, crafting into s’mores, or using as a flavorful pie crust. This recipe is also free from milk, peanuts, and tree nuts, with an easy soy-free option, making it wonderfully allergy-friendly.
Ingredients
- 1 and 3/4 cup all-purpose gluten-free flour blend (with xanthan gum)
- 1/4 cup certified gluten-free oat flour (make your own in a blender!)
- 1/2 tsp baking powder
- 1/2 tsp baking soda
- 1/4 tsp salt
- 1/2 cup brown sugar
- 2 TBSP honey
- 2 TBSP unsulphured molasses
- 6 TBSP butter-flavored shortening, melted (72 g)
- 1 tsp vanilla extract
- 1 large egg
- 3 TBSP water, up to 5 TBSP if needed
- 1 tsp xanthan gum (ONLY if your flour blend does NOT include it)
Instructions
- Preheat Oven: Preheat your oven to 350°F (175°C).
- Mix Dough: In your large mixing bowl, measure and thoroughly stir all dry ingredients. Pour in wet ingredients. Stir well to combine. If the dough is too dry (it should resemble sugar cookie dough), add 1 to 2 tablespoons more water gradually. Knead briefly to ensure everything comes together.
- Roll Dough: Place the dough on a piece of parchment paper or a silicone baking mat. Use a rolling pin to roll it evenly to about 1/4 inch thick.
- Cut Shapes: Use a cookie cutter, ruler and knife, or a pizza cutter to cut desired rectangular shapes. Arrange crackers on the silicone mat, leaving space between them. Place the mat onto a rimmed cookie sheet. (This recipe typically fills two cookie sheets).
- Score (Optional): For classic “snap” lines, use a pizza cutter to gently indent the middle of each cracker (don’t cut through completely). Score each side with a fork for the traditional graham cracker look.
- Bake: Bake for 18-20 minutes, or until the edges are golden and the crackers feel firm.
- Cool: Remove from oven and let sit on the hot cookie sheet for 5 minutes. Then, transfer to a cooling rack using a spatula to cool completely. They will crisp up further as they cool.
- Store: Enjoy plain, with milk, as s’mores, or in pie crusts (pie crust instructions above the recipe card). Store covered at room temperature for up to 5 days, or freeze in an airtight container for up to two months. Thaw at room temperature before serving.
*Conversely, some people choose to roll the dough into one large rectangle, and just score where the crackers will be broken off. While this saves work up front, I find shaping them into individual rectangles works better. It gives the edges more color and crispness because the heat is getting to it directly to it, and that way you don’t have to worry about them not snapping right when trying afterwards. By shaping up front into individual crackers. you also don’t have to worry about the middle not getting as done. I’d only use this method if I was only going to turn around and use the entire thing for a pie crust that will get crushed anyways.
Notes
This recipe was tweaked and inspired by delicious recipes from Gluten Free on a Shoestring and Let Them Eat Gluten Free Cake.
For more detailed information and troubleshooting, please refer to the Frequently Asked Questions (FAQs) section located above this recipe card. Don’t forget to watch the accompanying video for the best visual guide to making these crackers!
*Allergy Disclaimer: Our family’s allergies are severe and regularly re-tested, allowing us to strictly rely on product labels. We do not contact companies regarding ingredient derivatives or potential cross-contact. If your allergies require such diligence, please conduct your own thorough research. I cannot guarantee the safety of any ingredient for your specific needs; only you can determine that. I share what works for our family, hoping it assists yours.
**Important for Allergy-Conscious Baking: If you are preparing this recipe for individuals with food allergies and you yourself do not have allergies, I strongly advise you to have them review every single brand and ingredient you plan to use. This ensures their comfort and safety with each component of the recipe. Additionally, it is crucial to discuss with them best practices for avoiding cross-contamination in your kitchen during preparation.
Nutrition Information:
Yield: 18
Serving Size: 1
Amount Per Serving:
Calories: 1008Total Fat: 25gSaturated Fat: 9gTrans Fat: 0gUnsaturated Fat: 14gCholesterol: 112mgSodium: 833mgCarbohydrates: 174gFiber: 16gSugar: 63gProtein: 25g
DON’T FORGET TO PIN THIS RECIPE, SO YOU DON’T LOSE IT. WHILE YOU’RE THERE, BE SURE TO EXPLORE MY OTHER GLUTEN-FREE PINS FOR MORE DELICIOUS AND ALLERGY-FRIENDLY INSPIRATION!
